How to Fix Error Code 0x87E10BD0 on Windows
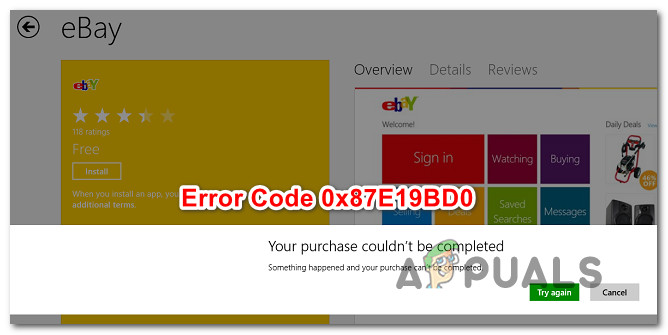
Several Windows 10 users are reporting that they’re unable to download certain games or applications from Microsoft’s store. The error code that comes up is 0x87E10BD0. In most cases, the error code is preceded by the error message “Something happened and your purchase can’t be completed”. In most cases, the error message is encountered several seconds after the user starts the download of a game or application. As of know, the issue seems to be exclusive to Windows 10.
What is causing the Error code 0x87E10BD0?
We investigated this particular issue by investigating various user reports and the repair strategies that are commonly being used to fix this error code. As it turns out, there are several different potential culprits that have the potential of triggering this error code:
- User is not signed in with Microsoft Account – Although the developers don’t make it clear, you need to be logged with a Microsoft account in order to be able to participate in most Insider programs available on Microsoft Store. In most cases, this is what’s causing the 0x87E10BD0 error code. In this case, you should be able to resolve the issue by signing with your Microsoft Account.
- Microsoft Store glitch – As it turns out, this particular issue can also be caused by a recurring glitch that triggers this error code with applications or games that have a beta version. If this scenario is applicable, you should be able to circumvent the issue by downloading a different application first.
- Corrupted or missing AUInstallAgent – Another potential culprit that might trigger this error is the AUInstallAgent. Several affected users have reported that they managed to resolve the issue by recreating the AUInstallAgent folder.
- Corrupted Windows Store Cache – Corruption inside the Windows Store Cache folder can also be responsible for this particular error. If this scenario is applicable, you should be able to resolve the issue by cleaning the Windows Store cache completely using the WSReset utility.
- Application conflict – It’s also possible that a 3rd party application or service is conflicting with the download that’s triggering the error. In this case, you should be able to identify and resolve the conflict by performing a clean boot, forcing Windows to start with the minimal suite of drivers and startup programs.
If you’re currently struggling to resolve the error code 0x87E10BD0, this article will provide you with a few potential troubleshooting strategies. Down below, you’ll find a collection of potential repair strategies that some users in a similar situation have successfully used to resolve this error message.
For the best results, we advise you to follow the methods in the order that they are presented and discard the steps that aren’t applicable to your particular scenario. One of the potential fixes should end up resolving the issue regardless of the culprit that’s causing it.
Method 1: Sign in with your Microsoft Account
If you’re encountering the issue while trying to download Sea of Thieves, chances are the error gets triggered because you’re not signed in with your Microsoft account. Several affected users have reported that they managed to resolve the issue by accessing the Accounts tab and signing in with their Microsoft account.
This solution is not apparent since Microsoft doesn’t do a good job of pointing you towards the culprit. However, if you’re encountering the issue with Sea of Thieves or a different game while trying to download it from Microsoft Store, follow the steps below to ensure that you’re signed in with your Microsoft Account.
Here’s what you need to do to sign in with your Microsoft Account:
- Press Windows key + R to open up a Run dialog box. Then, type ‘ms-settings:emailandaccounts‘ inside the text box and press Enter to open up Email & app accounts tab of the Settings app.

Opening the Email & app accounts of the Settings page - Once you’re inside the Email & accounts tab, scroll down to the Accounts used by other apps section and click on Add a Microsoft account (or Sign in with a Microsoft account instead).
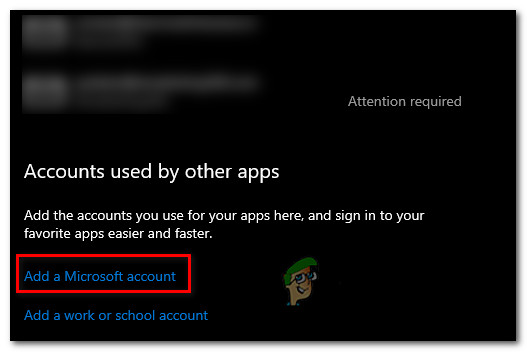
Connecting with a Microsoft account - Next, follow the on-screen instructions to connect with your Microsoft account.
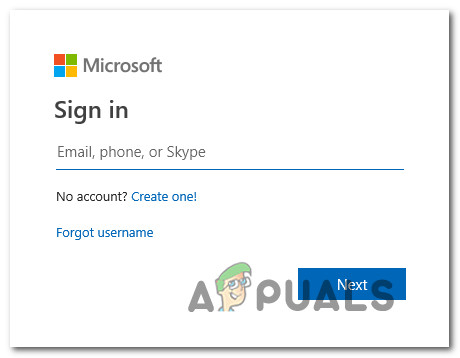
Connecting with a Microsoft account Note: If you don’t have an account, click on the Create one! hyperlink and complete the procedure by verifying your email.
- Once you’re connected with your Microsoft account, restart your computer and wait until the next startup sequence is complete.
- Open Microsoft Store again and attempt to download the game or application that was previously triggering the 0x87e10bd0.
If you’re still encountering this issue even after signing in with your Microsoft account, move down to the next method below.
Method 2: Downloading a different application first
Although this is more of a workaround than an actual fix, a lot of affected users have reported that they managed to avoid the 0x87e10bd0 error code entirely by downloading a different application first and letting it download for a few seconds before starting the download that was previously failing again.
As weird as this fix might sound, there are dozends of users that have confirmed this procedure as being effective in resolving the error code. This seems to resolve a fairly common Sea of Thieves glitch that seems to occur for users that are trying to download the game directly from the Microsoft Store.
Here’s a quick guide on forcing the download to complete by downloading a different application first in order to avoid the 0x87e10bd0 error code:
- Press Windows key + R to open up a Run dialog box. Then, type ‘ms-windows-store://home’ and press Enter to open up the Microsoft Store.
- Once you’re inside the Microsoft store, click on the Search function (top-right) corner and search for Netflix, Xbox Insider Hub or Deep Rock Galatic – these are 3 applications that affected users have successfully used to fool Microsoft Store into downloading the Sea of Thieves game without issues.
- From the list of search results, click on Get / Install and wait until the procedure is complete.
- Once the installation of the dummy app is complete, use the search function again to find Sea of Thieves Beta and see if you can download it without encountering the error.
If the 0x87e10bd0 error code is still occurring, move down to the next method below.
Method 3: Recreating the AUInstallAgent
As it turns out, this particular issue can also occur due to a corrupted AUInstallAgent folder. Several affected users have reported that they were able to resolve the issue after taking the step appropriated to recreate the AUInstallAgent folder – essentially forcing windows to create a new healthy folder from scratch.
Most Microsoft Store-related issues are actually caused by a corrupted AuInstallAgent. Here’s a quick guide on how to reinstall the AUInstallAgent folder and resolve the 0x87e10bd0 error code:
- Press Windows key + R to open up a Run dialog box. Then, type ‘%windir%’ inside the text box and press Enter to open up the Windows Folder.
- Once you’re inside the Windows folder, scroll down through the list of folders and locate AUInstallAgent. If you don’t manage to see it, right-click on an empty space and choose New > Folder from the newly appeared context menu. If you’re prompted by the UAC (User Account Control), click Yes to grant administrative privileges.
Note: If you manage to see the AUInstallAgent folder, right-click on it and choose Delete from the context menu before attempting to create a new folder. - Right click on the new folder, choose Rename from the context menu and name the folder ‘AUInstallAgent’.
- Restart your computer and see if you’re able to install the app that was previously failing with the 0x87e10bd0 error code.
If you’re still encountering the same error message, move down to the next method below.
Method 4: Resetting the Windows Store Cache
As it turns out, this particular issue can also occur due to corruption inside the Windows Store Cache folder. If this scenario is applicable to your situation, you should be able to resolve the issue by cleaning the Windows Store Cache completely using the WSReset utility.
Several affected users have reported that this procedure finally allowed them to install the game/application without encountering the 0x87e10bd0 error code. Here’s a quick guide on doing a Windows Store Cache reset:
- Press Windows key + R to open up a Run dialog box. Then, type ‘wsreset.exe’ inside the text box and press Enter to run the cache cleaning utility.
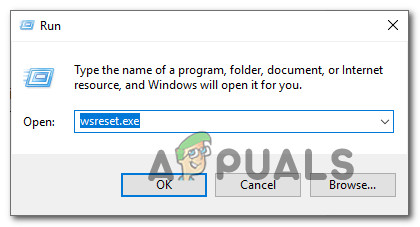
Running the WSReset.exe utility from a Run dialog box - Wait until the CMD window is closed and your store opens. Then, restart your computer and see if the issue has been resolved once the next startup sequence is complete.
If you’re still encountering the 0x87e10bd0 error code, move down to the next method below.
Method 5: Performing a Clean Boot
It’s also possible that you’re encountering the 0x87e10bd0 error code due to some kind of application or service conflict. To eliminate the possibility, you can force Windows to boot with the minimal set of drivers and startup programs. This type of startup (clean boot), will allow you to identify and eliminate software conflicts that might be responsible for this particular issue.
Here are the steps of performing a Clean Boot on Windows 10:
- Ensure that you’re signed it with a Windows account that holds administrative privileges.
- Press Windows key + R to open up a Run dialog box. Then, type “msconfig” and hit Enter to pop open the System Configuration window.

Running MSCONFIG from a Run dialog prompt Note: If you’re prompted by the User Account Control (UAC), accept the prompt by clicking Yes in order to grant administrative privileges.
- When you’re inside the System Configuration window, click on the Services tab and check the box associated with Hide all Microsoft Services. This will ensure that you’re not disabling any critical services needed by the operating system.
- Next, disable all remaining services at once by clicking the Disable all button. This will prevent any 3rd party services and other non-essential built-in services from causing an app conflict that might lead to the 0x87e10bd0 error.
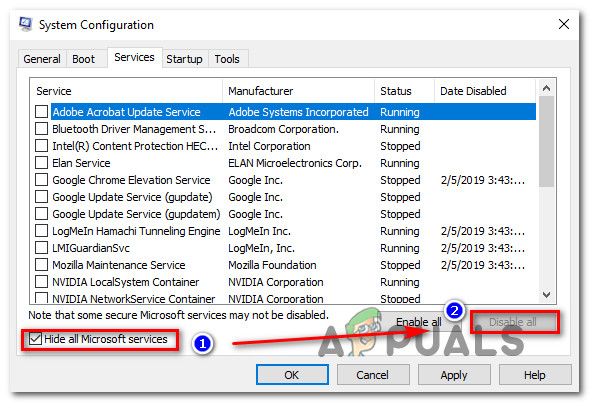
Disabling all Windows services - Once all services have been disabled, click on Apply changes, then go to the Startup tab and click on Open Task Manager.
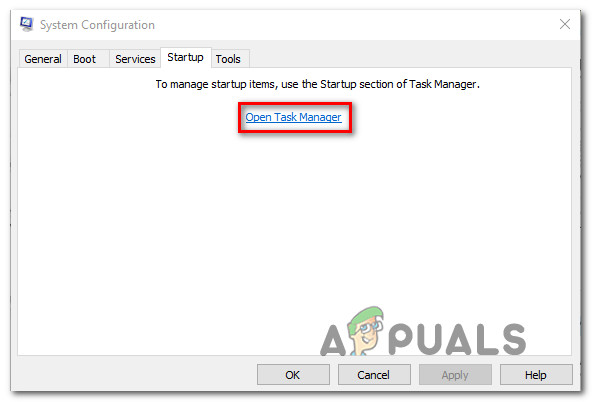
Opening the Task Manager via System Configuration - Once you manage to make you’re way to the Status tab of Task Manager, start selecting each service individually and click Disable to prevent it from running at the next startup.
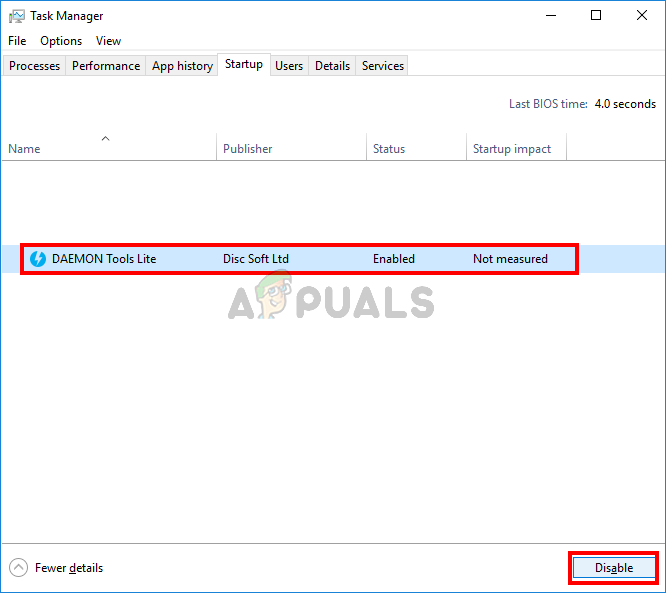
Disabling Apps from Startup - Once all 3rrd party services have been disabled, close the Task Manager window and restart your computer to achieve a Clean Boot mode.
- When the next startup sequence is complete open the Microsoft Store and see if you’re able to download the application or game that was previously failing. If it’s not, you can identify the conflicting app or service by systematically re-enabling all items that were previously disabled couple with frequent reboots to see which one is causing the error code.


