‘Error 2753. The file isn’t marked for installation’ [Top 5 Solutions]
The Error 2753 the file is not marked for installation is typically encountered when the user tries to install or uninstall certain applications. Most of the time, the error is reported with Adobe applications (Illustrator, Shockwave, Flash Player, etc), but there are also a lot of reported cases with Corel Draw and Pinnacle Studio.
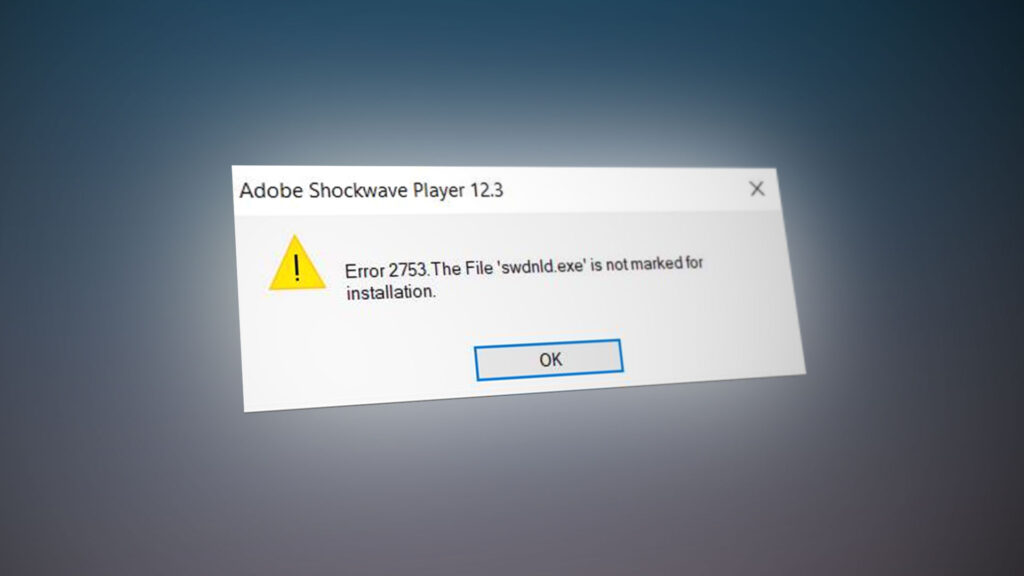
What causes the Error 2753 the file is not marked for installation issue?
After investigating the issue and looking at various scenarios where the Error 2753 has occurred, we created a list with potential factors that might cause the issue:
- Adobe Shockwave is incorrectly installed – This error might occur if the Showckwave installation was halted in the middle of the installation process. In this case, the solution is to use the Shockwave uninstaller. (Method 1)
- The error message can also be caused by a corrupted InstallShield folder – This is typically reported to occur with Corel and Pinnacle Studio installations. In this case, the solution is to delete the InstallShield folder and enable the Windows Installer service. (Method 2)
How to fix the Error 2753 the file is not marked for installation issue
If you’re looking for a fix that will allow you to circumvent this particular error, this article will provide you with a list of troubleshooting steps. Below you have a collection of methods that will apply to various different scenarios that will trigger the Error 2753 the file is not marked for installation issue.
The methods below were confirmed to work by users struggling with the same kind of error message. To ensure the best possible results, start with the first method (if it’s applicable) and follow the rest of them in order until you stumble upon a fix that is effective in getting the issue resolved.
Method 1: Reinstall Shockwave correctly
The Error 2753 error is typically encountered when the user tries to use Adobe Shockwave after it was incorrectly installed. The issue is also reported to occur when the user tries to install Shockwave again from the official download page.
Note: Keep in mind that this method is only confirmed to work with older Windows versions (Windows XP, Windows 7 and Windows 8.1).
Other users in a similar situation have reported that the issue was fixed after they used Shockwave’s uninstaller to remove any leftover component and then reinstall it correctly. Here’s a quick guide on uninstalling & reinstalling shockwave correctly in order to circumvent the 2753 error:
- Visit this official Adobe link (here). Then, scroll down to Shockwave player and download the Uninstaller
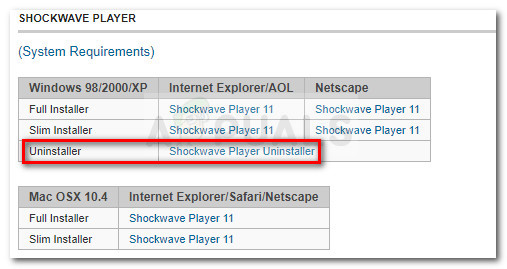
- Open the sw_uninstaller.exe and complete the uninstallation of Shockwave by following the on-screen prompts.
- Once the uninstallation is complete, restart your computer.
- At the next startup, visit this link (here) and download the latest available version of Adobe Shockwave by clicking the Download now button.
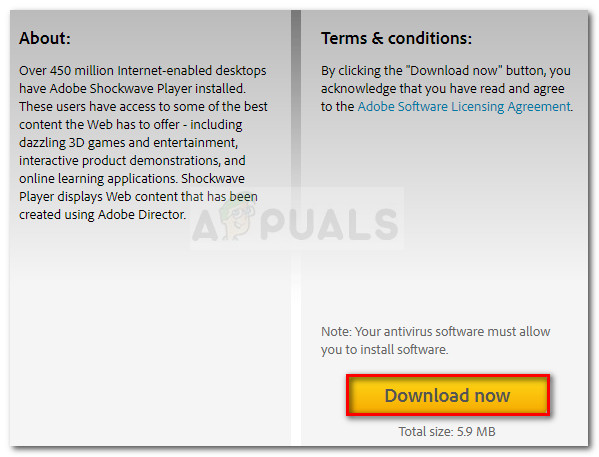
- Once Shockwave is installed, restart your computer again. At the next startup, you can test to see if Shockwave Player is working correctly using this link (here).
If the issue was caused by an interrupted Shockwave installation, you should no longer encounter the Error 2753 error. However, if this method was not applicable or you’re encountering a different issue, continue down with the next method below.
Method 2: Repairing the corrupted InstallShield folder (if applicable)
A couple of users that encountered the Error 2753 the file is not marked for installation issue when trying to install Corel Draw or a similar program from the same Pinnacle Studio suite have managed to get the issue resolved after resolving a corruption occurence caused by the InstallShield folder.
Here’s a quick run-down with the steps required to solve the problem and complete the installation without the Error 2753 the file is not marked for installation error:
- Immediately after the error appears, close the error prompt and navigate to one of the following location: C:\ Program Files\ Pinnacle or C:\ Program Files (x86) \ Pinnacle.
- Delete Studio12 or Studio14, depending on which version you’re trying to install.
- Next, navigate to C:\ Program Files \ Common Files and delete the folder named InstallShield.
- Next, press Windows key + R to open up a Run dialog box. Then, type “msconfig” and press Enter to open up the System Configuration window.

Run dialog: msconfig - Inside the System Configuration window, go to the Services tab and make sure that the Windows Installer service is enabled. If it’s disabled, enable it by ticking the checkbox associated with it.
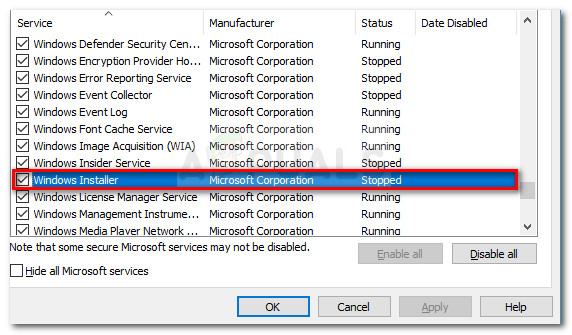
Making sure that the Windows Installer service is enabled - Once the Windows Installer service is enabled, click on Apply to save the changes, then restart your computer.
- At the next startup, you should have no problem installing Studio or a certain application from the suite.
Method 3: Resolving the ArcGIS Desktop upgrade error
If you’re trying to upgrade the ArcGIS for Desktop software and the Error 2753 the file is not marked for installation error prevents you from completing the process, there is a procedure that will allow you to circumvent the issue.
As it turns out, the error is caused by an incomplete uninstallation of the previous ArcGIS for Desktop version. If this happens, it will leave behind certain files and registry keys that cannot be replaced by the newer ArcGIS version.
Other users in a similar situation have managed to get the issue resolved by following a simple yet effective workaround. Here’s what you need to do:
- Press Windows key + R to open up a Run dialog box. Then, type “appwiz.cpl” and press Enter to open up Programs and Features.
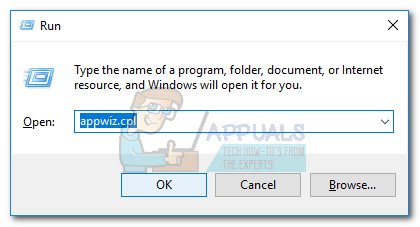
Run dialog: appwiz.cpl - Inside Programs and Features, locate and uninstall the current ArcGIS version that you have installed. If you have any additional ArcGIS products, uninstall them also.
- Once you uninstall every ArcGIS product, navigate to C:/ Program files(X86) / Common Files and delete the ArcGIS folder.
- Press Windows key + R to open up another Run dialog box. This time, type “regedit” and press Enter to open up the Registry Editor utility. If prompted by the UAC (User Account Control), choose Yes to grant administrative privileges.
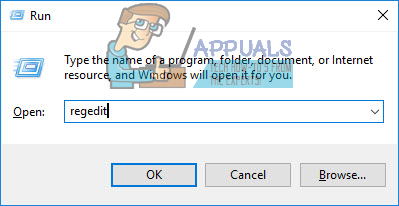
Run dialog: regedit - Using the left-pane of Registry Editor, navigate to the following registry key:
HKEY_CURRENT_USER\ Software\ ESRI
- Right-click on the ESRI key and choose Rename. Rename the key ESRI_old and save the changes by pressing Enter.
- Close Registry Editor and restart your computer.
- At the next startup, re-install the ArcGIS product. You should be able to complete the installation without being bothered by the Error 2753 the file is not marked for installation error.
If this method wasn’t applicable, continue down with the next method below.
Method 4: Resolving a failed Adobe Flash Player upgrade (if applicable)
The Error 2753 the file is not marked for installation error is also encountered under certain scenarios when the user tries to upgrade to the newest Flash Player.
Multiple users have reported being successful in resolving the issue by deleting several Installer registry keys. Here’s a quick guide on deleting the two Installer keys responsible for creating this issue:
- Press Windows key + R to open up a Run dialog box. Then, type “regedit” and press Enter to open Registry Editor. If prompted by the UAC (User Account Control), choose Yes to grant admin privileges.

Run dialog: regedit - Inside the Registry editor, use the left pane to navigate to navigate to the following location
HKEY_CLASSES_ROOT \ Installer \Products \ 1924FBDFBDD7C5C41B8233A264FCF8AF
- Then, right-click on the 1924FBDFBDD7C5C41B8233A264FCF8AF key and click on Delete to get rid of it.
- Next, use the left-pane again to navigate to the following location and delete the 5100A42EF37C75B48BFDE58BD4E26958 key:
HKEY_CLASSES_ROOT \ Installer \ Products \ 5100A42EF37C75B48BFDE58BD4E26958
- Reboot your computer and see if the Flash Player upgrade is successful at the next startup.
Method 5: Resolving a failed Acrobat DC installation
If you’re seeing the Error 2753 the file is not marked for installation error when trying to install Acrobat DC, it’s probably because of a few old residual files that are preventing some new files from being copied over.
Several users dealing with the same kind of issue have managed to get the issue resolved by using the Adobe Reader and Acrobat Cleaner tool to remove the residual files. Here’s a quick guide on circumventing the error using the Adobe Reader and Acrobat Cleaner Tool:
- Visit this link (here) and download the Adobe Reader and Acrobat Cleaner Tool.
- Open the tool and follow the on-screen prompts to ensure that any residual files are removed.
- Reboot your computer.
- At the next startup, reinstall Adobe DC using this link (here) and see if the procedure is completed successfully.


