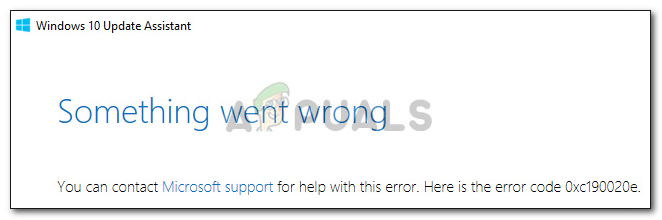
How to Fix Error 0xc190020e on Windows
The error 0xc190020e appears when you are downloading an update but don’t have the required space to install the contents of the update. The space required depends on the size of the update. Microsoft pushes out updates for Windows often which requires quite the space if you belong to the faction who updates their system the moment they hear about it. Nevertheless, updates are of paramount importance and you should update your system if the update contains a fix to a critical system flaw which they usually do – so don’t give up on updating your system.
The error, however, is not that critical and can be dealt with pretty easily. Intrinsically, you’ll just have to clear out some space for the update on your System drive, albeit, messing around or removing system files without having a proper idea about it should be avoided as it can cause critical issues and you might have to reinstall Windows.
What causes the error 0xc190020e on Windows 10?
This error is not that big of a deal and is caused by —
- Insufficient space. The error will pop up whenever you are trying to install an update for which you don’t have the required amount of free space.
You can follow the below-mentioned solutions to free up some space.
Solution 1: Increase Disk Space Usage
First and foremost, let us start off with checking how much space is available to us on the system drive. We’ll have to allocate more disk space usage for system protection. Here’s how to do it:
- Go to your Desktop, right-click on ‘This PC’ and select Properties.
- There, on the left-hand side, select ‘Advanced system settings’.
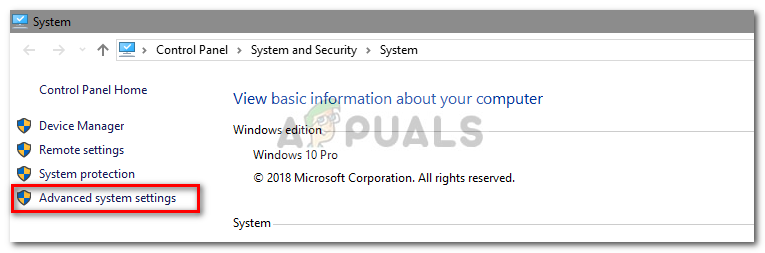
Click Advanced system settings - Navigate to the System Protection tab, and select your System volume.
- Under Disk Space Usage, move the slider to increase the amount of space allocated to System Protection i.e System Restore.
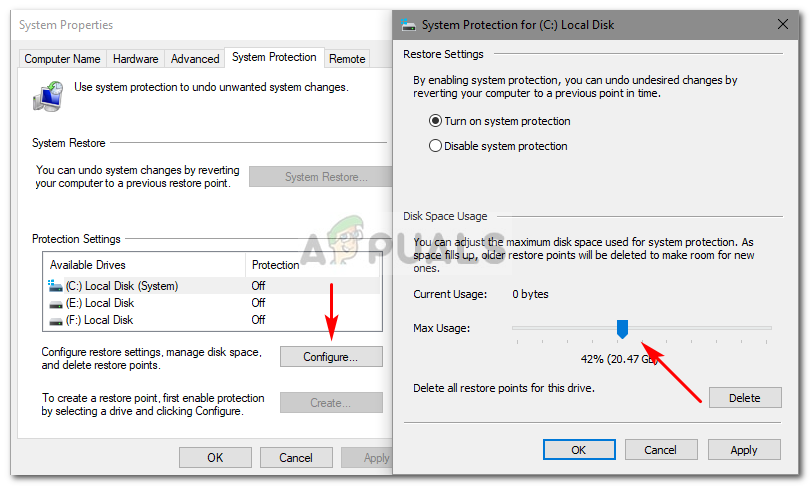
Allocate More Space
Solution 2: Deleting $Windows.~BT
$Windows.~BT is a temporary folder that is created when you are updating your system with the responsibility of storing update logs, and the files required while updating your system. This folder is, by default, hidden so you won’t be able to see it. However, you can access it by typing in the path of the folder in Run. Here’s how to empty the folder:
- Press Winkey + R to open Run.
- When Run loads up, type in the following path:
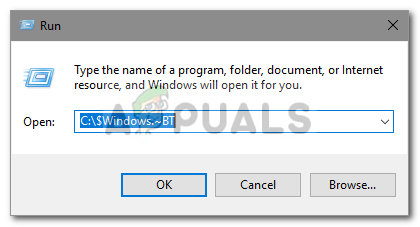
Enter the path
C:\$Windows.~BT
- Change C if your system drive is different.
- Once you’ve accessed the folder, empty the contents inside and try updating your system again.
Solution 3: Using Disk Cleanup
Disk Cleanup is a built-in utility that allows users to free up some space on their hard drive. What happens is, the utility first scans the hard drive for files that are no longer needed and then clears them up. To run Disk Cleanup, do the following:
- Go to Start Menu and type in Disk Cleanup.
- Open up Disk Cleanup and choose your system drive.
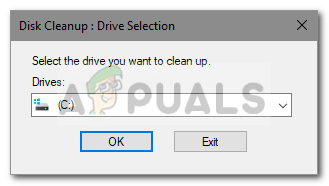
Choose System Drive - Select ‘Temporary Files‘ from the list.
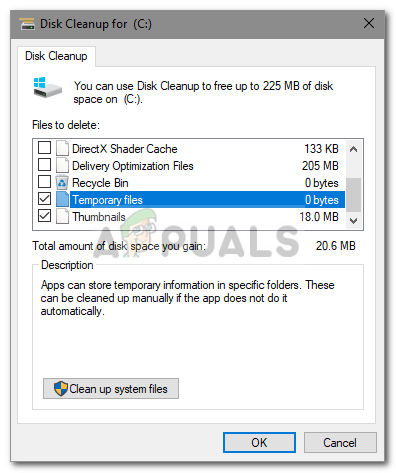
Select OK - Click OK to start the utility.
Solution 4: Uninstalling Apps
Another way of freeing up some space on your system drive is to uninstall the apps that you previously installed and are no longer put to use. Here’s how to do it:
- Go to Start Menu, type in Control Panel and open it up.
- Under Programs, click ‘Uninstall a program’.

Locate Uninstall Programs in Control Panel - Go through the list of installed apps and double click on the apps you no longer use to free up some space.
Solution 5: Adding New Entry in Windows Registry
Lastly, there’s one more thing you can do to install the update and that is to grant special permission to the update in your Windows registry. Here’s how to modify the registry:
- Press Winkey + R to open Run.
- Type in ‘regedit’.
- Once the Windows Registry loads, paste the following path in the address bar:

Paste the Path in Registry Editor
Computer\HKEY_LOCAL_MACHINE\SOFTWARE\Microsoft\Windows\CurrentVersion\WindowsUpdate\OSUpgrade
- Right-click anywhere on the space on the right side and select New > DWORD (32-bit) Value.
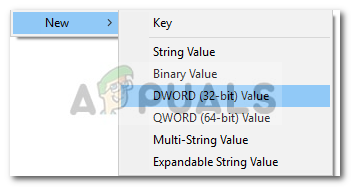
Create a New Parameter - Double-click it, name it to AllowOSUpgrade and set the value to 1.
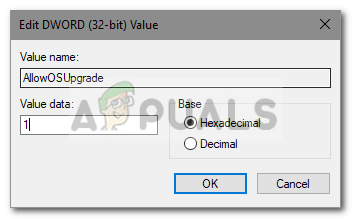
Set value to 1 - Save the changes and reboot your system.
- Try updating your system now.


