How to Fix Error 0x8007016a: The cloud file provider is not running
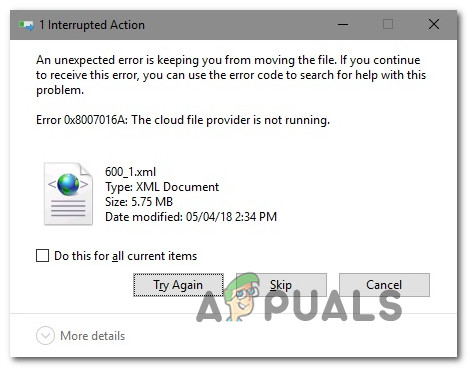
The 0x8007016a error indicates that the “Cloud File Provider is not working,” preventing files from syncing or being accessed through OneDrive. This error signifies that the Files On-Demand feature in OneDrive is malfunctioning.
The most common cause is a problem with the Files On-Demand feature. The error can also be due to corrupted OneDrive settings or recent Windows updates.
Note: Back up all important files before resetting OneDrive or changing system settings.
Method 1: Update Windows 10 to the Latest Build (if applicable)
If you’re using Windows 10, the issue might be caused by update KB4457128. This update broke the syncing feature of OneDrive for many users.
Fortunately, Microsoft was quick in releasing a hotfix for the issue and made it available for everyone via WU (Windows Update).
If you installed the update but not the hotfix, install the hotfix to resolve the issue.
Let Windows Update install all pending updates.
- Open Windows Settings app and navigate to Windows Update tab.

Run dialog: ms-settings:windowsupdate - Click on Check for Updates to see if any pending updates are available.
Checking for updates in Windows 10 - If new updates are identified, follow the on-screen prompts to install every pending update.
- Once every available update is installed, restart your computer again and see if the issue has been resolved once the next startup sequence is complete.
Method 2: New Folder Workaround
There is a little trick/workaround you can try to delete these files. Basically, you will create a new folder and delete it because when you create a new folder, it’s not immediately synced with OneDrive. So, it will make your files offline, and you will be able to delete them.
- Open the folder containing affected files.
- Right-click on the empty area and hover your mouse over the option “New“.
- Now select “Folder“. Once you create a new folder, move the affected files into that folder.
- Now delete that new folder, and your files should be removed.
Folder Trick/Workaround - Check if the issue is resolved.
Method 3: Disable Files On-Demand
Most affected users have successfully resolved the issue by disabling Files On-Demand from OneDrive’s Settings menu and then deleting the semi-synced file from OneDrive.
This procedure proves effective for files that are not fully synced—showing a thumbnail but a file size of 0 KB.
Upon completing these steps and restarting their computers, the error no longer occurred when attempting to open or delete a file or folder within OneDrive.
This recurring bug has persisted with OneDrive for several years and remains unpatched at the time of writing.
- Search Command Prompt in Search bar and press “Run as Administrator”, type the following command to start the main OneDrive service automatically:
start %LOCALAPPDATA%\Microsoft\OneDrive\OneDrive.exe /client=Personal
- Go to the bottom-right section of the screen and find the OneDrive icon. When you see it, right-click on it, click on the More icon, and then click on Settings from the context menu.
- Once you’re inside the Microsoft OneDrive properties, select the Settings tab, then scroll down to the Files On-Demand section and uncheck the box associated with Save space and download files as you use them.
- Click Ok to save the changes and wait for the OneDrive service to restart.
- Click on the OneDrive taskbar icon, then click on Open folder from the newly appeared menu.
- Locate the folder that you’re encountering the issue with (the one that is throwing the **0x8007016A** error). When you see it, right-click on it and choose Delete.
- When the semi-synced folder has been deleted, restart your computer to force your OS to fully restart the services and dependencies of OneDrive.
- Once the next startup is complete, see if the issue has been resolved by trying to move, delete, or rename files inside the OneDrive folder.
Refer to this pictorial guide if you are stuck anywhere:
Method 4: Resume Syncing
It’s also possible that you’re encountering this issue because OneDrive syncing is temporarily disabled in the settings menu. This can happen as a result of manual user intervention or after a power plan or another third-party application has disabled the syncing process to conserve power.
Several users have resolved the issue by accessing OneDrive’s settings and resuming syncing. Restart the service to resolve the issue.
- Click the OneDrive taskbar icon, then More.
- From the newly appeared context menu, click on Resume Syncing to resume the normal functionality of OneDrive and allow it to sync the files freely.

- After you’ve done this, open the folder that was previously triggering the **0x8007016A** error and try to replicate the issue.
Method 5: Modify the Power Plan (if applicable)
As several users have reported, this particular issue can also occur if you’re using a restrictive power plan that is stopping the syncing feature to conserve battery power. Obviously, this can only occur on laptops and other portable PCs.
Several affected users have reported that they managed to resolve the issue by accessing the Power Options menu and making the switch to a power plan that doesn’t include the stoppage of file syncing.
- Press Windows key + R to open up a Run dialog box. Then, type “powercfg.cpl” inside the text box and press Enter to open up the Power Options menu.
Run dialog: powercfg.cpl - Once you’re inside the Power Option, move over to the right-hand pane and change the active power plan from Power Saver to Balanced or High Performance.
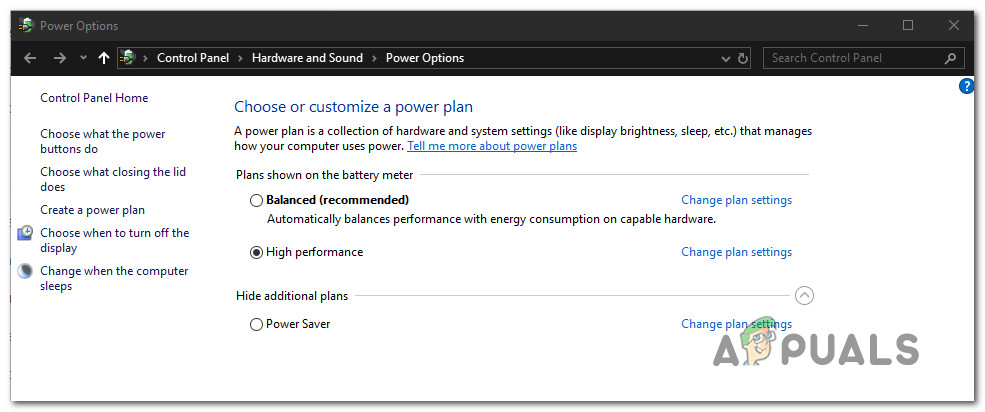
Changing the active power plan to Balanced or High Performance - Once the active power plan has been changed, restart your computer and see if the issue has been resolved once the next startup sequence is complete.
Method 6: Reset OneDrive
Another method that might make you lose some user preferences is to reset OneDrive to the factory settings. This can be done easily from a Run dialog box, but keep in mind that after doing so, you will lose your saved login credentials and any other locally cached data used to save user setting preferences.
Several affected users have reported that they managed to resolve the issue by using a series of commands to reset and restart the OneDrive service. Note that this will re-sync all your OneDrive files.
- Press Windows key + R to open up a Run dialog box. Then type the following command and press Enter to reset the OneDrive service:
%localappdata%\Microsoft\OneDrive\onedrive.exe /reset
- After a couple of seconds, your OneDrive will be reset. In case the service doesn’t restart automatically, launch it manually by opening another Run dialog box and running the following command:
%localappdata%\Microsoft\OneDrive\onedrive.exe
Method 7: Remove the Glitched Folder Forcibly with PowerShell
If you’re a tech-savvy user and none of the methods above have helped you to get rid of the 0x8007016A error, this method should allow you to forcibly remove the folder that ends up triggering the error inside the OneDrive folder.
Several users confirmed this method helped clean glitched folders causing the 0x8007016A error.
- Press Windows key + R to open up a Run dialog box. Then, type “powershell” inside the text box and press Ctrl + Shift + Enter to open up an elevated PowerShell window. When you’re prompted by the UAC (User Account Control) prompt, click Yes to grant administrative privileges to the PowerShell window.
Run dialog: powershell Then press Ctrl + Shift + Enter - Once you’re inside the elevated PowerShell window, type the following command and press Enter to get rid of the OneDrive folder that is causing the issue:
Remove-Item "OneDrive folder name" -Recurse -Force
Note: Keep in mind that “OneDrive folder name” is just a placeholder for the exact name of the folder that you’re trying to delete. Make the changes accordingly before running this command.
- Once the command is successfully completed, restart your computer and see if the issue has been resolved at the next system startup.
Method 8: Perform a Repair Install
If none of the methods above have helped you to resolve the issue, the final method should resolve every possible instance in which the error will occur as a result of a bug, glitch, or system corruption.
A couple of users have confirmed that performing a repair install on their Windows 10 computer helped them to resolve the Error 0x8007016A: The Cloud File provider.
This refreshes all Windows components, including OneDrive, without affecting personal files.
To perform a repair install on your Windows 10 computer.


There is one more way to delete these files… create a new folder… put those files in there. Delete the new folder.