Fixed: ‘GPU showing yellow exclamation mark in Device Manager’
A video card is a component in your computer that processes data to create graphics, thus providing an image. The main components of a video card are memory and core, both of which run at specific frequencies that largely determine their performance. For a video card to work properly, it needs power which is provided from the slot to which it’s connected. However, some video cards require extra power from the power supply.
Please note that there is a difference between a Video Card and an Integrated Graphic Port (IGP). An IGP comes incorporated either on the motherboard (North Bridge for older Intel models, and still on AMD motherboards), or more commonly now, integrated within the CPU. In this guide, we will primarily focus on desktop video cards.
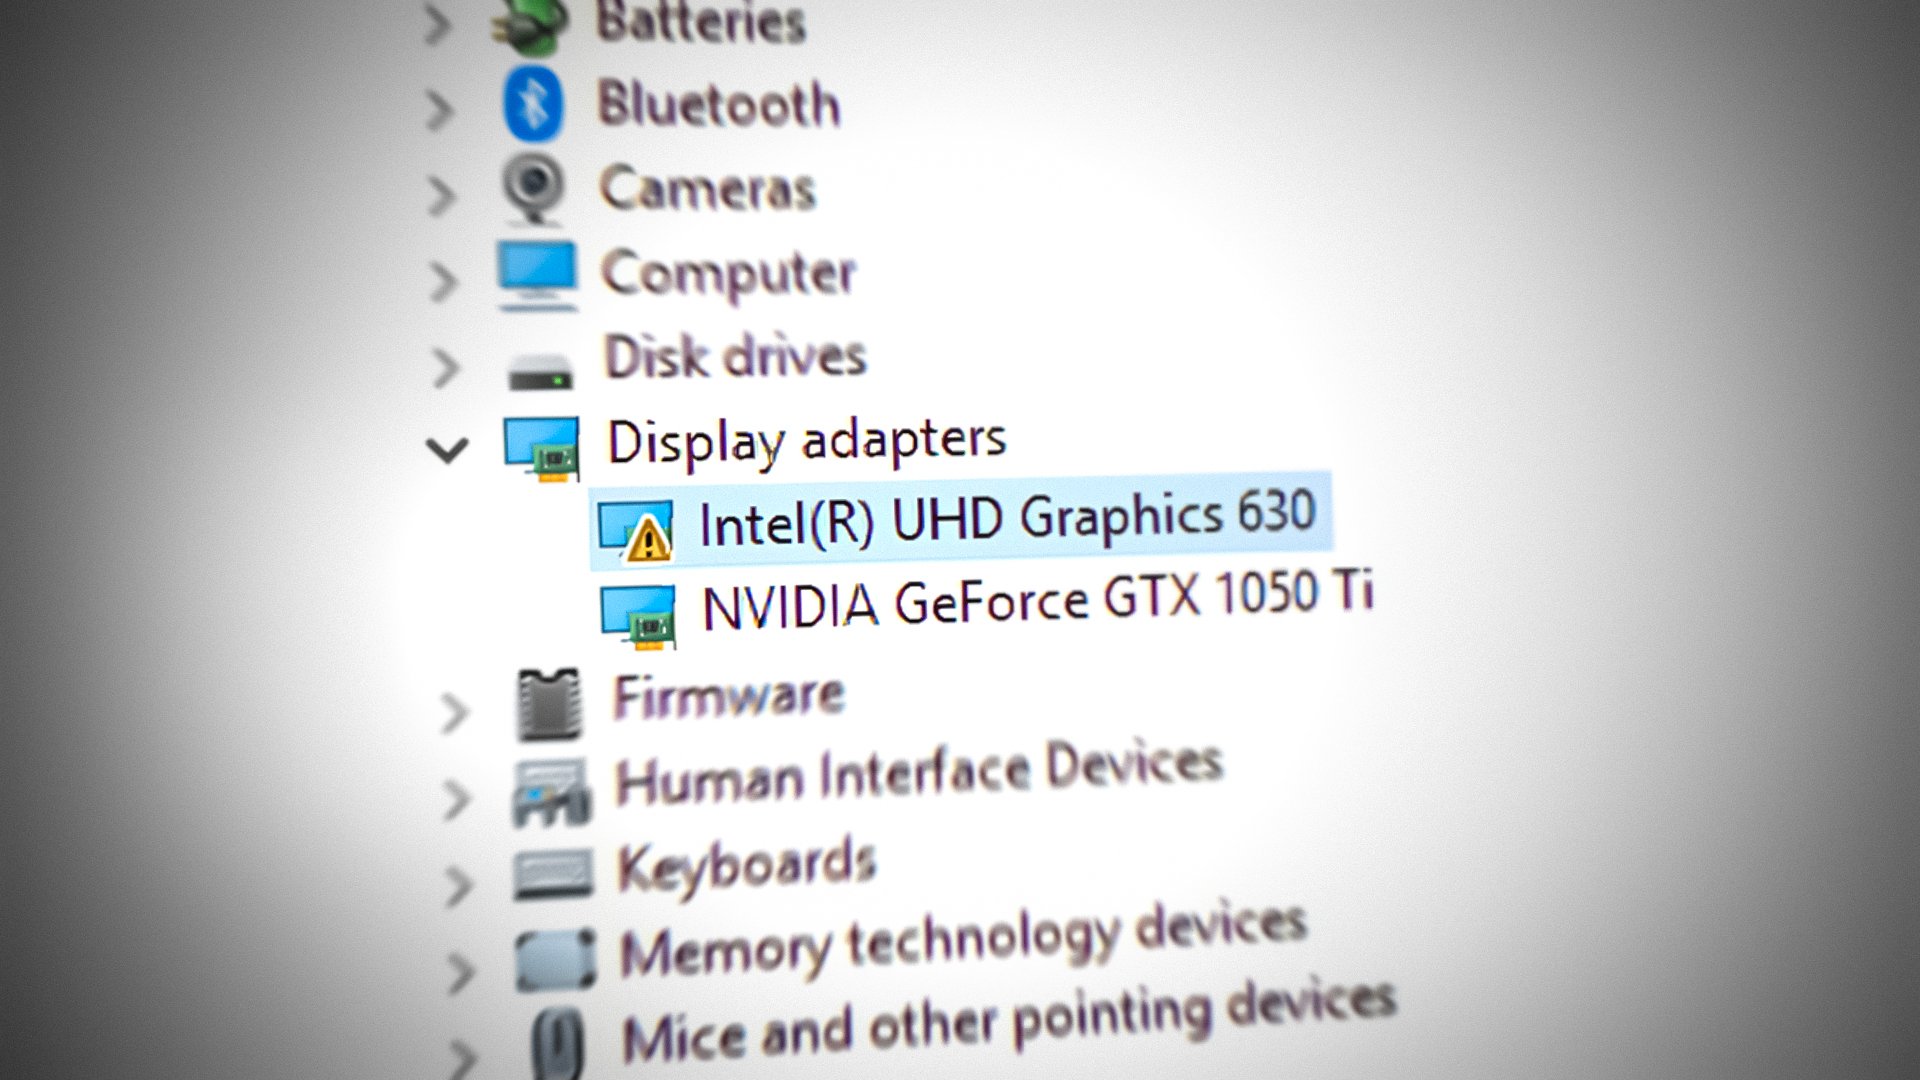
Being a complex device, many things could affect your card. If you suddenly experience black screens, see an icon with an exclamation mark in the task bar, or even sometimes find an exclamation mark in the device manager, then this guide will assist you in fixing or troubleshooting the problem.
Method 1: Do a clean re-installation of drivers by uninstalling first using Display Driver Uninstaller
There are two situations here: 1) where you are able to log in, and 2) where you’re not able to log in. The aim is to boot the system into Safe Mode so it can load with basic drivers and minimal settings. However, before you proceed with the steps below, ensure you download DDU from here and copy it to an external drive. If you were able to log in, then download it and save it on your desktop before you boot into Safe Mode.
For Windows 8/10
If you’re able to log in, click the Start button in the lower right corner. Hold the SHIFT key and, while still holding it, choose Shutdown -> Restart to access Advanced Options.
If you are unable to log in, restart the PC and interrupt the reboot process when you see the Windows logo.

screen, interrupt it 3 times and you the text below the logo shows “Preparing Automatic Repair”, when you see this and stop and wait for the system to take you to the Advanced Mode.
For Windows Vista/7
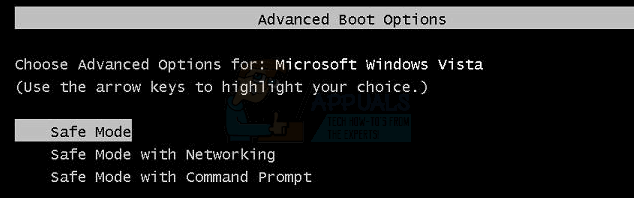
However, if you are using Windows 7 or Vista, restart your computer and repeatedly tap F8 until you see the Advanced Boot Menu. If you do not see this menu, start over again and repeatedly tap the F8 key on your keyboard until it appears. When it does, select ‘Safe Mode.’ You will then be able to log into safe mode without any issues.
Windows 7 will take you directly to Safe Mode after you choose the Safe Mode option. However, for Windows 8 and 10, after the ‘Preparing Automatic Repair’ message, you should be taken to ‘Advanced Options‘. From there, choose ‘Troubleshoot’ -> ‘Advanced Options’ -> ‘Startup Settings’. Wait for the system to reboot. After the reboot, choose Option 4 by pressing 4 on the keyboard to start in Safe Mode.
Once in Safe Mode, if you have saved the DDU file on a USB, copy it onto your desktop in a new folder, or locate the downloaded file and move it to a new folder. This way, the extracted files will stay within this folder, instead of being extracted to the original file’s saved location. After completing this step, click on the Display Driver Uninstaller icon and run it. Don’t worry if it shows “Windows 8.1” as the detected system. Proceed by choosing the Card Type from the dropdown menu, then select Option 1, which is Clean and Restart. After the Driver Cleaning is finished, the system will reboot into Normal mode. Now, visit the manufacturer’s website to download and install the latest driver for your Graphics Card.
Method 2: Verify the device status on device manager
- Hold down the Windows Key and Press
- Type down devmgmt.msc
- Select the device with the problem, right click on it and select properties.
- On the General tab, there’s a box with the device status showing a specific error code.
- Check for the error code on your device and gather information from here.
Method 3: Switch the BIOS on your Video Card
This last method only applies if you have a desktop graphic card with the dual BIOS feature. This is very common on recent graphic cards. The Video Card BIOS can get corrupted, and since flashing a BIOS can be more complicated, using the backup BIOS could solve your problem.
- Shut down your computer.
- Confirm with the manufacturer that your video card has a dual BIOS system with a switch.
- Locate the switch physically on your card.
- While the PC is off, turn the switch to the other side without touching any other component.
- Turn on your PC and install the most updated drivers from the manufacturer website.
- Restart your PC, and verify if the problem is still there.
Please note that we recommend verifying whether your power supply meets the requirements for your video card, as well as confirming that your video card is correctly plugged in and cleaned up. If the problem persists after reinstalling the drivers, it is always a good idea to test the video card on a different computer or in a different slot on your motherboard before concluding that the card is damaged.