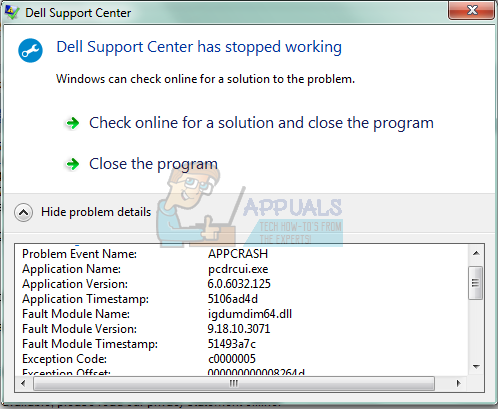
How to Fix Dell Support Center has stopped working
If you are using Dell devices, including computers and a notebook you can download and install Dell applications for optimizing your Windows machine. One of them is the Dell Support Center or Dell SupportAssist. So, what is the purpose of this software? Dell Support Center or Dell SupportAssist checks the health of your system’s hardware and software. When an issue is detected, the necessary system state information is sent to Dell for troubleshooting to begin. Dell will contact you to start the resolution conversation, preventing issues from becoming costly problems. If you are one of the experienced users, you do not need this software.
Few users encouraged problems with Dell Support Center and one of the symptoms is a pop-up window which comes every 5, 10, 15 or more minutes. In this article, we will explain to you how to remove this software and boring pop-up.
If you are preferring to use this software, then you will need to follow these methods for removing pop-ups and after that download and install the latest version of Dell Support Center from Dell website.
Method 1: Uninstall Dell Support Center and delete the files
In this method, you will need to uninstall the Dell Support Center through Programs and Features. After you finish the uninstallation procedure, you will need to delete files and folders related to the Dell Support Center or Dell SupportAssist. We will show you how to do it on Windows 10. The same procedure is compatible with previous operating systems.
- Hold Windows logo and press R
- Type appwiz.cpl and press Enter to open Programs and Features

Typing in “appwiz.cpl” in the Run prompt - Navigate to Dell Support Center or Dell SupportAssist
- Right-click on Dell Support Center or Dell SupportAssist and choose Uninstall
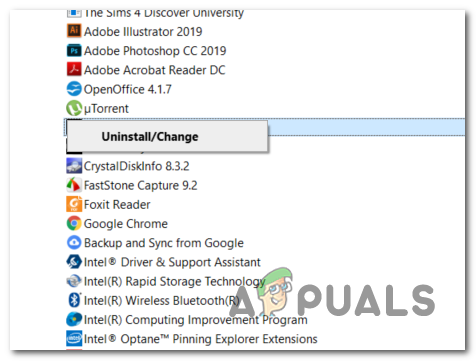
Uninstalling - Wait until Windows is finished removing Dell Support Center or Dell SupportAssist
- Hold Windows logo and press E to open File Explorer or Windows Explorer
- On the right side of the window click This PC or My Computer
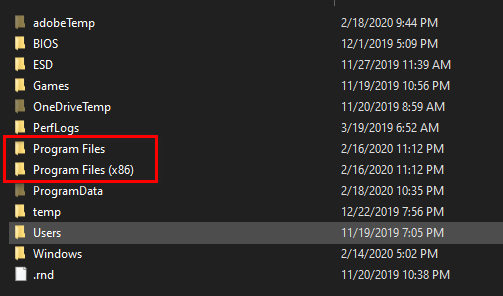
- Navigate on following location C:\Program Files and delete folder Dell Support Center or Dell SupportAssist
- Navigate to the following location
C:\Users\*YOUR USERNAME*\AppData\Local\Temp
Now, delete everything in folder Temp
- Navigate to the following location
C:\Users\*YOUR USERNAME*\AppData\Roaming
Now, delete PCDR folder
- Restart your Windows machine
- Enjoy working on your Windows machine without boring Dell pop-up
Method 2: Perform a System Restore
We talked about System Restore so many times in previous articles. System restore can help you to solve the issue with reverting your system to the previous state when everything worked properly. Please note that you can not restore your Windows machine to the previous state if System Restore is turned off.
Method 3: Reinstall your Windows
Few users solved their problem by reinstalling Windows and Dell Support Center or Dell SupportAssist. At first, you will need to do a backup of your data on the external hard disk, shared storage or cloud storage, and after that reinstall your operating system, install drivers and applications.
Method 4: Update Dell Support Assist
Dell Support Assist is a smart technology that helps your PC to keep operating at its optimal conditions. You can try updating Dell Support Assist to its latest version in order to resolve the error “Dell support center has stopped working”. For that:
- Launch your browser and navigate to this site.
- Click on the “Download Support Assist” button to toggle the download for the application.

Clicking on the download button - Once downloaded, run the executable and then follow the on-screen instructions to install the latest version of Dell Support Assist on your computer.
- Check to see if doing so fixes the issue.
Method 5: Rename a File
Sometimes the user might be getting this issue because a certain file inside the main folder of the Dell files is named incorrectly. Therefore, in this step, we will be navigating to the location of this file and then rename it by removing “small” from its name. For that:
- Navigate to the root partition on your computer and open the “Program Files” folder.
Opening the Program Files version - Then select the dell folder and open the SupportAssistAgent icon from it.
- Here locate the bin folder and double click it to open the Resources folder.
- Open the Resources folder and find the file named New-Dell-Logo-White-Small.
- Now right-click on this file to rename it. Just remove the word “small” from this folder name so that now the new name becomes “New-Dell-Logo-White”.
- Exit from the resources window.
- Now run the Dell Support Assist and check to see if the issue has been fixed.
Method 6: Updating Windows
An outdated or obsolete window 10 version can also be a cause of this error so try updating your Windows 10 to keep your PC running smoothly and in optimal conditions. Make sure to connect your Dell PC to a stable internet connection prior to checking for the windows update. To proceed with this solution, follow the steps below:
- Click on the Start menu and type Windows Update in the search bar.
- Then search for the option “Check for updates” in the expanded settings.
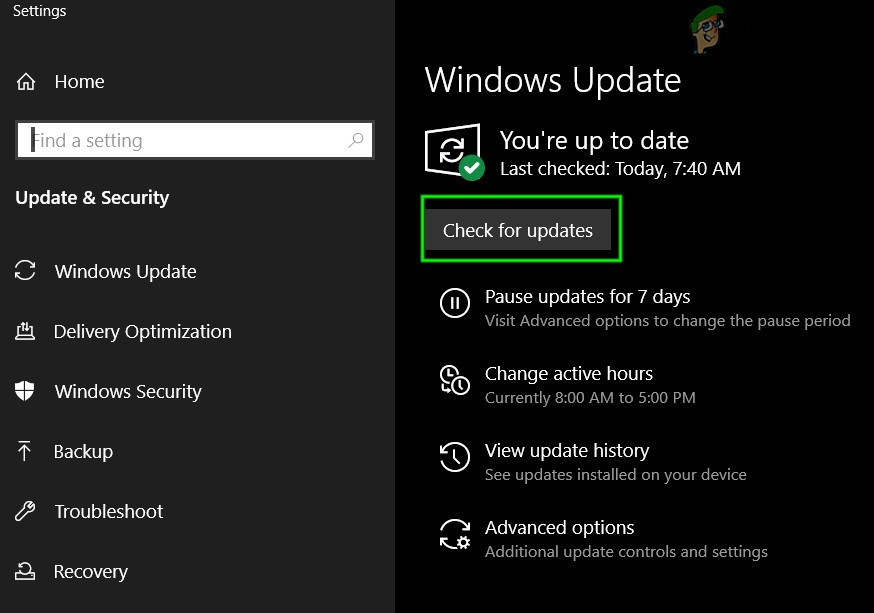
Check for Updates in Windows Update - After completing this update process for Windows 10 now your operating system would be updated to its latest version and the problem will also get fixed by now. Dell Support Assist should be working perfectly now.
- If your Dell device faces any troubles while the updating process try using Update Assistant or you might consult any technician in case of further complexities.
Method 7: Disable Background Services
In some cases, you might be getting this particular issue on your computer due to interference from background services or applications. Therefore, in this step, we will be disabling some background services and check if the error goes away. After that, you can try to enable them back one by one and check which one makes the issue come back. For that:
- In the system search bar type “MSConfig” and press enter to open the system configuration window.
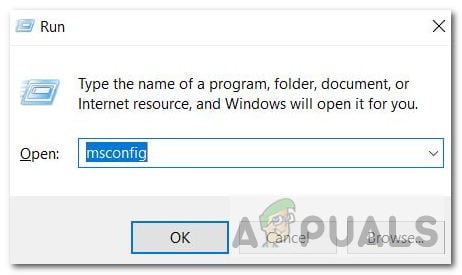
MSConfig - From here select the Startup tab and locate the dell support item. Uncheck this box (if available). Or you can also uncheck all the boxes except for the antivirus/security program.
- Now click on the Services tab and check the box named ‘Hide all Microsoft services”.
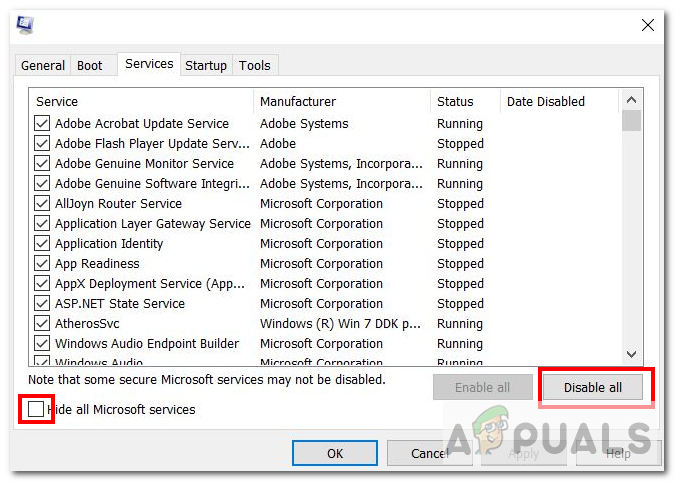
Check Hide All Microsoft Services, Disable - After it, uncheck the dell support item box (if available) and also uncheck any security or Antivirus services that are available or you can simply hit the “Disable All” button.
- Hit OK and restart your computer.
- After restarting, check to see if the issue exists. If it doesn’t, in the same manner, start enabling one or two services at a time and check which ones makes the issue come back.
- You can disable the troublesome service permanently to get rid of this issue.
Method 8: Scan for Malware
In some cases, the issue might be triggered due to an active malware or virus that might be plaguing your system. Therefore, it is recommended that you scan for malware on your computer and check to see if there is any that is effecting your system’s performance. We will be using the Windows Defender for this purpose but you can also go for a third-party antivirus that has a good reputation. For that:
- Press the “Windows” + “I” keys simultaneously on your PC to open the Settings tab.
- Navigate to the Update & Security option and then click on the “Windows Security” button on the left tab.
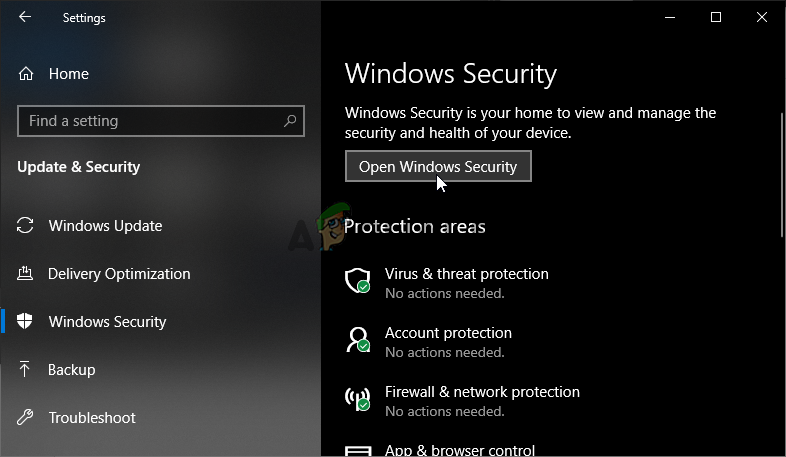
Open Windows Security - After that, click on the “Open Windows Security” and select the “Virus and Threat Protection“ option.
- After that, click on the “Scan Options” button below the “Quick Scan” window.
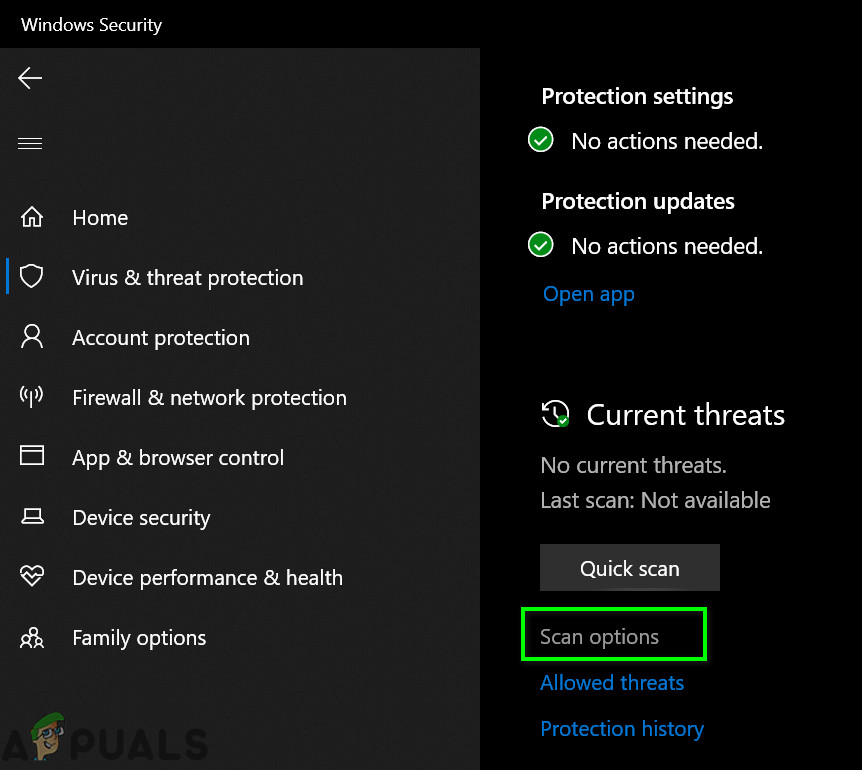
Open Scan Options of Windows Defender - Click on the “Full Scan” option and then hit the button of “Scan Now”.
- Wait for a few seconds while this process gets completed and then finally check if the error gets resolved now.