Fix: ‘Initialization Error’ in Dead by Daylight on PC, Xbox, and PS4
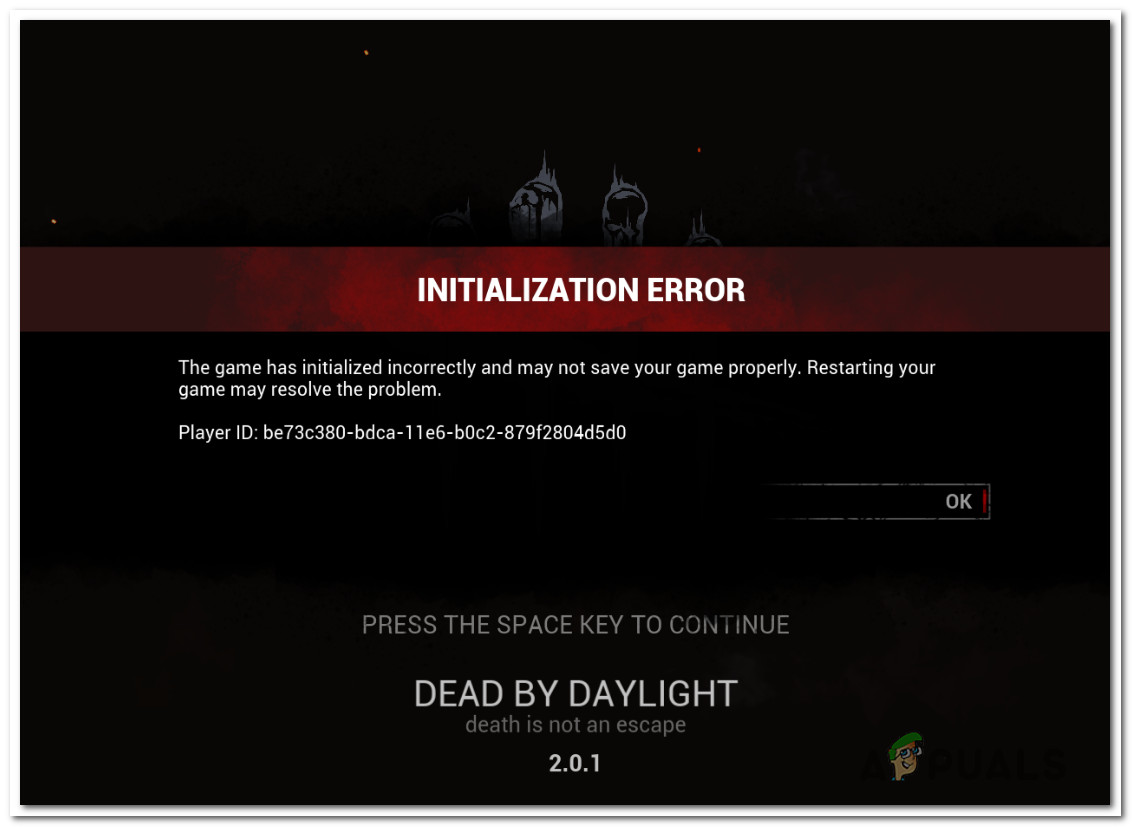
Dead by Daylight has been gaining a lot of popularity recently, but some users are not thrilled about it. One recurring issue with this game is the ‘Initialization error’. This issue, affecting multiple platforms, is encountered during the startup sequence of the game – After the game asks you to press ‘A‘ to continue. After a short loading sequence, the ‘Initialization Error’ appears and prevents the user from playing the game.
We investigated this particular issue by looking into various user reports and testing out the different repair strategies that were successfully used by other affected users. As it turns out, several different scenarios might lead to this issue. Here’s a shortlist of culprits that might be responsible for this problem:
- Server issue – This particular issue can also stem from a server problem that is beyond your control. There are user reports of this problem occurring on Xbox One, PlayStation 4, and PC. In situations like this, the only thing you can do is confirm that the issue is server-side (not occurring locally) and wait for the qualified engineers/developers to resolve it.
- NAT is closed – This error can occur because the Network Address Translation (NAT) is not open on the network you’re connecting to. If this scenario is applicable, resolve the problem by accessing your router settings and enabling the UPnP feature so that the game can open its ports needed for connecting to the game server.
- Corrupted persistent storage – If you’re playing Dead by Daylight on an Xbox One from a physical copy, the issue may be due to a glitch caused by your persistent storage. In this case, resolve the issue by accessing your Xbox One console settings and clearing the persistent storage.
- Firmware-related issue – In certain situations, this issue can occur due to some temporary files actively being used by your console’s firmware that have become corrupted. Resolve the issue by performing a power-cycling procedure on your console (works for Xbox One and PS4).
- Corrupted Steam game folder – If you’re encountering this issue on a PC and you installed the game via Steam, it’s probably because of a sync problem. Resolve the issue by deleting the game folder and activating the Steam cloud feature to force the platform to install the latest version.
If you’re currently trying to resolve this error message, this article will provide you with a selection of potential repair strategies that other users have successfully used to resolve the Dead by Daylight ‘Initialization Error.’
Keep in mind that some of the methods presented below will not be applicable since the issue is cross-platform. For the best results, start following the instructions below in order and disregard the potential fixes that are not intended for your platform. Eventually, you should find a method that will resolve the issue (or at least identify the problem) on your gaming platform, regardless of the cause.
Let’s begin!
Method 1: Investigating for a server issue
Before pursuing any other repair strategies, start your troubleshooting by ensuring the issue is not beyond your control. Several affected users have confirmed that in their case, the issue was due to a server problem that prevented the game from accessing network features. The network services may be down due to scheduled maintenance or an unplanned outage.
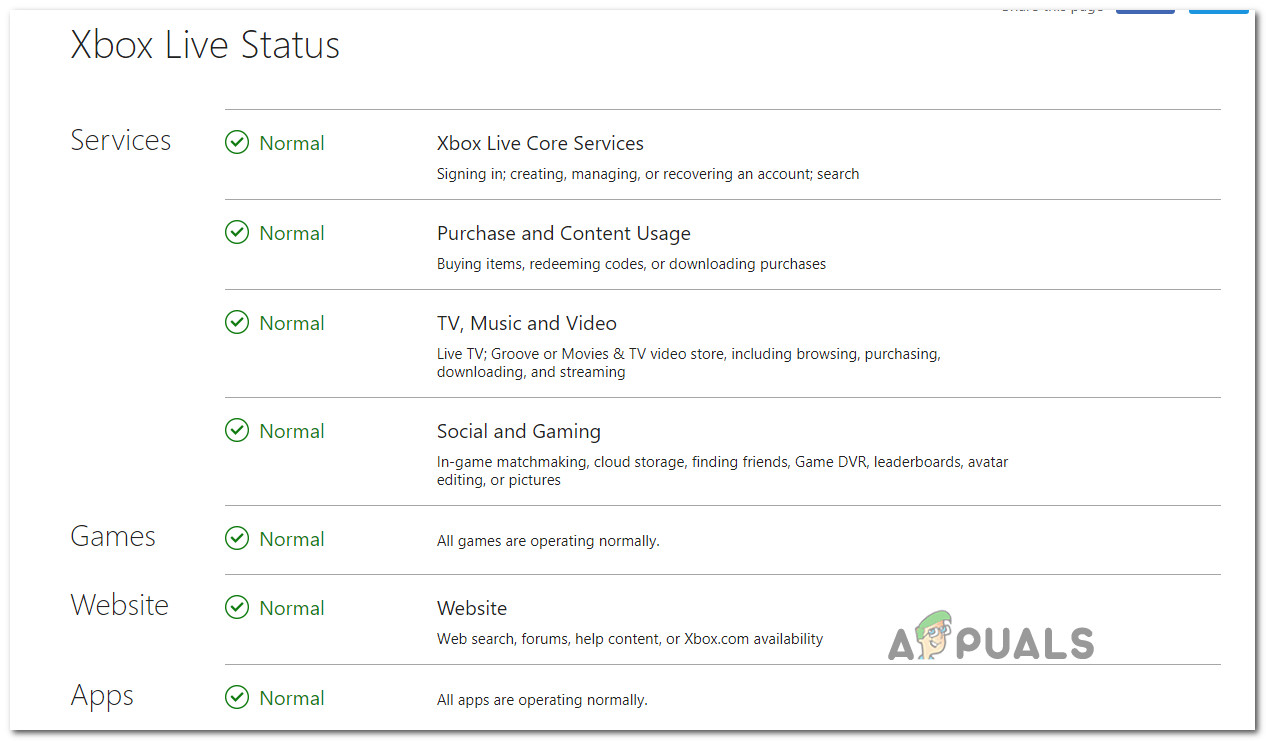
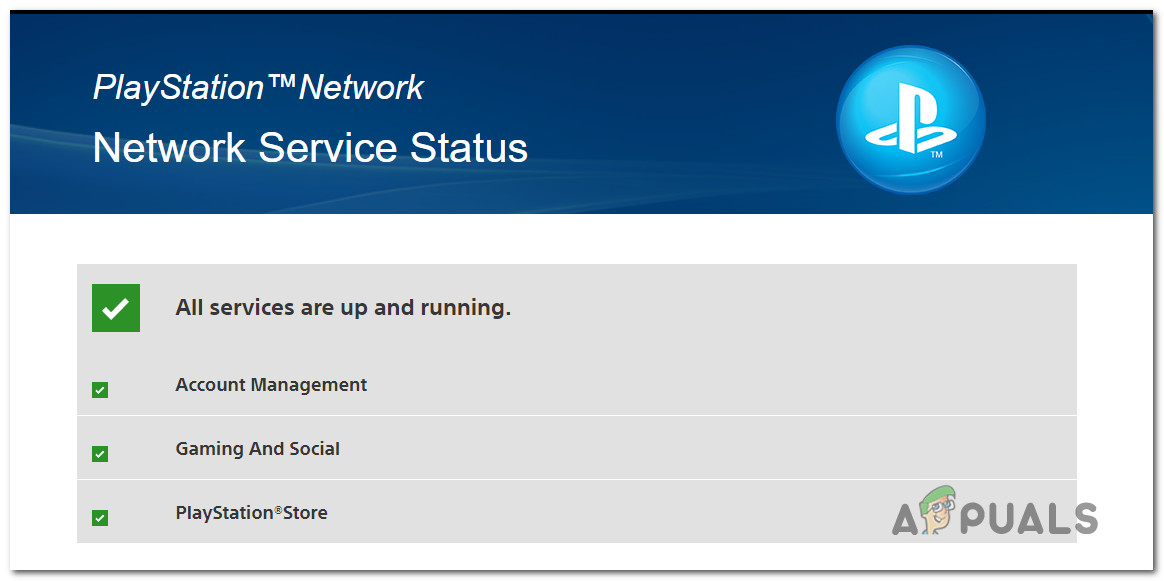
This can happen on both PS4 due to PlayStation Network issues and on PC or Xbox One due to a problem with Xbox Live services.
If you find yourself in this situation, the only troubleshooting step is to confirm the issue and wait for the server problem to be fixed by Microsoft or Sony.
To verify if there’s a problem with Microsoft servers, visit this link (here) and check if any services are affected by problems.
If you’re encountering the issue on a PS4 console, access this link (here) and see if any services are preceded by a red exclamation point or a question mark.
If your investigation reveals that the issue is widespread and due to a server issue, you can conclude the problem is not limited to your console. In this case, it’s not advisable to follow any of the other repair strategies below since they will not resolve the problem. If this scenario applies to you, wait until Sony or Microsoft engineers address the issue.
However, if the investigations don’t reveal any issues with Xbox Live or PlayStation Network services, start following the next methods below to apply repair strategies that other affected users have successfully implemented to resolve the ‘Initialization Error.’
Method 2: Ensuring that NAT is Open
As it turns out, this error message in Dead by Daylight is often linked to the fact that the Network Address Translation (NAT) is not open on the network that the gaming device (console or PC) is connected to. Several affected users reported that they managed to fix the issue and play the game normally after opening the status of NAT.
By doing this, you’re ensuring that any connectivity issues caused by NAT inconsistency are eliminated. This universal fix will work regardless of the platform where you’re encountering the issue.
Follow the instructions below to enable UPnP (Universal Plug and Play) on your router, allowing your router to automatically forward the required ports and prevent issues like the ‘Initialization Error’.
Note: If you’re certain your router doesn’t support UPnP, skip this method and move directly to Method 3.
- Ensure your console or computer is connected to the router that’s providing the Internet connection. Then, type 192.168.0.1 or 192.168.1.1 and press Enter to open the Settings page of your router.
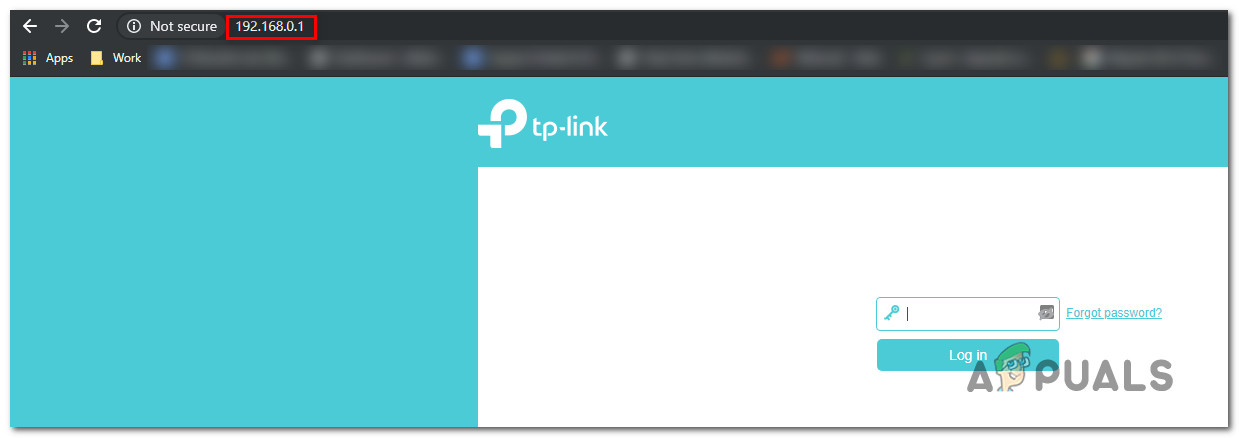
Accessing the Settings page of your router Note: If these default addresses don’t work, search online for specific steps on accessing your router settings.
- Once you’ve reached the initial login page, enter your router’s credentials (not the network credentials). If you haven’t changed the default login, the username and password should either be ‘admin’ or ‘1234.’
Accessing your router settings Note: If the default credentials don’t work, search online for specific steps on resetting your router to the default credentials.
- Once you’ve accessed your router settings, look for the Advanced menu. Go to the NAT forwarding tab and find the UPnP submenu.
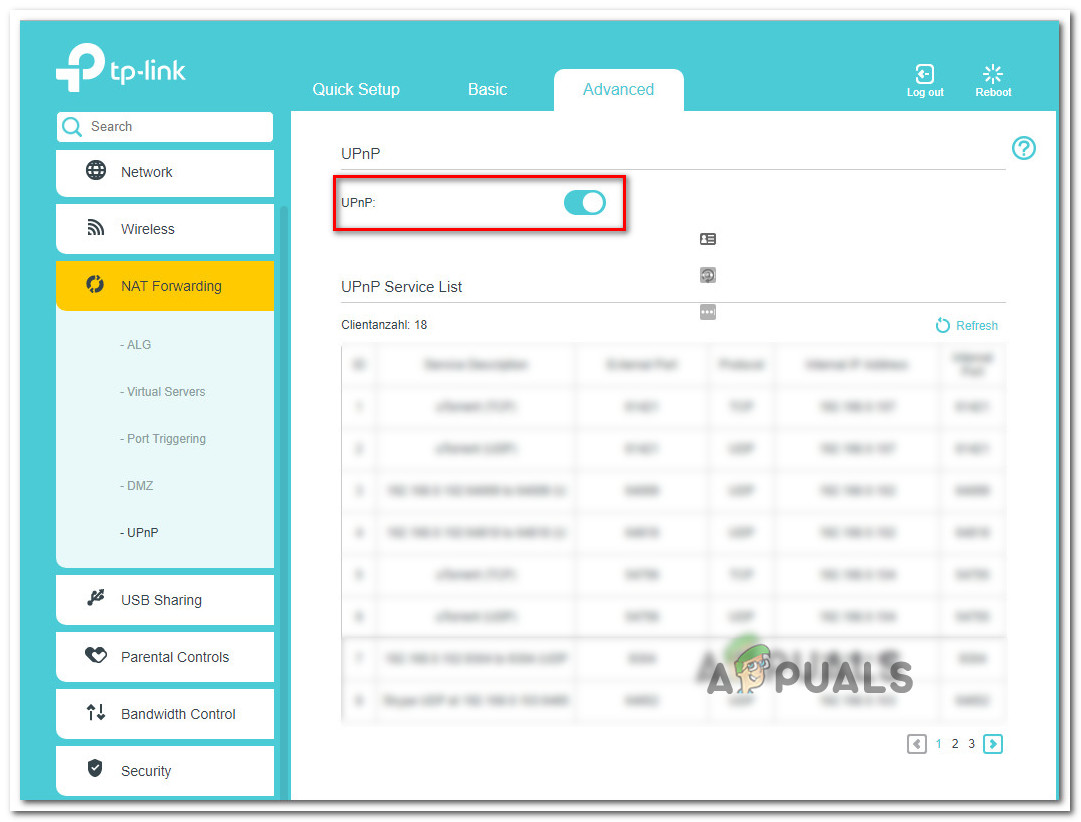
Enabling UPnP from your Router settings Note: Depending on your router manufacturer, the menu might look different from the instructions above. Most modern routers should have an option to enable UPnP.
- After enabling UPnP, restart both your router and your console to allow the necessary ports to open.
- Launch the game again and see if the issue is resolved.
If you’re still encountering the ‘Initialization Error’ or if this method wasn’t applicable, move to the next method below.
Method 3: Clearing Persistent Storage (Xbox One Only)
Several Xbox One users encountering the ‘Initialization Error’ when trying to play Dead by Daylight reported resolution after accessing their console settings and clearing the persistent storage.
This persistent storage is space automatically created by Xbox One to store content related to Blu-Ray discs inserted in your console. This fix is effective only if you own a physical copy of Dead by Daylight.
Note: This method is only for Xbox One users encountering this issue. If you’re experiencing the ‘Initialization Error’ on another platform, this method is not applicable. In that case, move on to the next method below.
- Turn your Xbox One console on. Once inside the main Dashboard menu of your Xbox One console, go to the Settings menu.
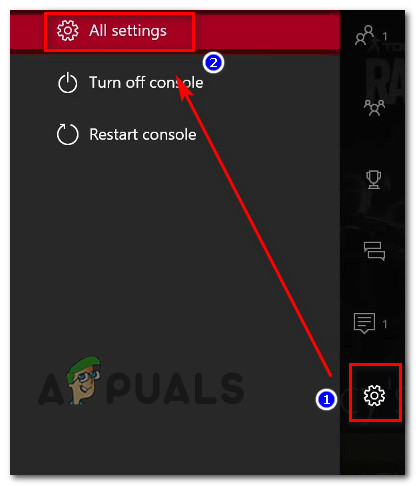
Accessing the Settings menu on Xbox One - In the settings, navigate to Console settings, then select Disc & Blu-Ray on the right pane.
- In the Disc & Blu-Ray menu, go to the Persistent storage menu (under Blu-Ray).
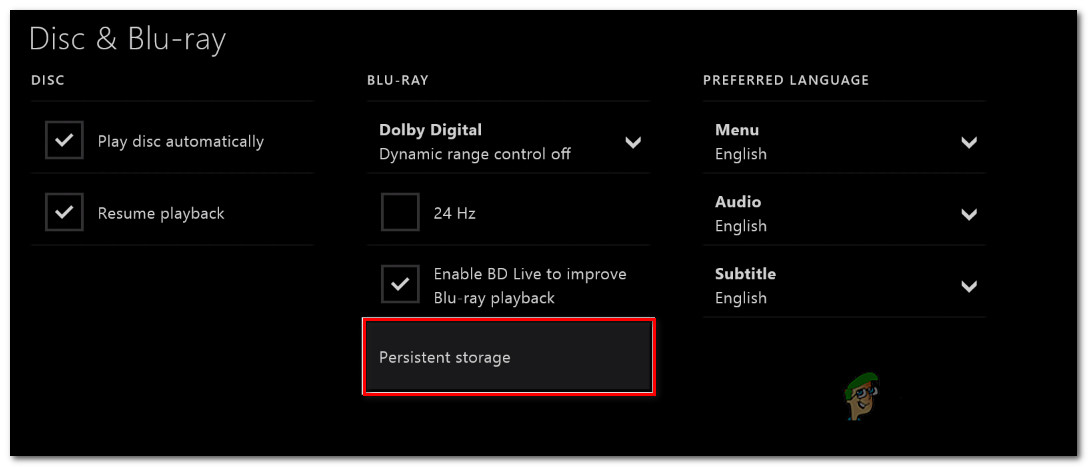
Accessing the Persistent Storage menu - Select Clear Persistent storage and wait for the process to complete.
- Restart your console and check if the issue is resolved at the next startup.
If you’re still dealing with the ‘Initialization Error’ or if this method was not suitable, proceed to the following method.
Method 4: Power-cycling your console (console only)
If none of the methods above allowed you to resolve the problem, you might be dealing with a firmware glitch that is interfering with the game server connection. In such cases, the viable solution is to drain the power capacitors to clear the temporary data causing the issue. This procedure fixes most firmware-related issues that could trigger this error message.
Users have vouched for this method’s effectiveness on both Xbox One and PS4. We’ve prepared separate guides for both console types. Follow the instructions applicable to your situation.
Power-cycling on Xbox One
- Ensure your console is powered on, then press and hold the Xbox One power button on the front of your console. Hold the button for about 10 seconds or until you see the front LED flashing intermittently.
Performing a hard reset on Xbox One - Wait for a minute before turning the console back on the traditional way. For a full power cycle, disconnect the power cord from the power outlet and wait a few seconds before reconnecting it.
- Start your console again. If you see the Xbox animation logo during startup, the power-cycling procedure has succeeded.
- After the boot sequence, start the game again and check if the issue is resolved.
Power-cycling on PS4
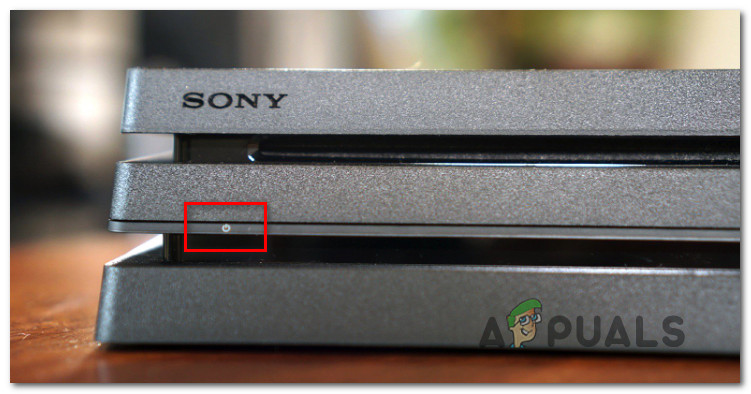
- While your PS4 console is turned on (not in hibernation), press and hold the power button on the front of the console until it shuts off completely. Release the button once the front LED stops flashing.
- Disconnect the power cord from the outlet and let it sit for a few seconds before plugging it back in.
- Start your console conventionally and check if the issue has been resolved.
If this method wasn’t applicable or it didn’t work for you, follow the next method below.
Method 5: Deleting Game folder and activating Steam Cloud (PC Only)
Some Windows users encountering this issue managed to fix it by deleting Dead by Daylight’s main game folder and then enabling the Steam Cloud feature. This process reportedly forces the Steam client to resync all files and update the game to the latest version.
This fix is only for PC users. Console users will not be able to use the instructions below.
- Open File Explorer and navigate to the following location:
C:\Program Files (x86)\Steam\userdata\YOUR_STEAM_ID
Note: Replace ‘YOUR_STEAM_ID’ with your actual Steam ID to reach the correct folder.
- Find the folder named 381210, right-click on it, and select Delete from the context menu.
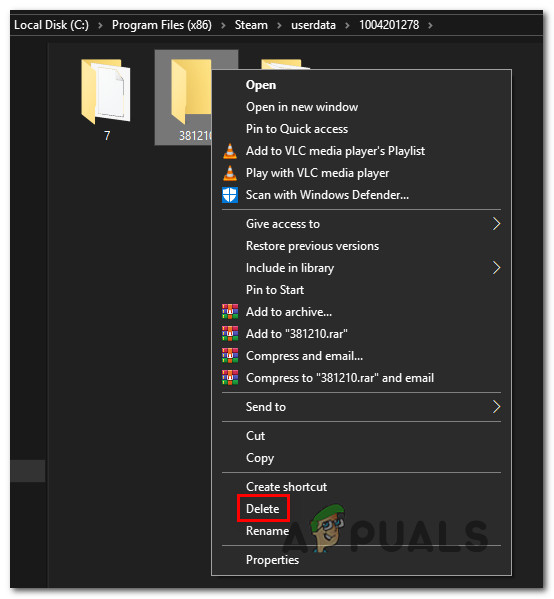
Deleting the Dead by Daylight Steam folder - Exit File Explorer and launch Steam. Inside Steam, click on Steam in the top-left corner and select Settings from the drop-down menu.
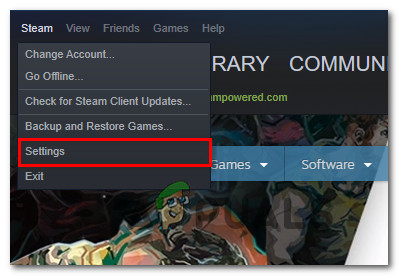
Accessing Steam Settings - In Steam Settings, select Cloud from the vertical menu on the left, then check the box next to Enable Steam Cloud synchronization for applications that support it in the right pane.
- Restart Steam and wait for the client to redownload the necessary game data for Dead by Daylight. After that, launch the game and see if the issue is resolved.


The only thing that worked for me is simply deleting the folder ”Dead By Daylight” by opening the local files on steam by the steam library. Then hit verify files integrity, steam will then reinstall all the files. The game should work after that.