How to Fix CPU Fan Error on BIOS
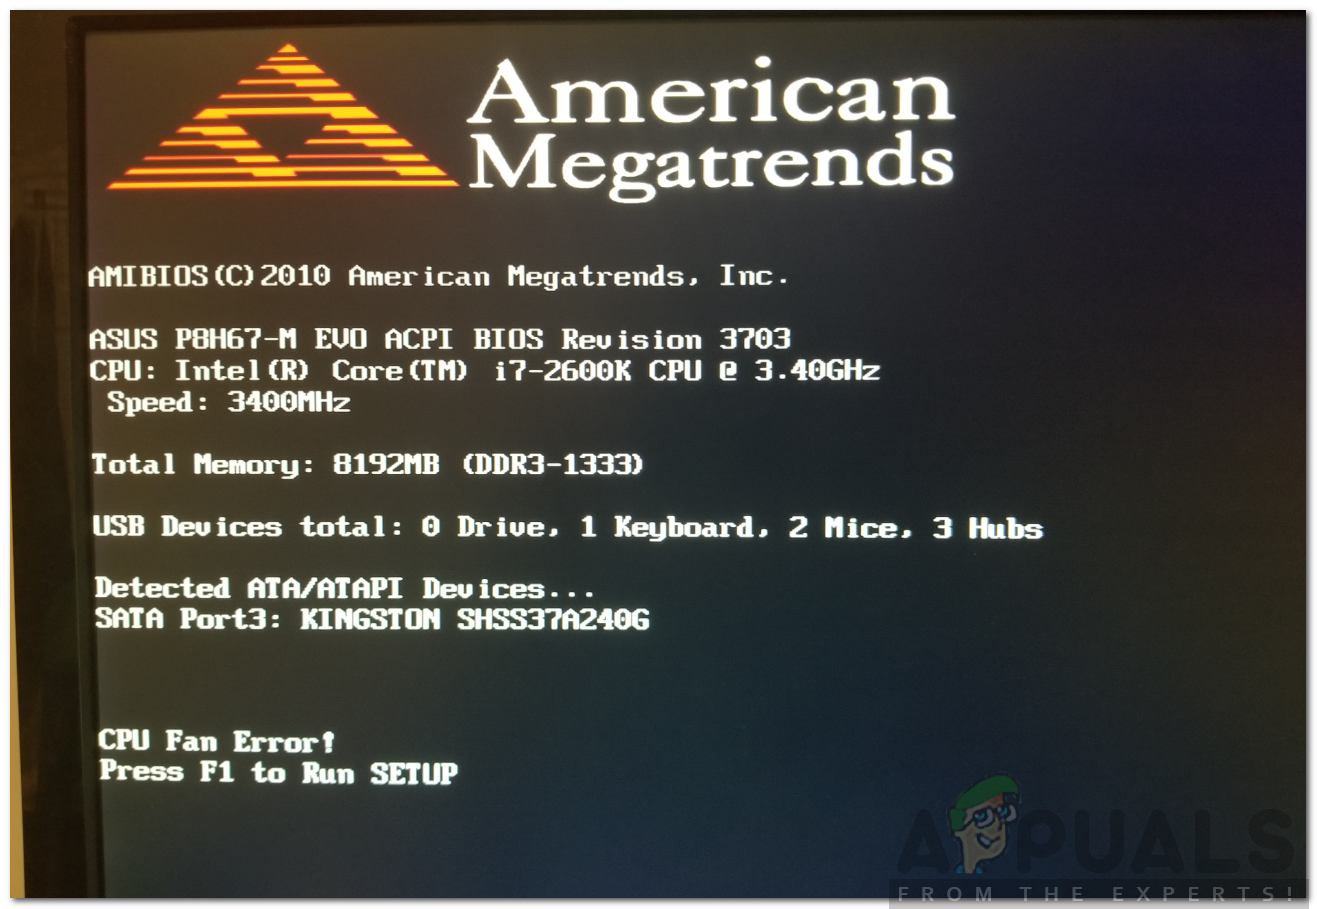
In this modern world, we highly rely on our electronics like computers or smartphones. Their use in our daily life has increased drastically, and we are almost bound to use them in our offices, homes. However, whilst using these electronic devices, we have to make sure that the hardware remains cool so that we can continue our work without any hurdles. For this purpose, fans are used as coolers to cool down the important components of a PC or a laptop. Components like CPU, hard drive or GPU are required to have dedicated fans to keep them nice and cool. Whilst the use of fans is extremely important in a computer system, they might tend to bring out some problems. One of them is the CPU Fan Error.

This error message appears while you are trying to boot up the system. Once you receive the error message, you will not be able to get into your system and do whatever you planned to do. This error message can appear due to many reasons like physical issues with the fan to some software flaw that’s preventing it from operating properly. Nonetheless, we will be looking into all of that in this article with great detail.
What causes the CPU Fan Error Message?
There are two possible reasons due to which the error message might appear, and these are:
- Physical Issue with the Fan: The first thing that can cause the error message to pop up is a physical problem with one of the fans that you are using. This means that the fan might be physically damaged due to which it is not spinning. Hence, you have been prompted the error message.
- Software Flaw: Another reason due to which the error message appears is a software flaw. There might be some issue with the configuration of the fan in the BIOS settings which causes it not function. This can be fixed relatively more easily than the one mentioned above.
Getting onto the fixes, please note that we will be first showing you various troubleshoots to verify that there is no physical issue with the fan. Later on, we will get into the configuration of the fan and guide you through it.
Hardware Troubleshooting:
Before you get into it, please make sure that you are comfortable with unscrewing your PC and checking the functionality of the fans on your own. In case you do not have the very basic knowledge, we recommend taking your system to a nearby technician and letting him have a look. Moving on, please follow the below instructions one-by-one to troubleshoot the fan for any physical damage.
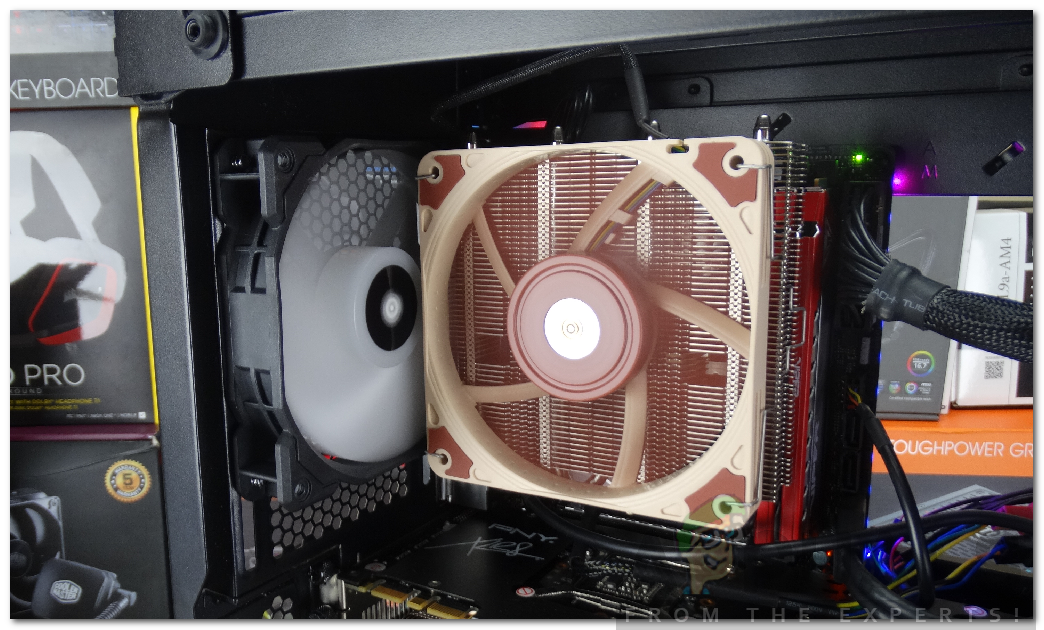
- Power off your computer and then remove the glass from your CPU’s chassis to expose all of the fans that are connected to the motherboard.
- After that, make sure that all cables of each fan are plugged in properly and that there are no loose cables.
- Once done, turn on your system and do not put the glass back on. Observe the fans closely to see if any of them do not spin.
- If you find a fan that is not spinning and you have verified that the respective wires are plugged-in correctly, then it means that the fan is damaged and you will have to replace it.
- If all of the fans are functioning properly, well, congratulations. Your fans seem not to be physically damaged and the error message is appearing due to a software flaw.

Cooling Fans Spinning
Software Troubleshooting:
Once you have gone through the hardware troubleshooting and the fans seem to be working perfectly fine, then it means a software defect is causing the issue. Follow the instructions given down below to rectify your issue:
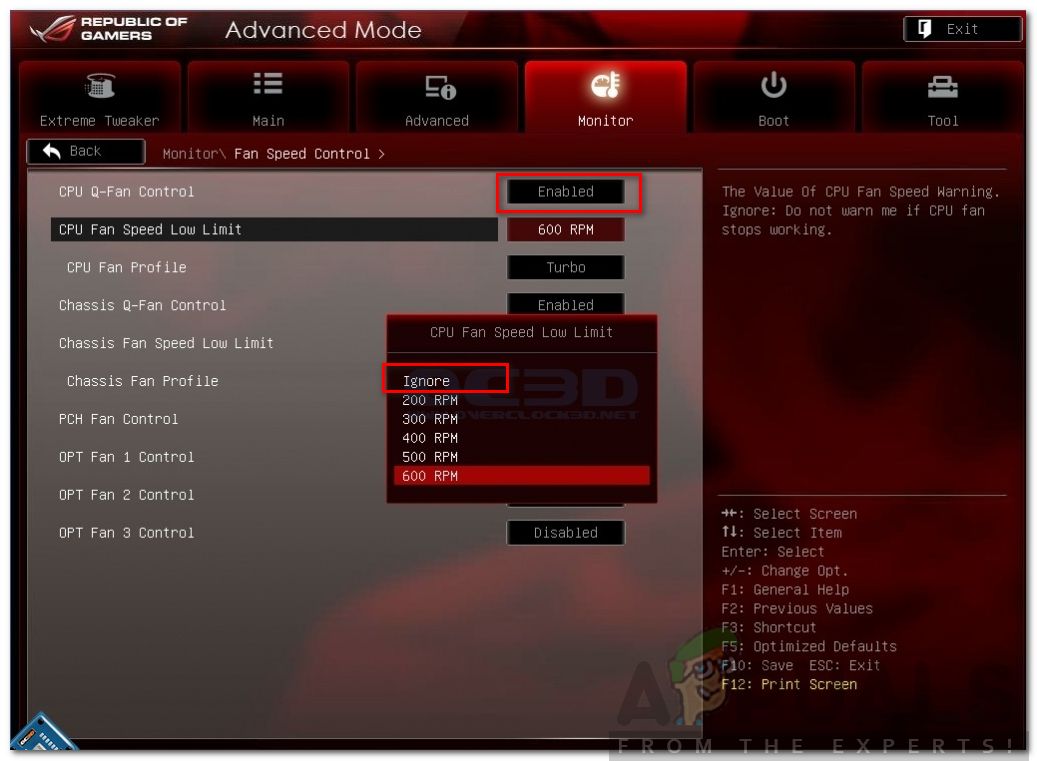
- Turn on your PC and access the BIOS settings by pressing F10 (the key might differ depending on your manufacturer).
- Now, make your way to the Fan Control section. This is usually found under Hardware Monitor which can be under Advanced Settings for some BIOS while for others, it might just have a separate tab.
- There, make sure that the CPU Q-Fan Control option is Enabled.
- Once done, you will be able to see the CPU Fan Speed Low Limit setting. Set that to Ignore and then reboot your system.

Ignoring the CPU Fan Speed Low Limit - See if it fixes your issue.


