How to Fix ‘Component not Updated’ Error on Chrome
Google Chrome is surely one of the most used web browsers out there. With its support extended across multiple platforms and brilliant speeds, it has attracted a user base of more than a billion people. However, quite recently, a lot of reports have been coming in where users face the “Component not updated” error while trying to update Flash Player or any other Google Component.
What Causes the “Chrome Component not Updated” Error on Chrome?
After receiving numerous reports from multiple users, we decided to investigate the issue and looked into the reasons due to which it is triggered. Some of the most common ones are listed below.
- Adobe Flash Player Component: It is possible that the Adobe Flash Player component hasn’t been updated, due to this, certain flash content that requires a higher version of the Flash Player doesn’t run properly and this error is triggered because it can’t be updated automatically by Chrome.
- Cache: In some cases, it was observed that Chromes’ built-in version for the Flash Player i.e “Peper Flash” left some cache which was causing preventing certain functions of the application from working properly. Due to which the automatic installation of the Adobe Flash Player was being prevented. Also, the same goes for the cache stored by other modules that were also preventing their updating process
- Outdated Components: There are several components for Google Chrome in addition to Adobe Flash Player. All of them, are useful in certain scenarios and require to be updated regularly. If the components aren’t updated regularly this error is triggered.
Now that you have a basic understanding of the nature of the problem, we will move on towards the solutions. Make sure to implement these in the specific order in which they are provided to avoid any conflicts.
Solution 1: Deleting Problematic Module’s Cache
Data is cached by components to decrease loading times and to provide a better experience. However, if this cache is corrupted it can cause issues with certain elements of the application. Therefore, in this step, we will be deleting the cache folder for Chrome’s built-in modules that are not being updated. For that:
- Press “Windows” + “R” keys simultaneously to open the “Run” prompt.
- Type in “appdata” and press “Enter” to open the cache folder.
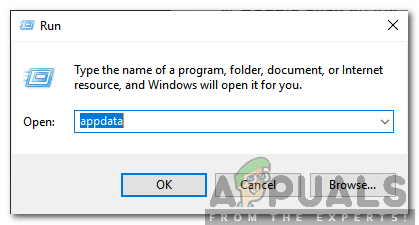
Typing in appdata and pressing “Enter” - Double click on the “Local” folder and then on the “Google” folder.

Clicking on the “Local” folder - Double click on the “Chrome” folder and then on the “User Data” folder.
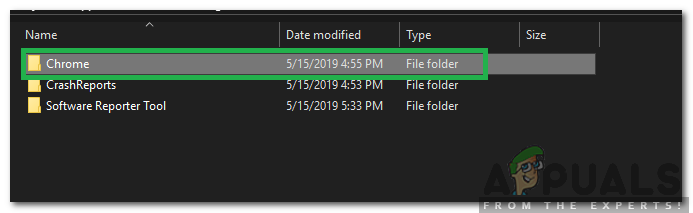
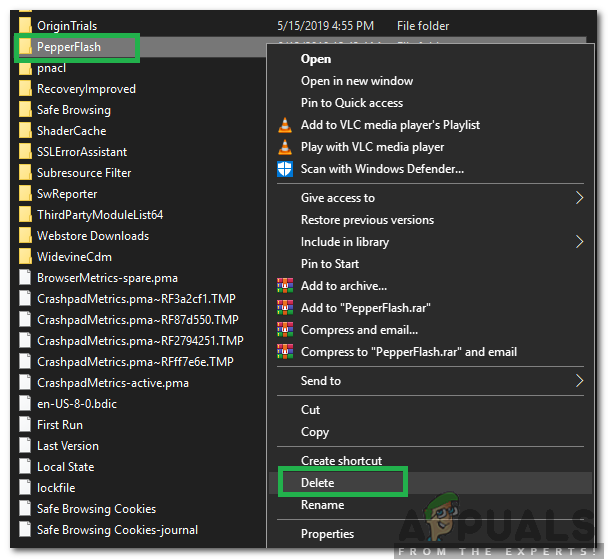
Clicking on the Chrome option - Right-click on the Folder which has the modules name and click on “Delete“.
Note: The folder might only have a part of the modules name. For example, in the image, it has only “PepperFlash” for Adobe Flash Player.
- Click on “Yes” in the prompt and check to see if the issue persists.
Solution 2: Updating Flash Player Component
It is important to keep the Flash Player updated to the latest version. If it isn’t, you might experience this issue when using Flash Player. Therefore, in this step, we will be manually checking for Flash Player updates. In order to do that:
- Open Chrome and launch a new tab.
- Type in the following address in the address bar and press “Enter“.
chrome://components/

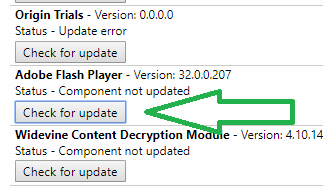
Typing in the address - Navigate down the list and click on the “Check for Updates” button under “Adobe Flash Player“.
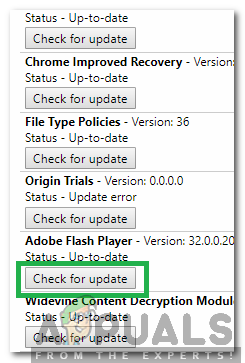
Clicking on the “Check for Updates” folder - Most probably, a message titled “Component not Updated” would be displayed under it after pressing the button.
- Open a new tab and click here to navigate to the “Adobe Flash Player” installation site.
- Uncheck the optional offers and click on the “Install Now” button.
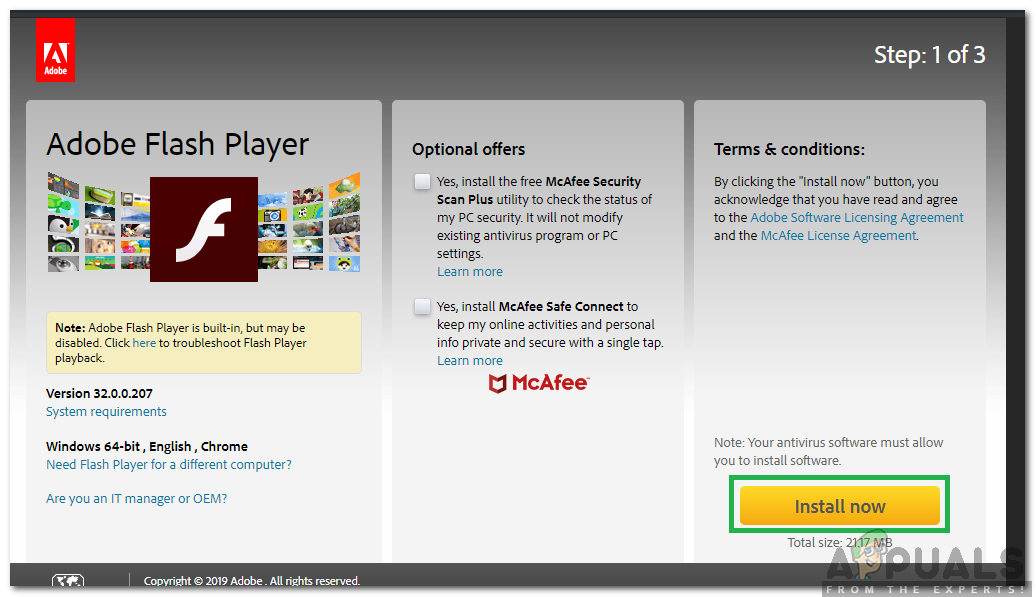
Clicking on the “Install Now” Button - A “FlashPlayer.exe” will be downloaded after a few seconds, click on the “.exe” and
- The installation will commence automatically and important files will be downloaded to your computer.
- After the installation is complete, restart your browser and navigate back to the “Components” page as indicated in the first two steps.
- Click on the “Check for Updates” button under “Adobe Flash Player” again and “Component Downloading” message will be displayed.
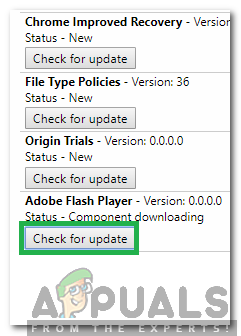
Component Downloading message is being displayed after clicking on Check for update - The component will now be updated, check to see if the issue persists.
Solution 3: Updating Other Components
If other components for Chrome haven’t been updated they can also cause issues with certain elements of the browser. Therefore, in this step, we will be checking for updates for other components. To do that:
- Open Chrome and launch a new tab.
- Type in the following address in the address bar and press “Enter”.
chrome://components/
Typing in the address in the address bar and pressing Enter - Click on the “Check for Updates” button for each one of the components and wait for them to be updated.
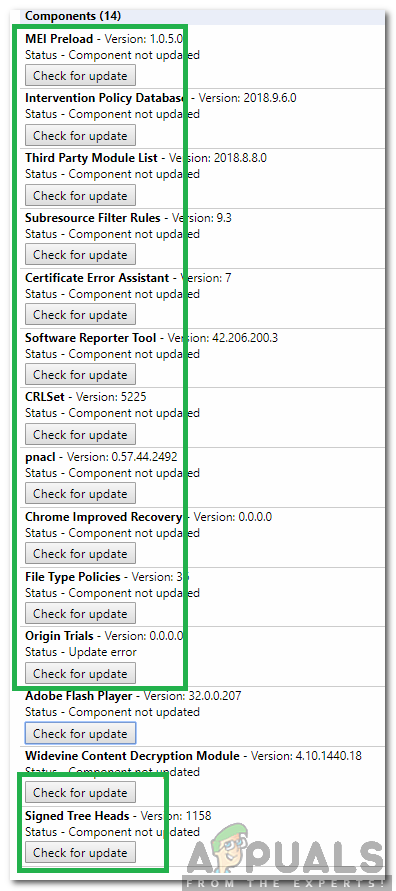
Clicking on the “Check for Updates” button for each component - Some of them might show “Component not Updated” but that’s okay since they are probably already updated.
- Check to see if the issue persists.