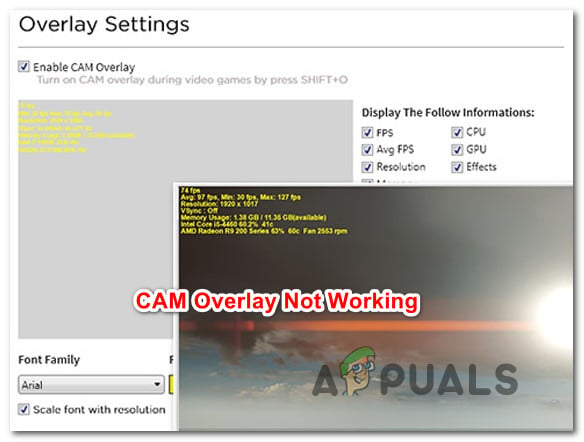
How to Fix CAM Overlay not Working
Several Windows users are reporting that the CAM Overlay feature is not working with some or all of the games that they test it with. While some users are reporting that the software never worked for them, others are saying that the featured used to work before it suddenly stopped working. The issue doesn’t seem to be specific to a certain Windows version since it’s reported to occur on Windows 7, Windows 8.1 and Windows 10.
What is causing CAM Overlay to stop working?
We analyzed this issue by looking at various user reports and the repair strategies that are commonly being used to fix this particular issue. Based on our investigations, there are several different potential culprits that are known to cause this problem:
- Overlay fails to start automatically – This seems to be a recurring issue that seems to persist even on the latest releases of CAM. In certain conditions, the overlay will not launch along with the game even if it’s configured to do so from the settings menu. In this case, you can resolve the issue by launching the overlay via the shortcut.
- User is not logged in – The latest CAM version will restrict the user from using the overlay unless he signs up with a valid CAM account or with a social media account. If this scenario is applicable, you will be able to resolve the issue by signing in with a CAM, Facebook or Google account.
- Outdated CAM version – The CAM application has received a lot of hotfixes in the last couple of months. Even more, older versions are not fully supported by some features any longer. To ensure that the issue is not caused by a bug that was since fixed, ensure that you’re on the latest version available.
- DirectX Runtime environment is not installed – CAM’s overlay feature requires DirectX Runtime environment in order to function properly. If the package is missing from your computer, you can resolve the issue by downloading & installing the DirectX End-user Runtime Web Installer.
- Glitched overlay – It’s also possible that the overlay is not appearing in the game because it’s glitched. This is typically reported to occur on older CAM version. In this case, you should be able to resolve the issue by switching to Minicam mode and then enabling night mode.
- Corsair Unity Engine is conflicting with CAM – As it turns out, the CAM software doesn’t play well with the Corsair Unity Engine (CUE). Several affected users have reported that they managed to resolve the conflict by disabling the CUE software or uninstalling it.
- CAM is conflicting with a different overlay software – Geforce Experience, Fraps and Discord, and a few other software will conflict with CAM’s own overlay. If this scenario is applicable, you can resolve the conflict by either disabling or uninstalling the similar software.
If you’re currently looking for ways to resolve this problem, this article will provide you with several troubleshooting guides that are typically effective. Down below, you’ll find a collection of methods that other users encountering the same issue have successfully used to fix the problem. Every potential fix that is featured below is confirmed to be effective by at least one user.
Keep in mind that the potential fixes are ordered by efficiency and severity, so we advise you to follow them in the order that they are presented. One of the methods is bound to resolve the issue regardless of the culprit that’s causing it.
Method 1: Enabling the overlay manually
CAM is not the stable program out of the bunch. There’s a well-documented issue that can cause this behavior. When certain conditions are met, you might find that the overlay doesn’t appear by default, even if it’s configured to do so via the Settings menu.
If you think this scenario might be applicable, you can force the overlay to appear by using the shortcut Shift + O – This is the default shortcut, but it can also be modified from CAM’s settings window.
Try using the shortcut and see if the overlay appears. If it doesn’t, move down to the next method below for a different repair strategy.
Method 2: Signing in with a Social Media account
The latest versions of CAM will require you to sign in with a social media account before you will be allowed to use the in-game overlay. So, one popular reason why the overlay doesn’t appear in-game is that you are using the software with a guest account.
To fix this, Sign up with a CAM account or use a social media account to log-in at the initial prompt (before the app loads).

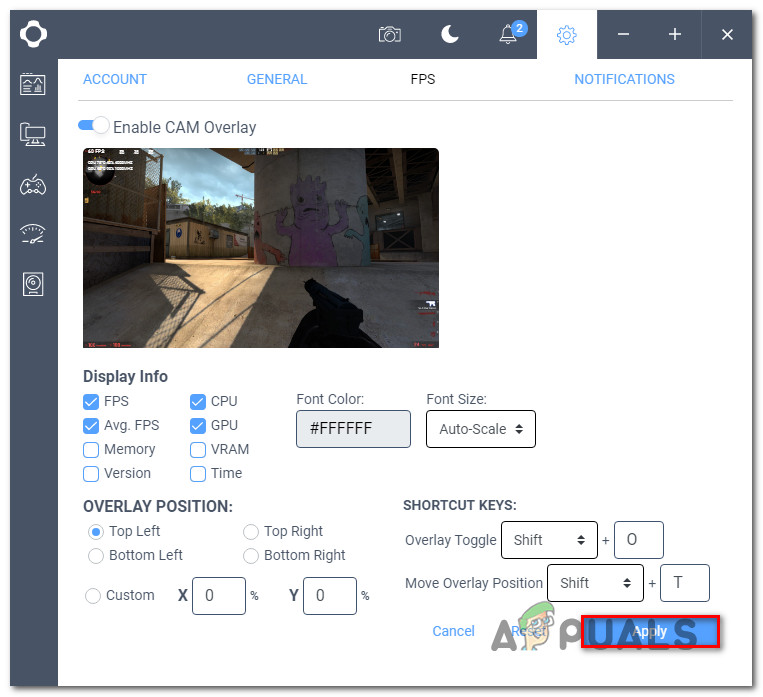
After you are signed in successfully, you will be able to go to the Settings menu (gear icon at the top), go to the FPS tab and modify the toggle associated with Enable CAM Overlay so that it’s enabled. Then, click on Apply to save the changes.
If these steps didn’t allow you to resolve the issue, move down to the next method below.
Method 3: Updating CAM with the latest version
Over these last few years, the CAM app has become a lot more stable than it used to be. This means that a lot of bugs and glitches that might have produced this problem in the past have since been resolved by hotfixes released by the developers.
A lot of affected users have reported that the CAM overlay started appearing after they uninstalled their current CAM version, restarted their computer and then installed the latest version available from the official website.
Here’s a quick guide on updating CAM to the latest version:
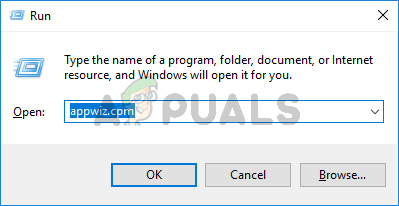
- Press Windows key + R to open up a Run dialog box. Then, type “appwiz.cpl” and press Enter to open up the Programs and Features window.
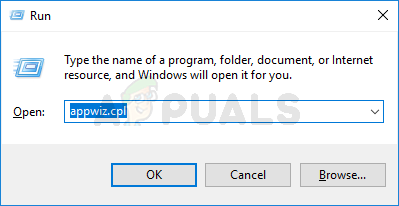
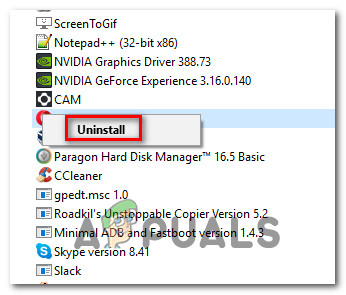
Type appwiz.cpl and Press Enter To Open Installed Programs Page - Inside the Programs and Features window, scroll down through the list of applications and locate the CAM app. Once you see it, right-click on it and click on Uninstall.
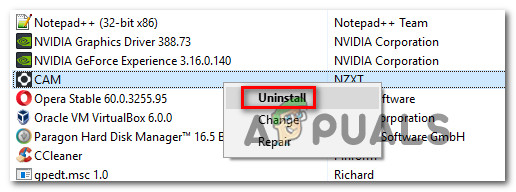
Uninstalling the old CAM version - Follow the on-screen prompts to complete the uninstallation, then restart your computer.
- At the next startup sequence, visit this link (here) and click on the Download For Free button to initiate the download of the latest CAM version.

Downloading the latest CAM version - Open the CAM_Installer executable and follow the on-screen prompts to install the latest version available.
Installing the latest CAM version - Once the installation is complete, launch the application and use it with the same game that was previously unable to display the overlay.
If the issue is still not resolved, move down to the next method below.
Method 4: Installing DirectX End-user Runtime
As several users have reported, CAM Overlay requires the DirectX Runtime environment to be installed in order to function properly. Several users that we’re encountering the same issues have reported that they managed to fix it by downloading & installing DirectX End-user Runtime Web installer and restarting their computer.
After doing this, the majority of affected users have reported that the issue was resolved and the CAM Overlay started working as intended. Here’s a quick guide on installing DirectX End-user Runtime:
- Ensure that CAM Overlay and any associated software is closed.
- Visit this link (here) and click the Download button.
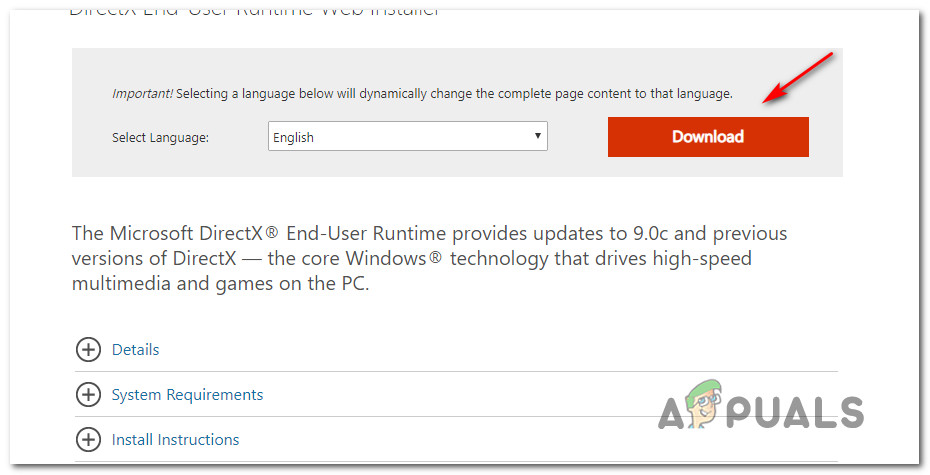
Downloading DirectX End-User Runtime - You will be prompted by some Microsoft recommendations, but you can dismiss them by unchecking each option and clicking on No thanks and continue DirectX End-User Runtime Web Installer.
- Wait until the download is complete. Once it is, double-click on the dxwebsetup executable and follow the on-screen prompts to install DirectX End-user Runtime.
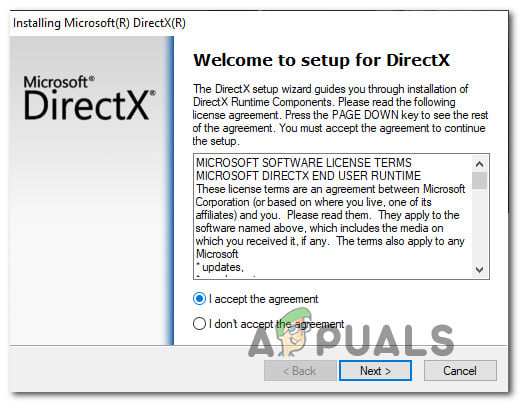
Installing DirectX End-User Runtime - Once the process is complete, restart y our computer and see if the issue is resolved at the next system startup.
If CAM overlay is still not working as intended, move down to the next method below.
Method 5: Switching to Minicam with Night Mode
There’s no official explanation on why this method is effective, but some users have managed to trick the CAM overlay into appearing by switching the CAM interface to Minicam and then using it in night mode. Users speculate that this procedure ends up resetting the overlay, which might end up resolving the issue.
Here’s a quick guide on switching to Minicam with night mode:
- Open the Cam application and login with your user account.
- Next, click the gear icon in top-right corner and click on Switch to Mini CAM from the drop-down menu.
- Once the application is switched to its mini version, click on the moon icon at the top of the screen to switch it to night mode.
- Launch a game and see if the overlay is now appearing.
If the issue is still not resolved, move down to the next method below.
Method 6: Disabling Corsair Unity Engine (if applicable)
Some users have discovered that in their case, the issue was being caused by a conflict between the CAM application and Corsair Utility Engine (CUE). We haven’t managed to find any relevant information on why the two software apps don’t play well together, but several affected users have reported that they managed to resolve the issue by uninstalling Corsair Utility Engine and rebooting their computer.
Note: If you don’t have Corsair Utility Engine (CUE) installed on your computer, move down to the next method below.
If this scenario is applicable to your current situation, here’s a quick guide on how to do this:
- Press Windows key + R to open up a Run dialog box. Then, type “appwiz.cpl” and press Enter to open up the Programs and Files screen.
Type appwiz.cpl and Press Enter To Open Installed Programs Page - Inside Programs and Files, scroll through the list of applications and locate Corsair Utility Engine.
Uninstalling the CUE utility - Once you see it, right-click on it and choose Uninstall.
- Then, follow the on-screen prompts to complete the uninstallation.
- When the process is complete, restart your computer and see if your CAM software started functioning normally.
If the same issue is occurring or this method wasn’t applicable to your current situation, move down to the next method below.
Method 7: Disabling other Overlays
There are well-documented conflicts between CAM and other overlay applications – especially built-in ones like Nvidia Geforce Experience, Fraps or Discord’s overlay. Several users encountering the same issue have reported they were only able to resolve the issue by disabling the other overlay apps and leaving CAM as the only active application of this kind.
If you want to disable conflicting overlays, you’ll have to refer to specific steps online, depending on which software you’re using. Or, you can follow the instructions below to uninstall them from your system:
- Press Windows key + R to open up a Run dialog box. Then, type “appwiz.cpl” and press Enter to open up Programs and Files.
Type appwiz.cpl And Press Enter to Open Installed Programs Page on Windows - Inside the Programs and Features screen, right-click on the application that you want to uninstall and click on Uninstall. Next, follow the on-screen prompts to complete the process.
Uninstalling the conflicting overlay - Restart your computer and see if the issue has been resolved.
If you’re still unable to see CAM’s overlay, move down to the next method below.
Method 8: Contacting CAM Support
As it turns out, this issue can also occur with some multiplayer-based games that have an overprotective anti-cheat mechanism. Anti-cheat engines are known to conflict with CAM FPS overlay – the issue is several years old.
Based on our inquiries, NZXT is in contact with many developers in order to fix this, but progress is slow so far.
If you’re encountering the issue with only one multiplayer game, chances are the overlay feature is being blocked by the anti-cheat mechanism. In this particular case, you can contact NZXT support for strategies on mitigating the problem.


