How to Fix Blue Screen of Death Error 0xc0000428
Getting a Blue Screen of Death (BSOD) each time you are working on something on your computer is really annoying and it can even cause a loss of data you have been working on. For example, if a BSOD occurs while you are playing a video game on your computer, your game definitely won’t be saved.
BSODs usually appear out of nowhere leaving users confused about the real cause for it and what did they do wrong in order to cause it. Let’s find out more about this particular error code and instructions on how to fix it.
Fix Error Code 0xc0000428 BSOD on Windows
This particular error code can appear out of nowhere but users have confirmed that its most common occurrence is right after they perform a major update or after they have switched from Windows 7, 8, or 8.1 to Windows 10. Sometimes it won’t even allow them to use their computer at all, leaving it unable to boot properly.
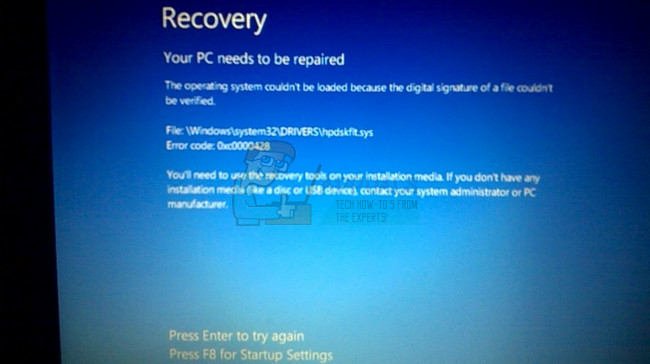
The error message it appears to is “The digital signature for this file couldn’t be verified.” The message is quite self-explanatory. Digital Signature is a method which is used to prove the authenticity of a program or an application. Solving this issue can be either quite easily or quite difficult, depending on the real cause. Let’s solve it together!
Solution 1: Use the Following Commands
The commands we are going to use rely on a tool called bootrec.exe which is used to resolve various issues which occur during the boot phase. This particular Blue Screen of Death appears during the booting process so you may need to learn just how to open Command Prompt without turning your computer on. Follow the steps below!
- Reboot your computer and wait for the boot screen to appear. It’s usually the screen with your PC’s manufacturer with the options such as “Press _ to Run Setup”, etc.
- As soon as that screen appears, start pressing the required key on your keyboard. If the key doesn’t work, reboot your computer again and start pressing the some of the function keys (F12, F5, F8…). This is for Windwos Vista/7 Only, for Windows 8 and 10 (the easiest way is to get to Advanced Menu by holding the shift key and choosing restart at the login screen) as stated in Method 1 of Solution 2. The command in this solution below are applicable to all Windows versions.
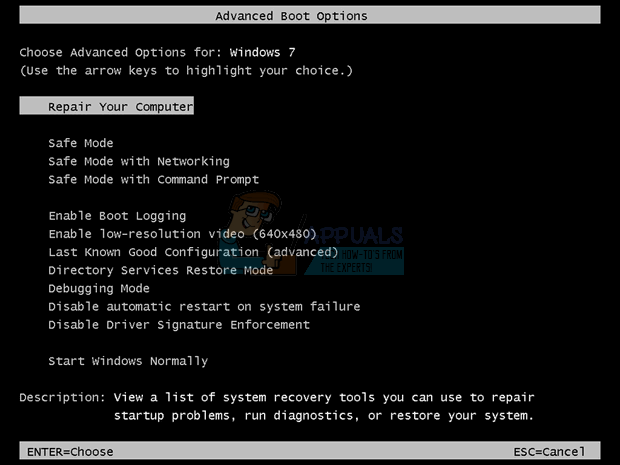
- The Windows Advanced Options Menu should open, enabling you to choose several options to boot your computer.
- Boot into Safe Mode with Command Prompt.
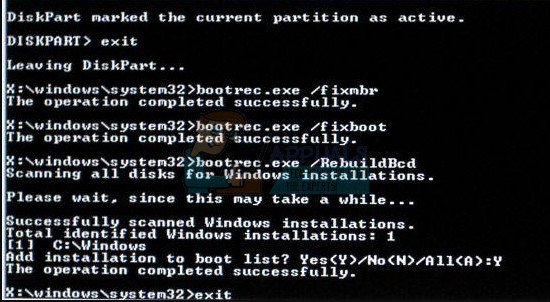
- When Command Prompt finally opens, copy and paste the following commands in the terminal and make sure you click Enter after each one in order to run it:
bootrec/fixMBR
bootrec/fixBoot
bootrec/rebuildBCD
- Restart your computer and try booting now. If you fail to open the Windows Advanced Options menu, try booting your computer with a recovery DVD or USB drive instead.
- When your computer boots, choose the language your want to use and click on the Repair Your Computer option. Select Command Prompt inside and type in the same commands.
Solution 2: Disable the Driver Signature Enforcement
This option disables the driver signature enforcement which may be one of the reasons for why your computer won’t boot. You can use a third-party tool in order to proceed with this solution but you can also do it yourself by following the instructions below.
There are several different methods we provided for both the users who are able to boot normally and those who are not. These methods are used to navigate to the Advanced Startup Options Menu.
Method 1: Through the Login Screen
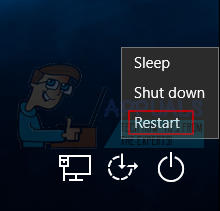
- Navigate to your computer’s login screen by logging off from your account or simply by turning your computer on. After that, hold the Shift key while pressing Restart.
- You can also use power icons in the Start menu or any other way which may lead you to the login screen.
- Know that you will have to connect your physical keyboard in order to perform these steps as this feature won’t work with the on-screen keyboard.
- Advanced Startup Options should appear in no time.
Method 2: From Windows 10 Settings
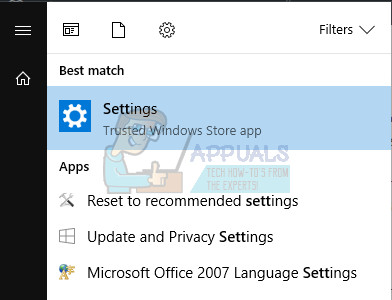
- Click on the Start button and click on the gear icon in order to open Settings. You can also search for “Settings” in the search bar.
- Scroll down to the bottom of the Settings app and click on Update & security.
- Click on Recovery from the tabs located on the left side of the Update & security screen.
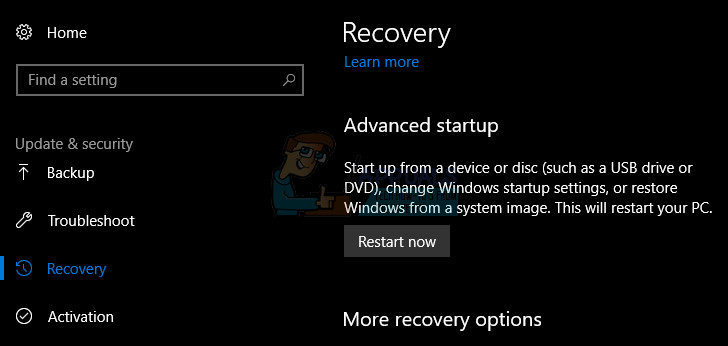
- Advanced startup section should be located in this option so locate it at the bottom of the Recovery tab.
- Click on Restart now.
- Advanced Startup Options should appear.
Note: If you are using Windows 8, swipe from the right in order to access the charms bar. Click on the Change PC settings option and choose the Update and recovery from the list. Click on Recovery and follow the steps from 4-6 from the solution above.
Method 3: Using Command Prompt
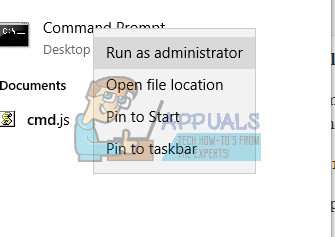
- Open Command Prompt in Windows 10 or Windows 8 by typing “cmd” in the Search box and opening the first result with administrator privileges.
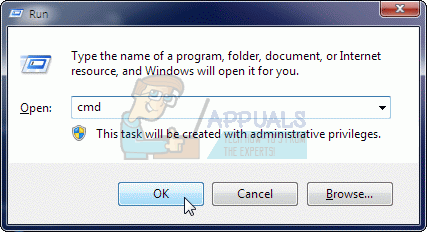
- You can also use the Run dialog box in order to open Command Prompt is you are not able to access it from the Start menu.
- Copy and paste the command below in order to be redirected to the Advanced setup screen.
shutdown /r /o
- Make sure you save everything you have been working on as the command below will shutdown your computer immediately.
- Click on the Close button when you see the You’re about to be signed off message.
- Windows will close and you will be able to see the Please wait message.
- Advanced Startup Options should appear in several seconds.
Method 4: Using Windows 10 Recovery Drive
- Turn your computer on and insert a bootable Windows 10 DVD or a USB drive which has been configured correctly.
- It does not have to be your original Windows 10 DVD since you won’t need it to activate your version of Windows, only to access certain settings.
- Boot from the drive you just inserted by restarting your computer after insertion and follow the instructions.
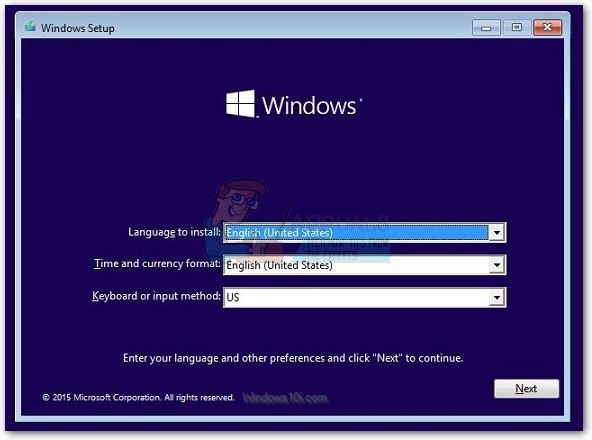
- Windows Setup windows should open prompting you to enter the language and time and date settings.
- Choose the Repair your computer option at the bottom after proceeding.
- Advanced Startup Options will open in no time.
After you have successfully accessed the Advanced Startup Options, you can now freely navigate to the Startup Settings option by following the instructions below.
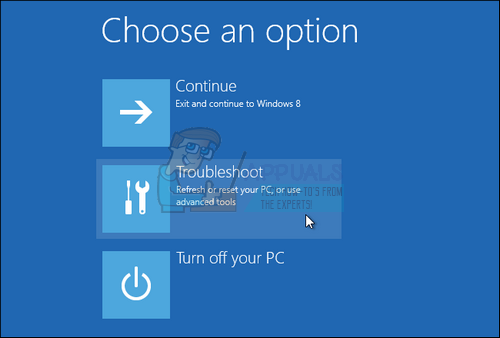
- Click on the Troubleshoot option located just under the Continue button.
- You will be able to see three different options: Refresh your PC, Reset your PC, and Advanced options. Click on the Advanced options if you are not planning on Refreshing or Resetting your PC (which can be useful as well). Note that the refreshing option lets you keep your files but it uninstalls the programs you have installed.
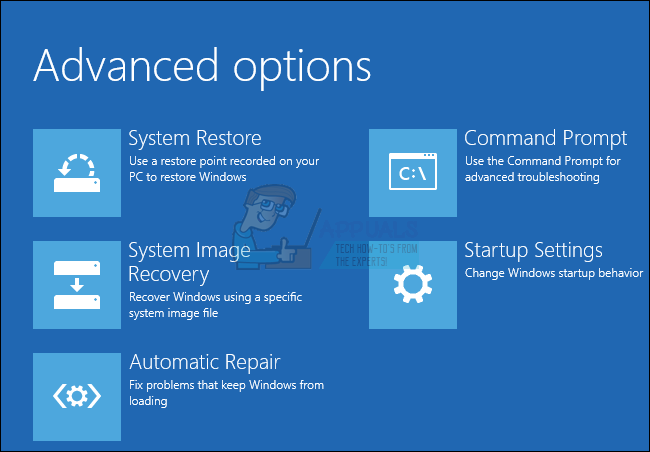
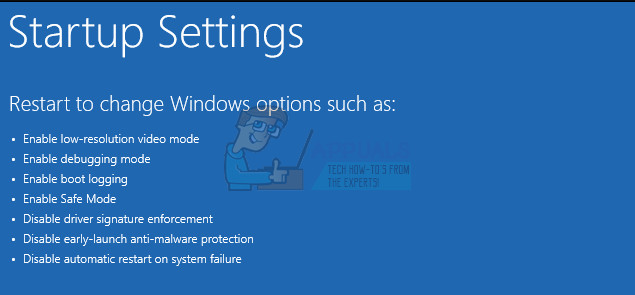
- Under the Advanced options screen, click on Startup Settings which will open a list of available startup options for you.
- The option number 7 should be named Disable driver signature enforcement. Click on the number 7 on your keyboard or use the F7 function key.
- Press Enter in order to return to your operating system.
Solution 3: Use the Automatic Repair Functionality
Different errors on Windows-based PCs can be fixed easily if you run various troubleshooters which come preinstalled. This one can be accessed by following the instructions from the previous solutions and this tool is quite useful for fixing various issues apart from this one.
- Choose one of the methods from the previous solution and navigate to the Advanced Startup Options menu.
- Click on the Troubleshoot option located just under the Continue button.
- Click on the Advanced options and, under the Advanced options screen, click on Automatic Repair which will open the troubleshooter for you.
- Follow the on-screen instructions to complete the Automatic Repair and fix your computer.