How to Fix ATKEX_cmd.exe Has Stopped Working
Several users have been reaching us with questions after they repeatedly get the ‘ATKEX_cmd.exe has stopped working’ error. For some users, this seems to happen at every launch, while others report that the issue is only occurring when they try to perform a resource demanding application like playing a game or rendering a video. In most cases, the issue is reported to occur on Windows versions older than Windows 10.

What is causing the ‘ATKEX_cmd.exe has stopped working’ error?
We investigated this particular issue by looking at various user reports and the repair strategies that are most commonly used to resolve this particular error message. As it turns out, there are multiple potential causes that might trigger this particular error:
- Intel Management Engine is not installed – This type of error is often reported to occur in situations where IME is missing from the machine. Some affected users have reported that they managed to resolve the issue by downloading & installing the latest version of IME.
- The audio driver is disabled from Device Manager – It’s also possible that you’re seeing the error because the audio driver is disabled. This can happen due to 3rd party app intervention or in situations where the system previously used a dedicated sound card. In this case, you should be able to resolve the issue by re-enabling or reinstalling the driver from Device Manager.
- Realtek Audio HD driver is conflicting with the generic driver – If you’re using Realtek HD Manager, keep in mind that it has the potential of conflicting with other generic audio drivers on Windows 10. If this scenario is applicable, you should be able to resolve the issue by uninstalling the Realtek audio driver.
If you’re currently struggling to resolve this error message, this article will provide you with several troubleshooting strategies. Down below, you’ll find a couple of potential fixes that other users in a similar situation have successfully used to resolve the ‘ATKEX_cmd.exe has stopped working’ error.
Each of the potential fixes below is confirmed to work by at least one affected users. To remain as efficient as possible, we advise you to follow the methods in the order that they are presented until you encounter a fix that resolves the issue for your particular scenario. We ordered them by efficiency and difficulty.
Method 1: Installing the Intel Management Engine Driver
As it turns out, this particular issue can also occur due to a missing Intel Management Engine Driver that was uninstalled improperly. This is typically reported to occur on ASUS computers. Several affected users have reported that once they installed the latest version of IME (Intel Management Engine) and restarted their computer, the ‘ATKEX_cmd.exe has stopped working’ error stopped occurring.
This fix is mostly reported to work on Windows 8.1 and Windows 10. Here’s a quick guide on ensuring that you have installed the latest version of Intel Management Engine driver:
- Visit this link (here) and download the latest version of IME (Intel Management Engine) by clicking on Install & Setup.
- Then, from the Drivers and Download section, click on Intel Management Engine Driver for Windows 8.1 and Windows 10.
- From the next screen, click on the download button in the top-left section of the screen.
- Once the Download is complete, extract the zip archive, then click on the installation executable and follow the on-screen prompts to complete the installation of the IME (Intel Management Engine) driver.
- Restart your computer and see if the issue is resolved once the next startup is complete.
If you’re still encountering the ‘ATKEX_cmd.exe has stopped working’ error, move down to the next method below.
Method 2: Ensure that the audio driver is not disabled
Another possible cause that might lead to this particular error in situations where the audio driver is actually disabled. This can happen as a result of manual user intervention or in cases where the system was previously using a dedicated Sound card that has since been removed.
Several affected users have reported that they managed to resolve the issue by using Device Manager to re-enable the disabled driver or to uninstall it, forcing Windows to use the generic audio driver.
Here’s a quick guide ensuring that the audio driver is not disabled:
- Press Windows key + R to open up a Run dialog box. Then, type “devmgmt.msc” inside the text box and hit Enter to open up Device Manager.
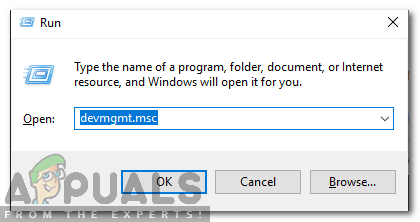
Typing “devmgmt.msc” in the run prompt. - Once you’re inside Device Manager, start by expanding the drop-down menu associated with Audio inputs and outputs.
- Then, right-click on your default audio driver (most likely named High Definition Audio Device) and choose Enable Device from the context menu.
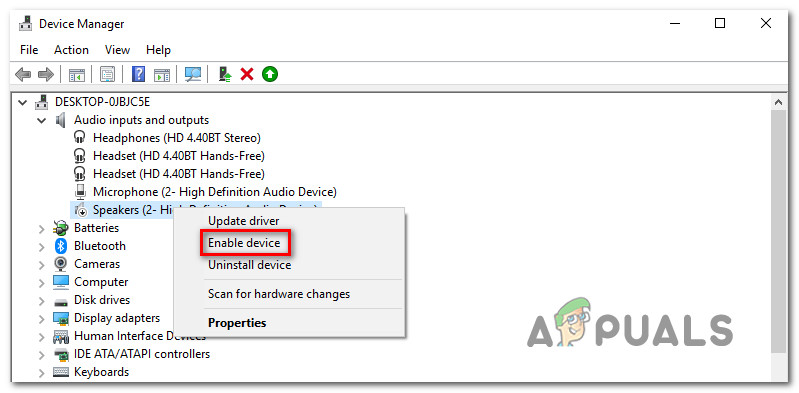
Enabling the Audio device driver Note: If the driver is already enabled, continue with the next instructions below to ensure that the driver is not corrupted.
- Right-click on the audio driver again and choose Uninstall device. Then, click Uninstall once again to confirm the uninstallation
- Once the procedure is complete, restart your computer to allow Windows to install the missing audio driver.
If the issue is still not resolved, move down to the next method below.
Method 3: Uninstalling the Realtek audio drivers (if applicable)
As it turns out, the most common culprit that will cause the ‘ATKEX_cmd.exe has stopped working’ error is an improper Realtek driver. Keep in mind that using a utility like Realtek HD manager to manage your sound drivers is no longer necessary as Windows 10 is perfectly capable of installing the required driver automatically.
In fact, in most cases, this particular issue occurs because there’s a conflict between the generic Audio driver and the Realtek driver. Several affected users have reported that they managed to resolve the issue by uninstalling all Realtek audio drivers. After doing so and restarting their device, the error stopped occurring altogether.
Here’s a quick guide on uninstalling the Realtek audio drivers:
- Press Windows key + R to open up a Run dialog box. Then, type “appwiz.cpl” inside the text box and press Enter to open up the Programs and Features screen.

Typing in “appwiz.cpl” in the Run prompt - Once you’re inside the Programs and Features prompt, scroll down to the list of applications and locate Realtek HD Manager (or a different Realtek audio driver that you’re using).
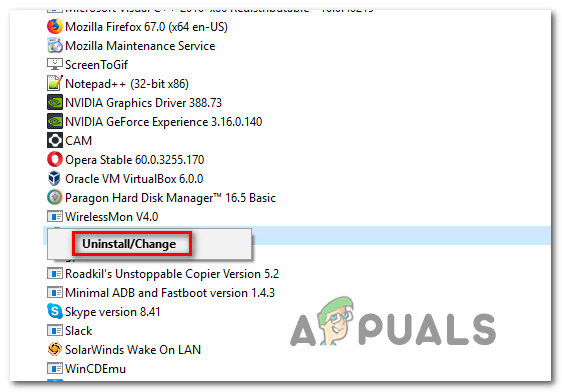
Uninstalling the Realtek HD Manager - When you see the driver, right-click on it and choose Uninstall from the context menu. Then, follow the on-screen prompts to complete the uninstallation of your Realtek driver audio.
- Restart your computer and see if you’re still getting the same error once the next startup sequence is complete.

If the ‘ATKEX_cmd.exe has stopped working’ error is still occurring even after you’ve performed these steps or this method wasn’t applicable, move down to the next method below.


