How to Fix ‘A Startdocprinter Call Was not Issued’ Error?
Several Windows users have been reaching us with questions after their HP laptop no longer prints anything. The error message that comes up is ‘A Startdocprinter Call Was Not Issued’ whenever they try to print anything. Most affected users are reporting that the issue occurs for every printer that is connected to the network. Other variations of this issue occur if they try to print from within other programs like Word, Acrobat Reader, and even Notepad. The issue is reported to occur on Windows 7, Windows 8.1 and Windows 10.

What’s causing the ‘A Startdocprinter Call Was Not Issued’ Error?
We investigated this particular issue by looking into various user reports and at the repair strategies that are most commonly used to fix this particular error message. As it turns out, several different scenarios are known to lead to the apparition of the ‘A Startdocprinter Call Was Not Issued‘ error. Here’s a shortlist of potential culprits that might trigger this error message:
- Printer Queue is glitched – In certain situations, this issue can occur due to an interruption when the Spooling service was preparing to send the file to the printer. In this case, the problem might be created by several different dependencies that contribute to the printing chore. In this case, the easiest way to resolve the issue is to run the Printer Troubleshooter.
- Glitched Print Spooler Service – This problem can also occur in a situation where the Print Spooler service has become glitched and it’s unable to facilitate the printing operation. If this scenario is applicable, you can resolve the issue by restarting the Print Spooler service using the Services screen.
- Access Control issues – As it turns out, this particular error can also occur due to a problem with how your operating system recognizes the access control list of the Print Spooler service. In this case, you will be successful in resolving the issue by using the cacls.exe utility inside an elevated CMD prompt.
- The improper printer prompts – As some users have confirmed, this problem can also occur due to inconsistent printer ports. Several users struggling to resolve the same issue have finally managed to restore the printing capabilities by reinstalling every printer port using Device Manager.
If you’re currently looking for a fix that will allow you to resolve the ‘A Startdocprinter Call Was Not Issued‘, this article will provide you with several potential repair strategies that other affected users have successfully used to resolve the issue. Each of the potential fixes featured below is confirmed to be effective by at least one use.
For the best results, we advise you to follow the methods below in the same order that we ordered them in (arranged by efficiency and severity). Eventually, you should encounter a fix that will resolve the issue, regardless of the culprit that’s causing the issue.
Method 1: Running the Printer Troubleshooter
Before we get into more advanced repair strategy, our recommendation is to start the troubleshooting quest by running a utility capable of resolving most Printer-related issues automatically by applying automated repair strategies.
With this in mind, use the Printer Troubleshooter to analyze your current printer driver situation and see if the repair tool has some predetermined repair strategies that are applicable in your situation.
As soon as you start this tool, it will begin to look for inconsistencies that might lead to printer errors. If it manages to find an applicable repair strategy, it will recommend a fix that might just resolve the ‘A Startdocprinter Call Was Not Issued‘ error.
Here’s a quick guide on running the Printer Troubleshooter:
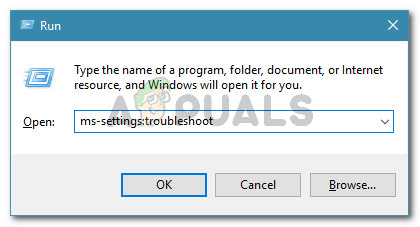
- Open up a Run dialog box by pressing Windows key + R. Next, type ‘ms-settings:troubleshoot’ inside the text box and press Enter to run open up the Troubleshooting tab of the settings app.
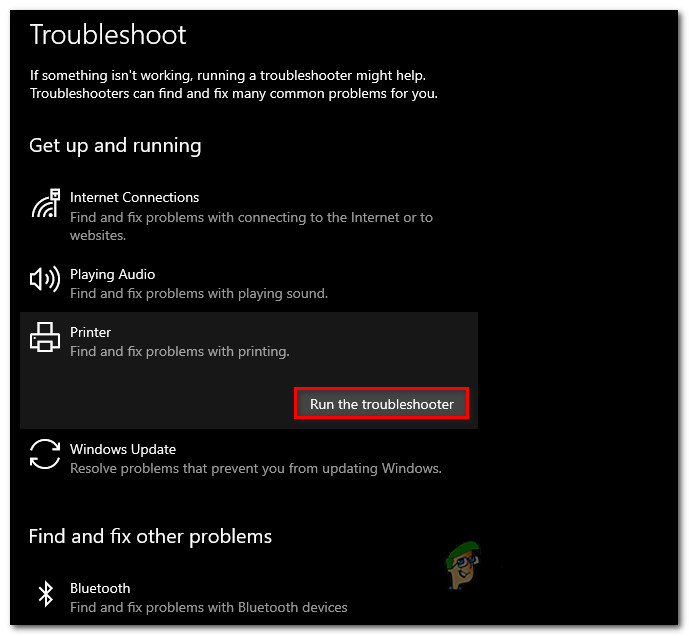
Accessing the Troubleshooting tab - Once you’re inside the Troubleshooting tab, move over to the right pane and scroll down to the Get up and running section. Once you get there, click on Printer, then click on Run the troubleshooter to launch the utility.
Running the Printer Troubleshooter - Once the utility is started, wait until the initial scan is complete, then click on Apply this fix if a repair strategy is recommended.
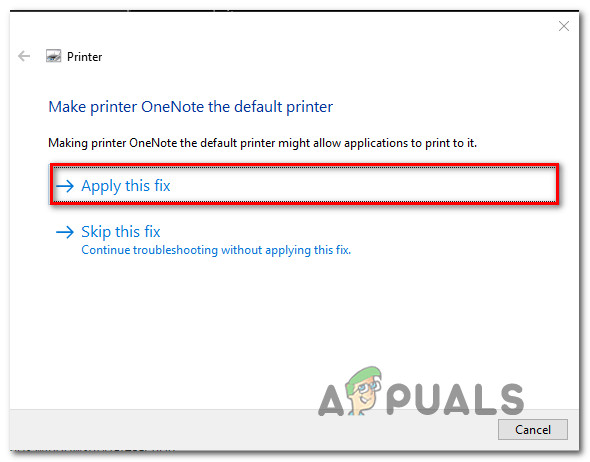
Applying the recommended Printer fix - After the fix is successfully applied, restart your computer and see if the issue is resolved by repeating the action that was causing the issue once the next startup sequence is complete.
If you’re still encountering the ‘A Startdocprinter Call Was Not Issued‘ error after applying the recommended fix or the troubleshooter didn’t find any issues with your printer configuration, move down to the next method below.
Method 2: Restarting the Print Spooler Service
As it turns out, this particular issue can also occur in situations where the Print Spooler service has become glitched and it’s unable to facilitate the printing operation. In this case, you’ll only be able to revert to the default behavior if you reset the Print Spooler Service.
Several affected users have reported that they managed to resolve the issue by using the Services screen to restart the Print Spooler service. After doing this and trying to print the same document, the majority of affected users have reported that the ‘A Startdocprinter Call Was Not Issued‘ error was no longer occurring.
Here’s a quick guide on restarting the Print Spooler Service from the Services screen:
- Press Windows key + R to open up a Run dialog box. Next, type “services.msc” and hit Enter to open up the Services screen. If you’re prompted by the UAC (User Account Control), click Yes to grant administrative privileges.

Running Services.msc - Once you’re inside the Services screen, move to the right-hand pane and scroll down through the list of Services (Local) and locate the Print Spooler Service.
- Once you see it, right-click on the Print Spooler Service, right-click on it and choose Properties from the newly appeared context menu.
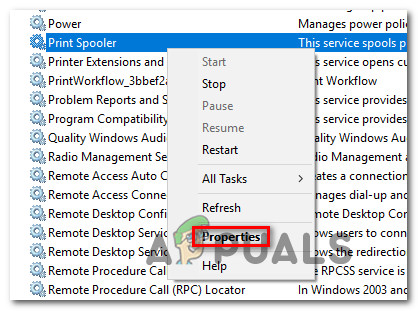
Accessing the Properties screen of the Printer Spooler service - Once you’re inside the Printer Spooler Properties screen, start by making sure you’re inside the General tab. After you confirm that you’re in the right menu, set the Startup type to Automatic, then click on Stop (under Service status)
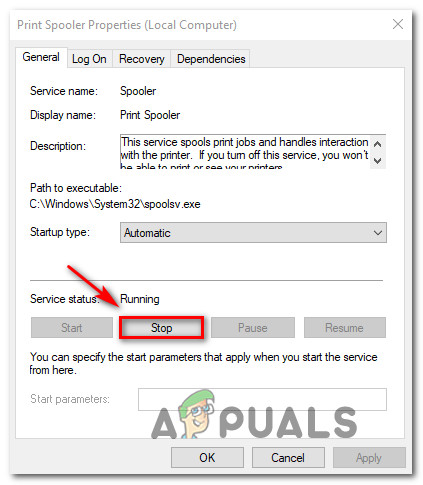
Restarting the Print Spooler service - Wait a couple of seconds, then click on Start to essentially restart the Print Spooler service.
- After you manage to restart the service, restart your computer and see if the issue is now resolved.
If the same issue is still occurring, move down to the next potential fix below for a different approach on repairing the Print Spooler service.
Method 3: Repairing the Print Spooler service via CMD
As it turns out, another possibility that will trigger the ‘A Startdocprinter Call Was Not Issued‘ error is a scenario in which the Print Spooler service is effectively broken. In this case, you can resolve the issue by using an elevated Command prompt to modify the access control list of the Print Spooler Service.
Several affected users have reported that they manage to fix the issue completely after using an elevated Command Prompt to modify the access control of the Print Spooler service. This solution is also recommended by MS specialists to fix various Print Spooler issues.
Here’s a quick guide on repairing the Print Spooler service using an elevated Command Prompt:
- Press Windows key + R to open up a Run dialog box. Then, type “cmd” and press Ctrl + Shift + Enter to open up an elevated Command Prompt. When you see the UAC (User Account Control), click Yes to grant admin access.
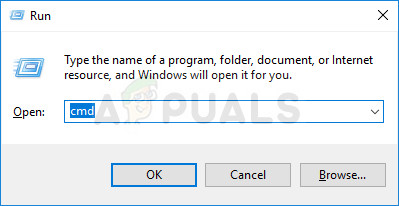
Running Command Prompt - Once you’re inside the elevated command prompt, type the following command and press Enter to the location of the Spooling service:
cd\Windows\System32\spool
- Now that you are in the correct location, type the following command and press Enter to modify the access control of the Spooling service:
cacls.exe PRINTERS /E /G administrator:C
- After the command is processed successfully, restart your computer and see if the issue is resolved at the next system startup.
If this method didn’t allow you to resolve the ‘A Startdocprinter Call Was Not Issued‘ error, move down to the next method below.
Method 4: Re-installing all printer ports
The most popular fix for this particular issue is to simply reinstall all printer ports involved in the operation. This fix is reported to be successful on all the recent Windows versions including Windows 7, Windows 8.1 and Windows 10.
The majority of users encountering this issue have managed to fix this after using Device Manager to delete all ports created for this printer, then reinstalling the printer drivers (either generic or dedicated).
Here’s a quick guide on reinstalling all printer ports to resolve the ‘A Startdocprinter Call Was Not Issued‘ error:
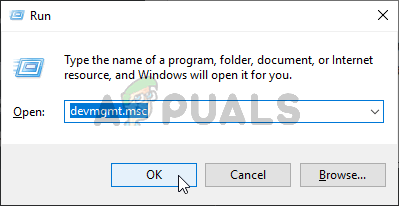
- Press Windows key + R to open up a Run dialog box. Then, type “devmgmt.msc” inside the text box and press Enter to open up Device Manager. When you’re prompted by the UAC (User Account Control), click Yes to grant administrative privileges.
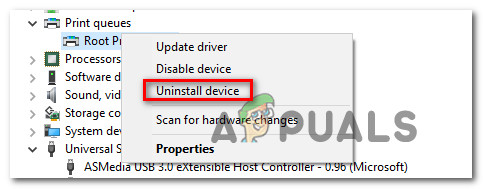
Running Device Manager - Inside Device Manager, scroll through the list of installed devices and expand the menu associated with Print queues.
- Then, right-click on each install Printer driver that you found there and click on Uninstall from the newly appeared context menu.
Uninstalling every printer driver - Once every printer driver has been uninstalled, expand the drop-down menu associated with Universal Serial Bus controllers. Next, scroll through the list of installed items and uninstall every Printer port by right-clicking on each one and choosing Uninstall from the context menu.
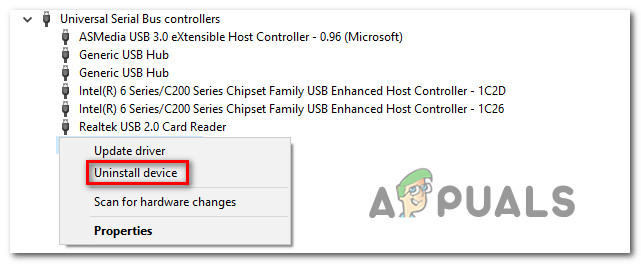
Uninstalling Print ports - As soon as every printer driver is uninstalled, restart your computer. At the next startup, your operating system will automatically install a set of generic drivers and ports to make the printer usable.
Note: You can try to print something with the generic drivers and stick with them if the ‘A Startdocprinter Call Was Not Issued‘ error is no longer occurring, or you can install the dedicated drivers by accessing your printer manufacturer website and downloading the compatible drivers.


