How to Fix 0x80070043 Error on Windows?
Several Windows users have been reaching us with questions after being unable to open a file stored on an external server or after trying to run certain applications (most commonly Windows Office). The error message that comes up is the 0x80070043 error. The issue is much more common on Windows Vista and Windows 7, but we also managed to find occurrences on Windows 8.1 on Windows 10.

What’s causing the Windows Error Code 0x80070043?
We investigated this particular issue by looking at various user reports and by testing out several different repair strategies that are commonly recommended by other affected users that have already managed to fix the issue. As it turns out, several different scenarios will spawn this particular error. Here’s a shortlist of potential culprits that might be responsible:
- SMB File Transfers are not permitted – As it turns out, one common scenario that will spawn this particular issue is a situation in which a policy essential for SMB file transfers is disabled. If this scenario is applicable, you can resolve the issue by opening the Local Group Policy Editor and enabling the Network startup Local policy.
- Condition error inside the Temp folder – According to several affected users, this issue can appear due to a condition error. In this case, you should be able to resolve the issue by booting your computer in safe mode and deleting the contents of the Temp folder to eliminate the condition error.
- System File corruption – This behavior can also be caused by some type of system file corruption. In some cases, this error will be triggered because your OS is not capable of keeping track of the correct locations of the files that you’re trying to open. In this case, you should be able to fix it by running a couple of utilities capable of dealing with system file corruption (SFC and DISM).
- 3rd party interference – It’s also possible that a recently enforced process or service is interfering with your OS ability to execute InstallShield installations. If this scenario is applicable, you will be able to resolve the issue by using the System Restore utility to restore your computer state to when these circumstances didn’t exist.
- Underlying OS corruption – Under rare circumstances, you will not be able to resolve this problem conventionally. If the problem isn’t resolved by SFC and DISM, the only way forward is to reset every OS component with an operation like a clean install or repair install.
If you’re encountering the same issue and one of the scenarios above seemed like they could be applicable, this article will provide you with several different repair strategies. Down below, you’ll find a collection of potential fixes that other users in a similar situation have successfully used to resolve this problem.
If you want to remain as efficient as possible, follow the potential fixes in the same order that we arranged them in (by difficulty and efficiency). Eventually, you should stumble upon a fix that will fix the problem regardless of the culprit that’s causing the problem.
Let’s begin!
Method 1: Enabling the Network Startup Local policy
If you’re encountering the issue in a domain environment, you should start by ensuring that you have sufficient access for SMB file transfers. To do this, you should access the Local Group Policy Editor and make sure that the Always wait for the network at computer startup and logon policy is Enabled.
Several Windows users that were also encountering the same issue have reported that they finally managed to fix the issue after they used the Local Group Policy Editor utility to enable this policy. After doing so and restarting their computer, most affected users have reported that the issue was resolved in their case.
Here’s what you need to do to enable the Network Startup Local policy that might be limiting the access of SMB file transfers:
- Press Windows key + R to open up a Run dialog box. Once you’re inside the Run dialog box, type “gpedit.msc” inside the text box and press Enter to open up the Local Group Policy Editor policy. If you’re prompted by the UAC (User Account Control) window, click Yes to grant administrative privileges.
- Once you’re inside the Local Group Policy Editor, select Local Computer Policy > Computer Configuration > Administrative Templates from the right-hand side.
- Next, move down to the right-hand side and click on System, then click on Logon from the list of available options.
- After you manage to get inside the Logon folder, double-click on Always wait for the network at computer startup and logon.
- Inside the Properties screen of this policy, select the Setting tab, then change the status to Enabled and click Apply to save the changes.
- Restart your computer and wait for the next startup to complete. Then, repeat the action that was previously causing the 0x80070043 error.
If the same problem is still occurring, move down to the next method below.
Method 2: Clearing the temp folder while in Safe Mode
If you’re seeing the 0x80070043 error due to a condition error, you should be able to fix the problem by booting your computer in safe mode and deleting the contents of the %temp% folder to clear out the error condition.
Keep in mind that this will not fix the problem that causes the issue in the first place, but it will remove the annoying error. This fix is reported to be successful on Windows 7, Windows 8.1 and Windows 10.
Several affected users have reported the 0x80070043 error has stopped occurring once they performed the instructions below. Here’s how to clean the temp folder while in Safe Mode:
- Turn off your computer, then power it back again and wait until you get to the initial login screen.
- Once you get there, move down to the bottom-right corner and click on the power icon.
- From the newly appeared context menu, press and hold the Shift key while clicking on Restart.
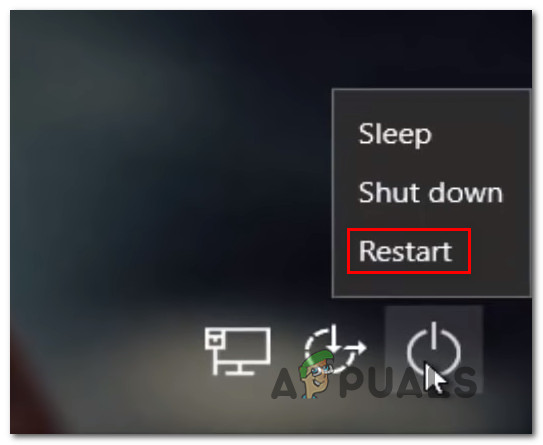
Forging the PC to restart in Safe Mode - During the next startup sequence, your computer will automatically restart inside the Troubleshoot menu. Once you arrive there, click on Troubleshoot.
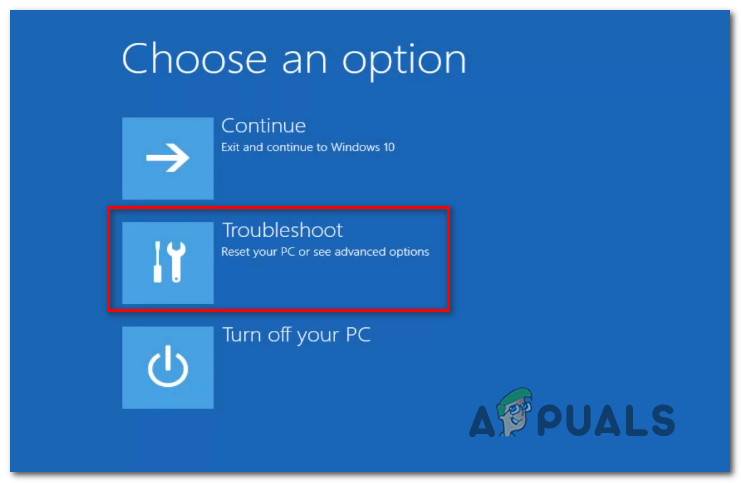
Accessing the Troubleshoot menu - Once you’re inside the Advanced Options menu, click on Startup Settings from the list of available options.

In the Advanced Options menu, click on Startup Settings - When you see the Startup Settings menu, press F5 to boot up in Safe Mode with Networking.
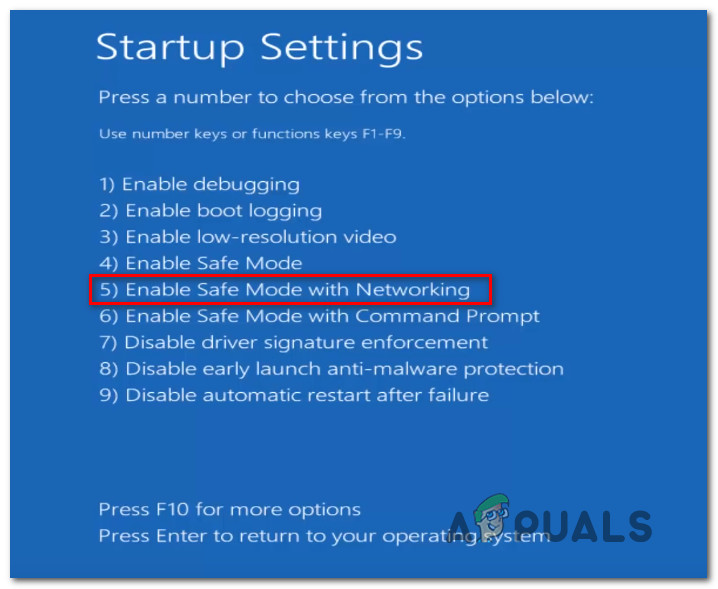
Starting your computer in Safe Mode with Networking - Once the next startup sequence is complete, you will be prompted by a slightly different login screen. Enter your Windows password to complete the startup process (if you have one).

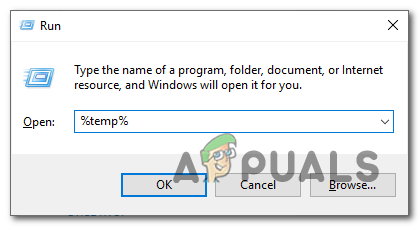
Entering the correct password at the Safe Mode login screen - Once the boot sequence is complete, press Windows key + R to open up a Run dialog box. Inside the Run text box, type ‘%temp%’ and press Enter to open up the Temp folder.
Accessing the temp folder - Once you’re inside the Temp folder, simply select everything and, right-click on an item and choose Delete from the newly appeared context menu to delete every temporary file.
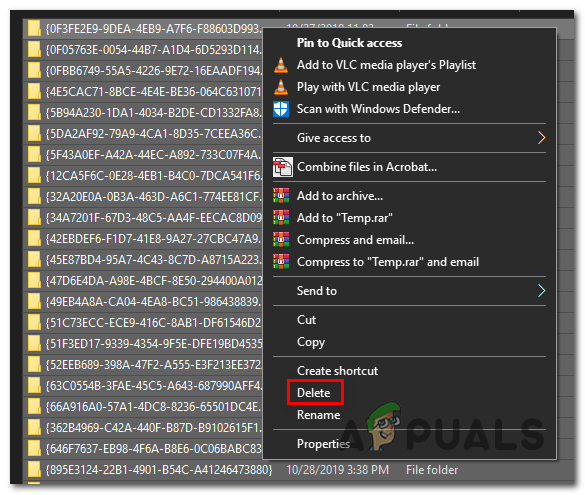
Deleting the Temp folder - Once the Temp folder is cleared, restart your computer and see if the issue is resolved at the next computer startup.
If the same problem is still occurring, move down to the next potential fix below.
Method 3: Running DISM and SFC scans
Another real possibility that might end up causing this behavior is some type of system file corruption. In some cases, the 0x80070043 error will get thrown because your OS is no longer capable to keep track of the correct locations of the files you’re trying to open.
Several Windows users that found themselves in a similar situation have reported that they managed to fix the problem and open setup applications without encountering the 0x80070043 error after they used a couple of utilities capable of fixing system file corruption – DISM (Deployment Image Servicing and Management) and SFC (System File Checker).
Keep in mind that DISM uses WU to replace corrupted data with healthy copies while SFC uses a locally cached copy to fix corrupted instances. Because the two utilities use two different approaches, we encourage you to run both scans to improve the chances of resolving the 0x80070043 error.
Here’s a step by step guide on performing DISM & SFC scans:
- Press Windows key + R to open up a Run dialog box. Next, type ‘cmd’ and press Ctrl + Shift + Enter to open up an elevated Command Prompt. When you see the UAC (User Account Prompt), click Yes to grant admin privileges to the CMD window.
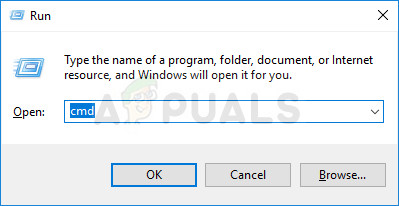
Running Command Prompt - After you’re inside the elevated Command prompt, type the following commands and hit Enter fire up an SFC scan:
sfc /scannow
Note: Once you start this scan, do not interrupt it under any circumstances. Doing this might create additional logical errors that will end up spawning more error messages.
- Once the scan is finished, close the elevated Command Prompt and restart your computer.
Note: Even if the final report log didn’t report any fixed occurrences, that doesn’t mean that no adjustments have been made. SFC is notoriously known for failing to report adjustments made to resolve logical errors. - At the next startup sequence, follow step 1 again to open up another elevated Command Prompt. Once you’re inside the CMD window, type the following command to initiate a DISM scan:
DISM /Online /Cleanup-Image /RestoreHealth
Note: To ensure that this procedure is running smoothly, you need to ensure that your computer is connected to a stable Internet connection. This is important because DISM uses the WU (Windows Update) component to download healthy equivalents for the corrupted files that are affected by corruption.
- Once the operation is complete, restart your computer and see if the issue is resolved at the next system startup.
If you’re still encountering the 0x80070043 error when performing the same action, move down to the next method below.
Method 4: Using the System Restore Utility
In case you’ve only noticed this error occurring recently, a recent system change has likely ended up interfering with your OS ability to open InstallShield executable. If this scenario is applicable, you should be able to circumvent or fix the problem by using the System Restore utility to revert your computer to a healthy state in which the same circumstances that are now causing the problems didn’t exist.
By default, your operating system is configured to save new restore snapshots at important system landmarks (before an app installation, after the installation of a Windows update, etc.). So unless you modified the default behavior or you’re using a system optimization app, you should have plenty of candidates to choose from.
But before you follow the instructions below, keep in mind that any change made before the creation of that restore point will be lost once the restoring procedure is complete. Keep in mind that this includes any installed applications, drivers, games and everything else.
If you understand the repercussions and you still want to proceed with using the System Restore utility, follow the instructions below:
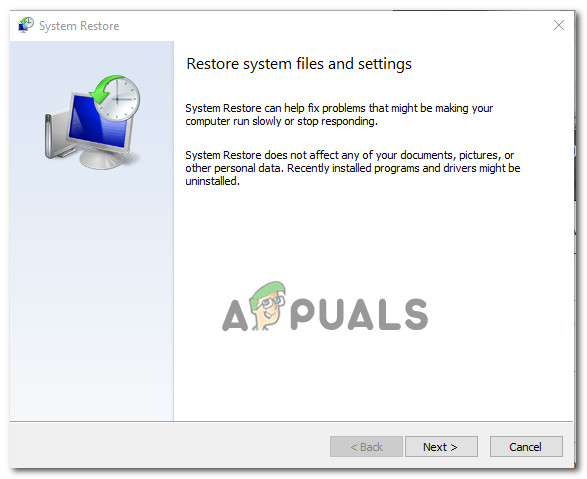
- Press Windows key + R to open up a Run dialog box. Once you’re inside the Run command, type ‘rstrui’ and press Enter to open up the System Restore menu.
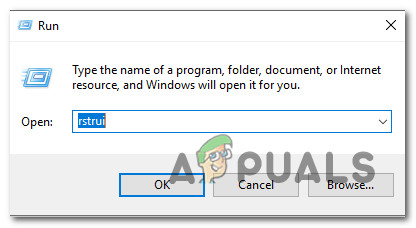
Opening the System Restore wizard via Run box - Once you arrive at the initial System Restore screen, click Next to advance to the next menu.
Using System Restore - After you get to the next screen, start the operation by checking the box associated with Show more report points. Once you complete this step, start looking at the dates of each saved restore point and select one that is older than the period in which you noticed that the issue started occurring.
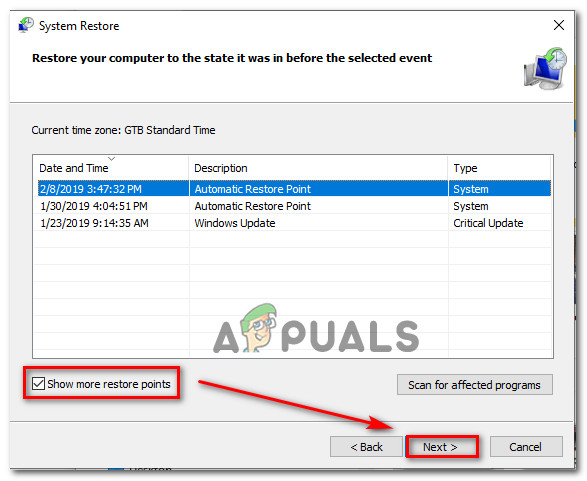
Restoring your system to a previous point in time - Once the correct system restore point is selected, click on Finish to complete the setup.
- After you initiate this process, your PC will restart and the previous state will be mounted. At the next startup, repeat the action that was triggering the error and see if the issue is now resolved.
If the same 0x80070043 error is still occurring, move down to the final method below.
Method 5: Performing a repair install / clean install
If none of the instructions below have allowed you to resolve the issue, likely, the issue you’re dealing with is actually beyond your control. If this scenario is applicable, the most convenable way of fixing the issue is to reset all Windows components including all booting data.
Several affected users that were also struggling to resolve the 0x80070043 error have confirmed that this operation allowed them to fix the issue entirely.
When it comes to resetting every OS component, you have two ways forward:
- A clean install – It the easiest procedure and it doesn’t have any prerequisites. However, the major downside of this method is that it will not allow you to keep your files unless you back them out in advance.
- A repair install (in-place repair) – A more tedious approach that will require you to possess an installation media compatible with your current Operating System. But it’s the more focused solution since it will only reset your Windows components (including booting data) while allowing you to keep all your files (including apps, games, personal media, and even some user preferences).


My support and cannetin setting shai