How to Export Bookmarks on Chrome, Firefox and Edge
Bookmarks are basically a way of storing your favorite pages right on your browser. You can bookmark a webpage and it will appear in your bookmarks toolbar (or somewhere else depending on where you saved them). You can then just click the bookmark and open the webpage or website. So, in short, you use bookmarks to make your favorite websites or the most visited websites accessible from a single mouse click.
Most of the times, when you are planning on doing a clean install of the Windows or want to uninstall your browser, you wouldn’t want to lose all the websites that you bookmarked. That is why every browser comes with an option to export the bookmarks so that you can make a backup and use them with the new fresh copy of the browser (by simply importing the bookmarks). Although there are options to keep the data (or not) while uninstalling the browser as well as the option of syncing your Google Chrome with your account, which saves your bookmarks and settings with your account, it’s always good to have a backup of your bookmarks in case something goes wrong.
So, the methods to export bookmarks for all major browsers are given below.
Google Chrome
Export Bookmarks
The steps for exporting your bookmarks are given below
- Open Google Chrome
- Press and Hold SHIFT, CTRL and O key simultaneously (SHIFT + CTRL + O)
- Click Organize
- Select Export bookmarks to HTML file…

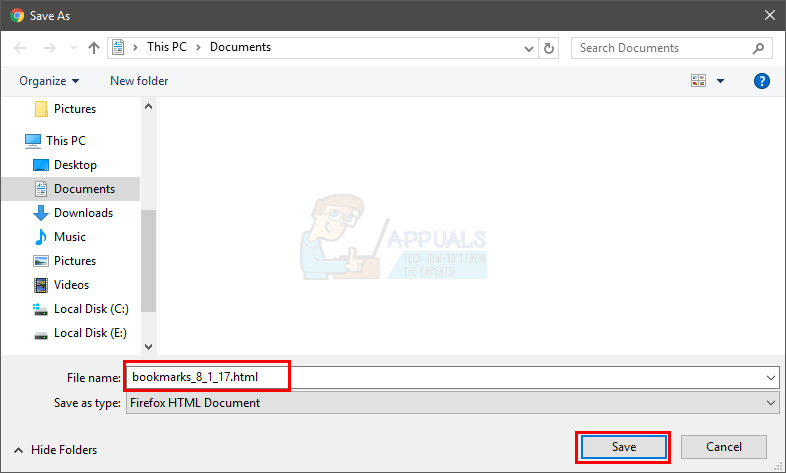
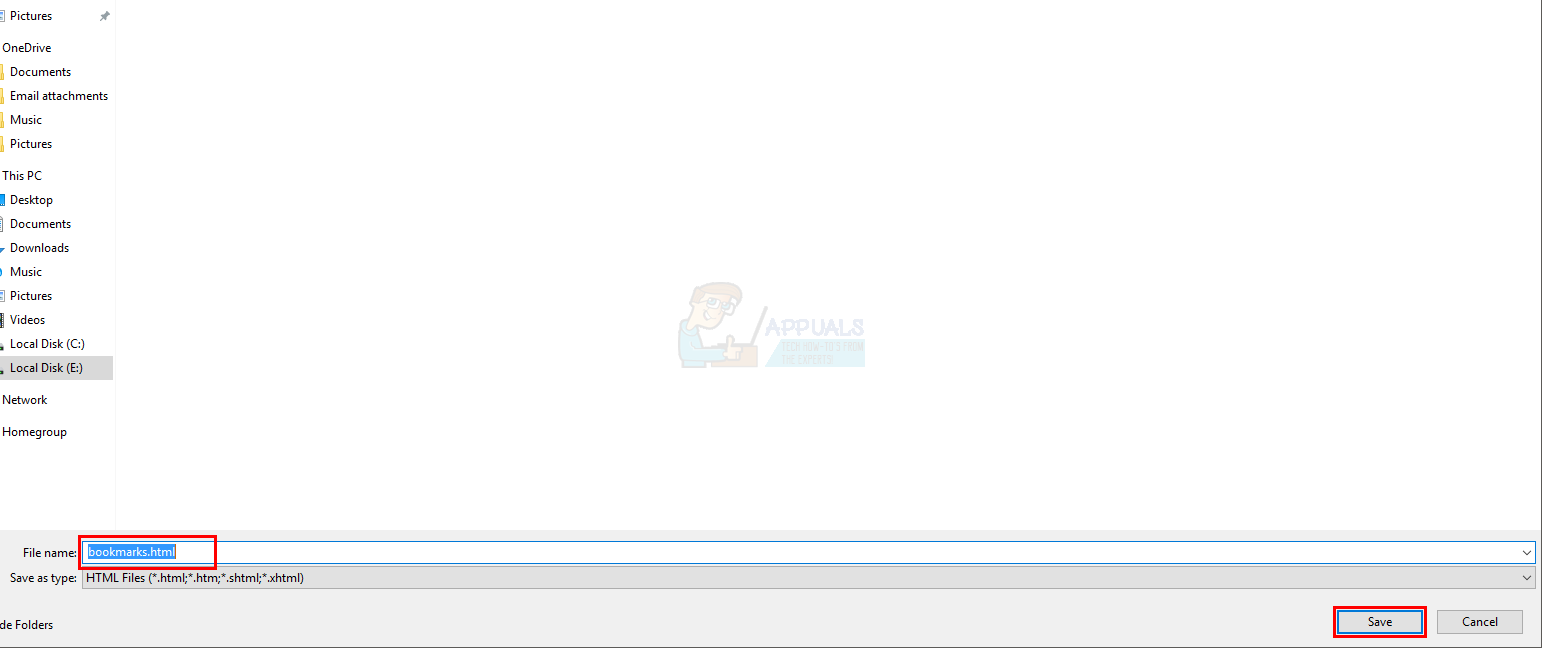
- Select the location where you want to save the bookmarks file and click Save
That’s it, you should have a copy of the bookmarks at that place. You can save the copy as a backup if you want.
There is another way to keep your bookmarks safe. Although this isn’t a way to export your bookmarks but if you are looking for a way to back up your Google chrome bookmarks then you can sign in to Google chrome and sync your settings (including the bookmarks). This way, the bookmarks will be synced and stored with your Google account. Even if you uninstall the browser, your bookmarks will be synced back when you sign in with your Google account.
Follow the steps below to sign in to Google chrome with your account.
- Open Google Chrome
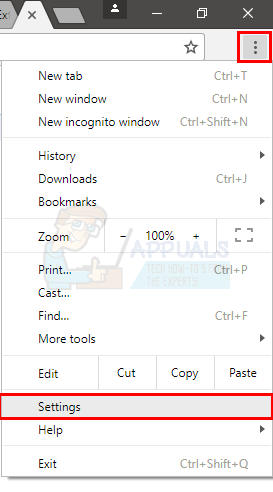
- Click the 3 dots on the top right corner
- Select Settings
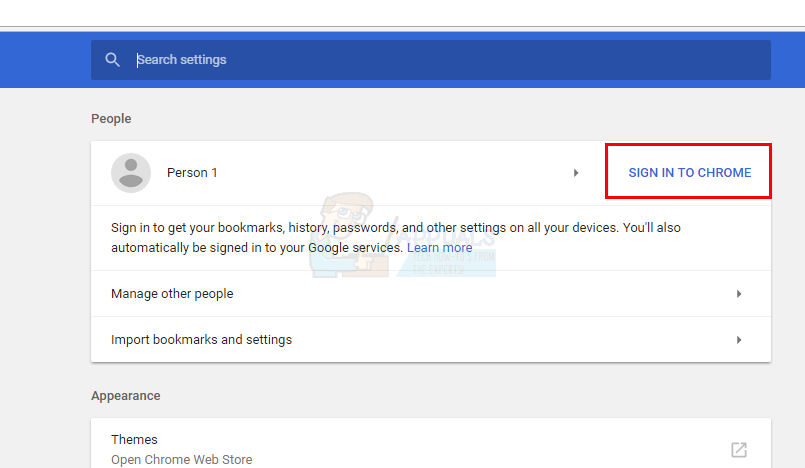
- Click Sign in to Chrome
- Sign in with your Google account
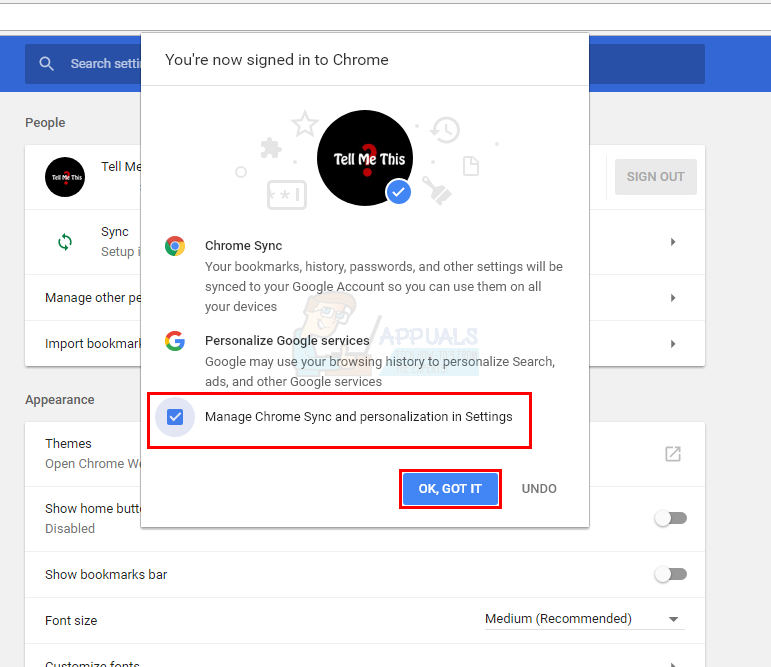
- A new dialogue will appear. Check the option that says Manage Chrome Sync and personalization in Settings and click Got it
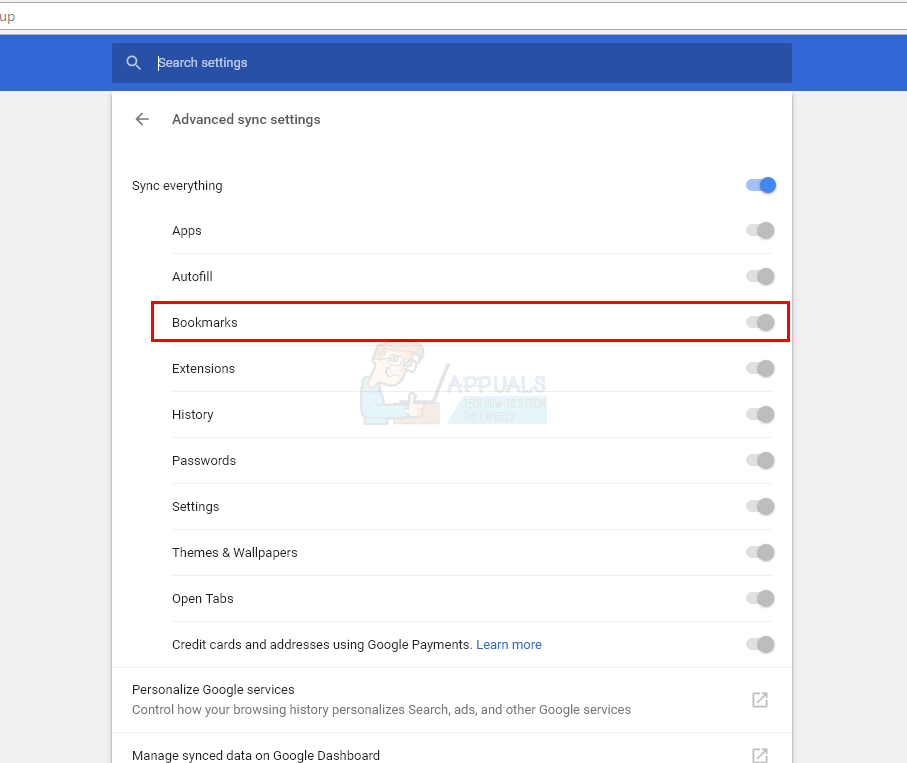
You will be redirected to a new page where you can toggle on/off the things that you want to sync with your account. By default, everything will be toggled on but you can change the settings as per your requirements. Just don’t forget to toggle on the Bookmarks options to sync your Bookmarks.
Importing Bookmarks
You can import the Bookmarks to your Google Chrome by following the steps given below
- Open Google Chrome
- Press and Hold SHIFT, CTRL and O key simultaneously (SHIFT + CTRL + O)
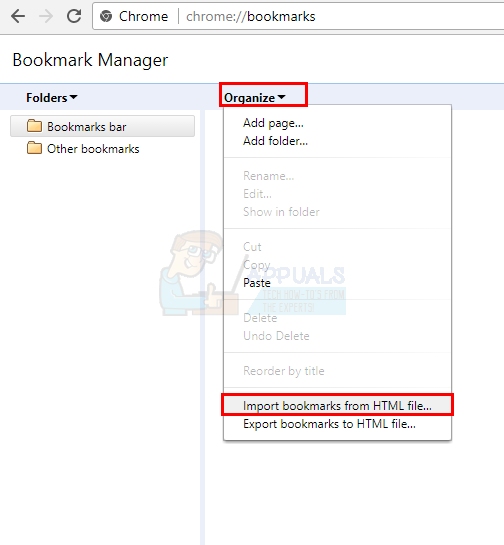
- Click Organize
- Select Import bookmarks to HTML file…
- Select Bookmarks HTML File from the drop-down menu of the newly created dialogue
- Click Choose File
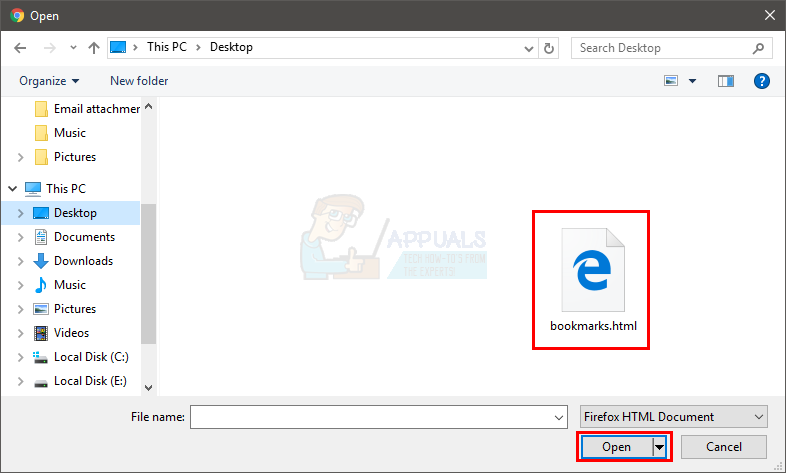
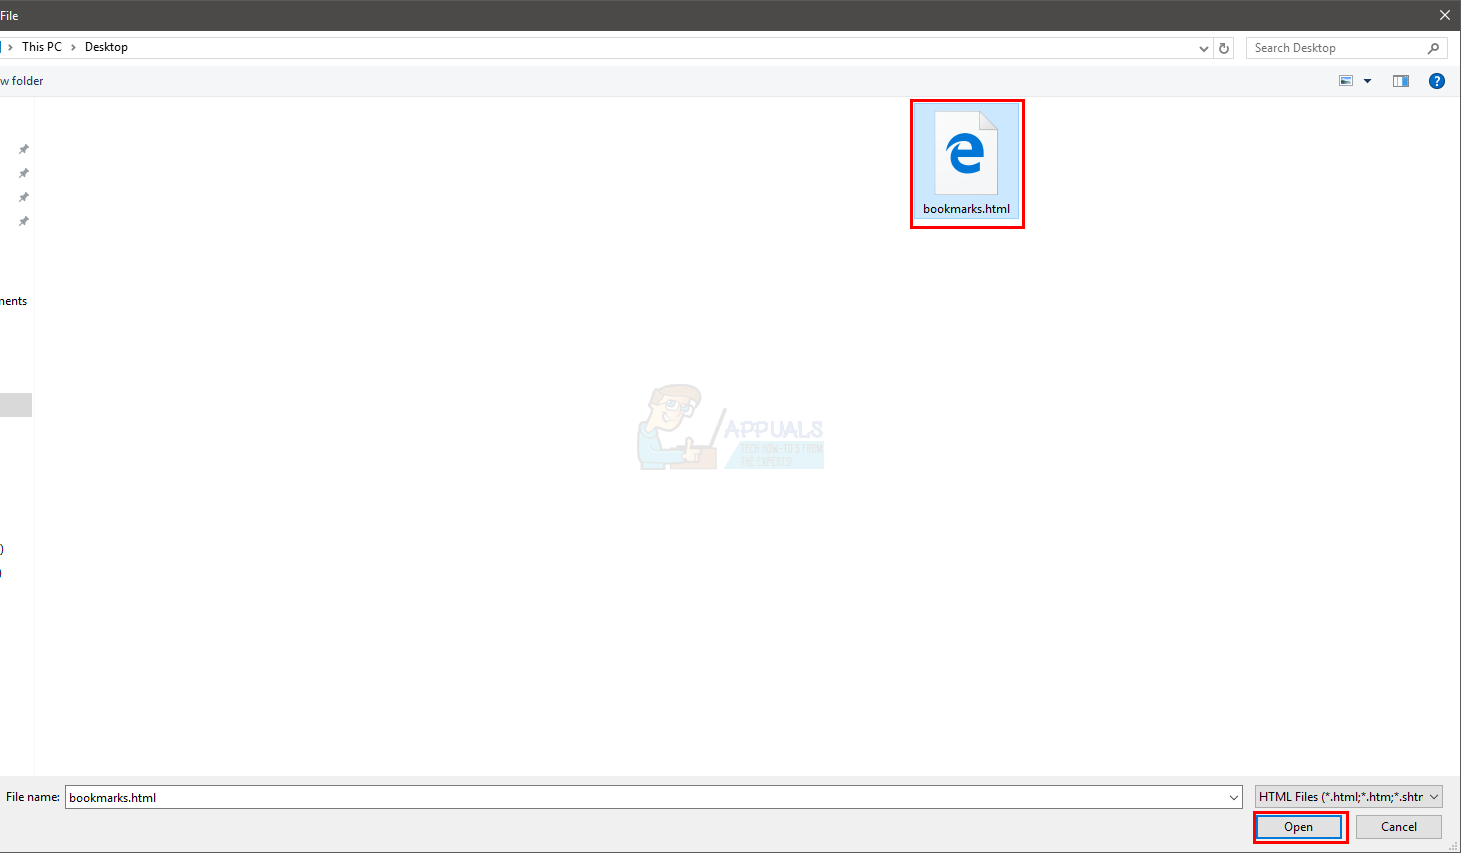
- Navigate to the location where your bookmarks are and select the file. Once selected, click Open. Note: Make sure to select “HTML Document” in the drop-down menu on the right of the “File name:” box.
Use the above given steps to import bookmarks from any browser. Just select the browser name, whose bookmarks you are importing, from the drop down menu in step 5.
Mozilla Firefox
Export Bookmarks
The steps for exporting Bookmarks from Mozilla Firefox are given below
- Open Mozilla Firefox
- Press and Hold CTRL, SHIFT and B simultaneously (CTRL + SHIFT + B)
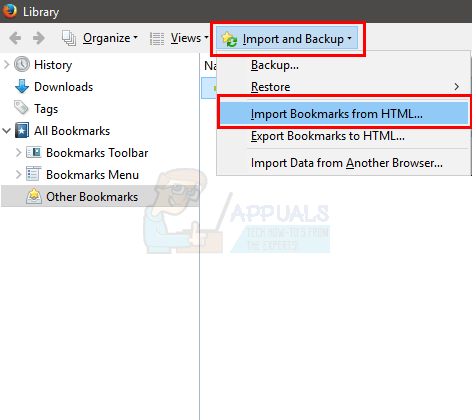
- Click Import and Backup
- Select Export Bookmarks to HTML…

- Navigate to the location where you want to save the bookmarks file and click Save
That’s it, you will have an HTML file containing all the bookmarks of your Mozilla Firefox browser.
Just like Google Chrome, you can sign in to Mozilla Firefox and sync your bookmarks. This way, your bookmarks will be safe even if you uninstall the browser. Whenever you sign in with your account, your settings and bookmarks will be brought back to Mozilla Firefox.
Note: Syncing settings and bookmarks isn’t a proper way of backing up your bookmarks. It will always keep your bookmarks updated to the latest version. If you want to have a specific set of bookmarks saved then follow the instructions given above.
Follow the steps below to sign in with your account and set up the sync in Mozilla Firefox
Note: You will have to sign in with a Mozilla Firefox account for this work. If you don’t have a Mozilla Firefox account then you will have to make one (instructions given below)
- Open Mozilla Firefox
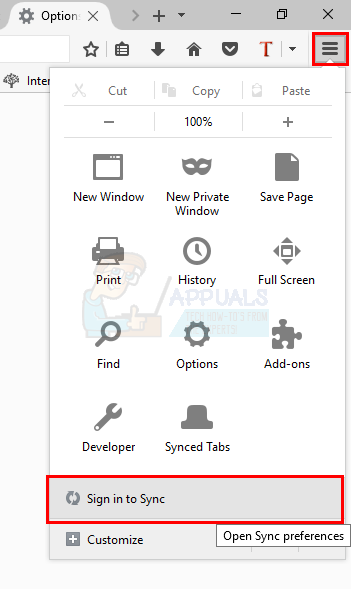
- Click on the 3 lines on the top right corner to open the menu
- Click Sign in to sync
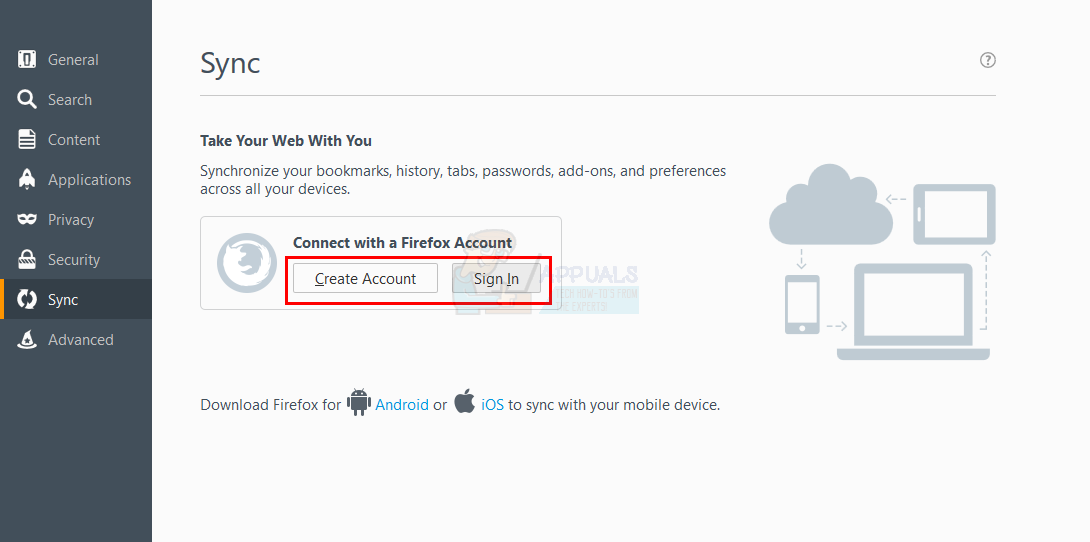
- Click Sign in or Create account (if you don’t have an account on Mozilla Firefox). If you select the Create account option then enter the email, password and your age. You can then select the things that you want to sync. Once you have entered the information, simply verify your email and the syncing will start.
Note: Even if you are signing in to the Mozilla Firefox, you will have to confirm the sign in from the link that they will send you through email
If you want to change the settings or you want to manage what things to sync then follow the steps given below
- Open Mozilla Firefox
- Click on the 3 lines on the top right corner to open the menu
- Click Options
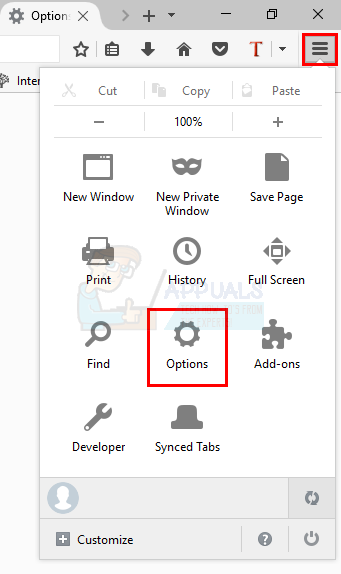
- Select Sync
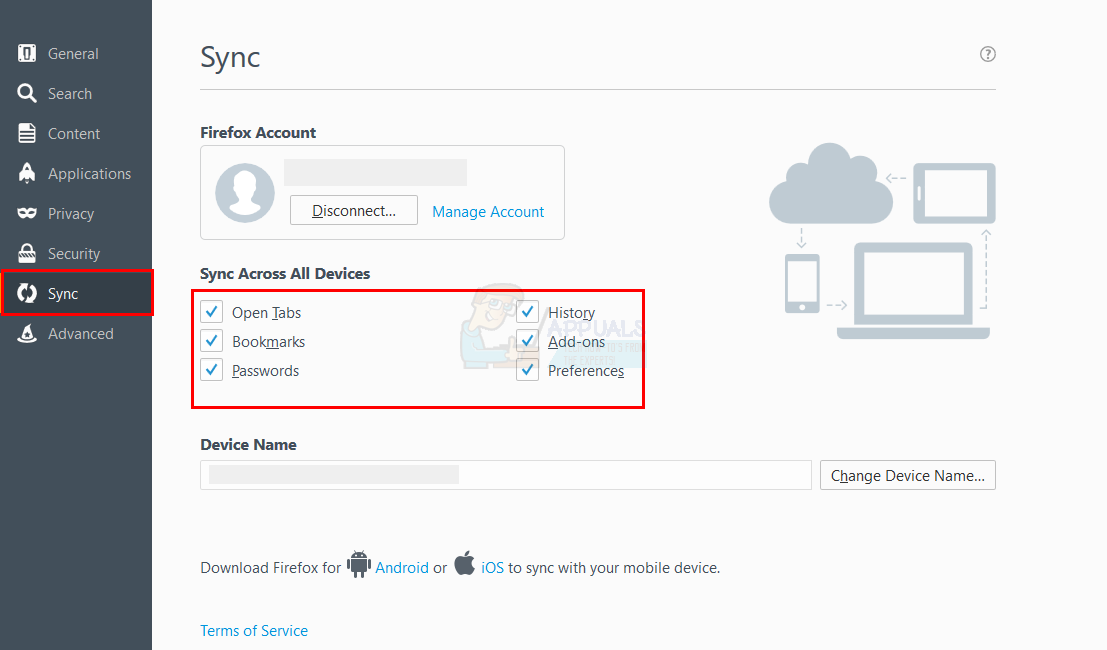
Here, you will see the things that can be controlled. Just uncheck the boxes that you don’t want to sync and that’s it.
Import Bookmarks
- Open Mozilla Firefox
- Press and Hold CTRL, SHIFT and B simultaneously (CTRL + SHIFT + B)
- Click Import and Backup
- Select Import Bookmarks from HTML…
- Navigate to the location where your bookmarks are and select the file. Once selected, click Open. Note: Make sure to select “HTML Document” in the drop-down menu on the right of the “File name:” box.
That is it. Follow any additional on-screen instructions and you should be good to go. You can use the above given steps to import the bookmarks of any browser.
Microsoft Edge
Exporting Bookmarks (known as favorites on Microsoft Edge) is a bit trickier than other browsers. Microsoft updates Windows 10 pretty regularly so things are changing quite a bit. If you have installed the Windows 10 Creators Update then there is a built-in feature of Microsoft Edge that will let you export the bookmarks. However, if you have any version of the Windows 10 that was released before the Creators Update then you will have to use a third party tool to export your bookmarks. Updates that were released before the Windows Creators Update didn’t provide any built-in feature for Microsoft Edge.
So, we will be covering both methods for exporting the favorites from Microsoft Edge. This is mainly because there are a lot of people who might not have upgraded their Windows to the latest Creators Update.
Note: This will only work on Windows 10 because Microsoft Edge isn’t available on other versions of Windows
Export Bookmarks after the Creators Update
Follow the steps given below to export your favorites
- Open Microsoft Edge
- Click on the 3 dots (top right corner) to open the menu
- Select Settings

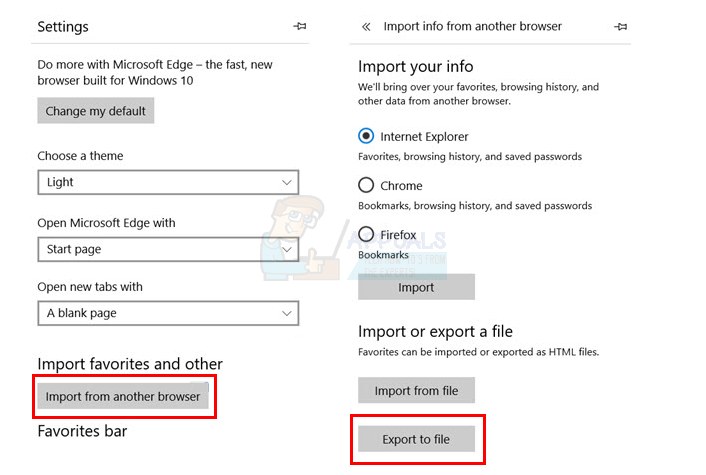
- Select Import from another browser
- Select Export to file in Import or Export a file section
- Navigate to the location where you want to export the favorites and click Save
Now there should be a file containing all your favorites of the Microsoft Edge browser.
Export Bookmarks before the Creators Update
If you don’t have the Creators Update installed then you will have to download a third party tool called EdgeManage. The steps given below will cover the steps to export your favorites with the help of EdgeManage.
- Go here and click on the Download button to download the EdgeManage
- Once downloaded, simply double click the file exe and install EdgeManage
- Open the EdgeManage
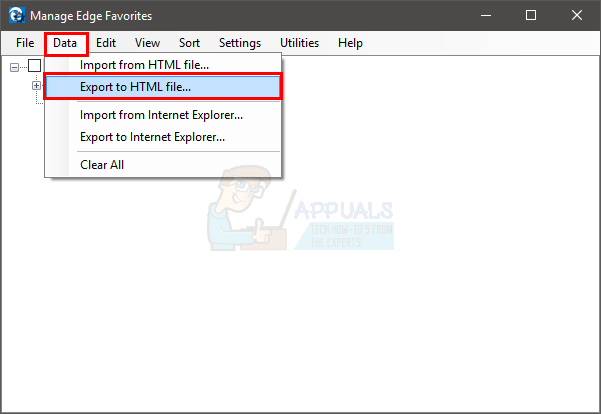
- Now select the folder you want to export, in this case the _Favorites_Bar_. You can also select other folders if you want but we will cover the Favorites bar only.
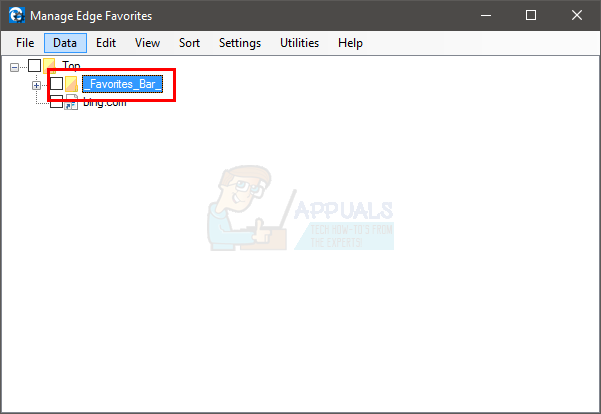
- Once the _Favorites_Bar_ is selected, click on Data and then select Export to HTML file…
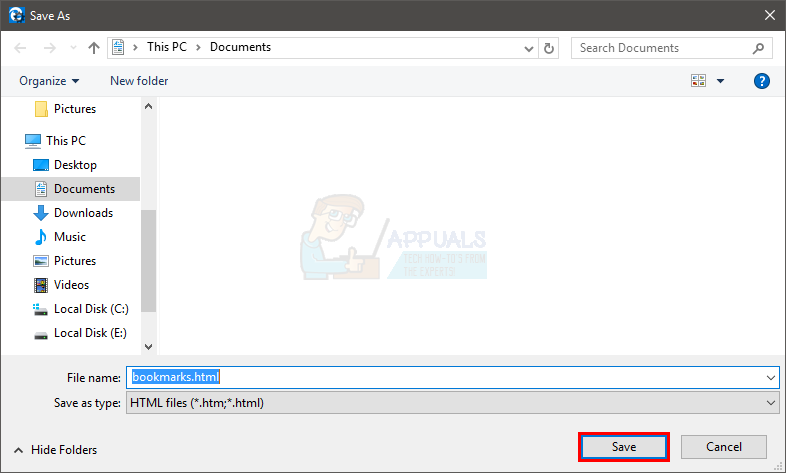
- Navigate to the location where you want to export the file and click Save
- Click Ok once the export is finished
This should successfully export your favorites.
You can also use your Microsoft Account to sync the favorites from your Microsoft Edge. This will make sure that your favorites are updated and saved with your account. So, your settings along with your favorites will come back whenever you will sign in with your account. Keep in mind that your favorites will stay updated with this technique. This isn’t a backup technique nor should this be used as such. It is a simple work around for the safety of your favorites. Syncing Microsoft Edge with your account will make sure that your favorites are safe.
- Open Microsoft Edge
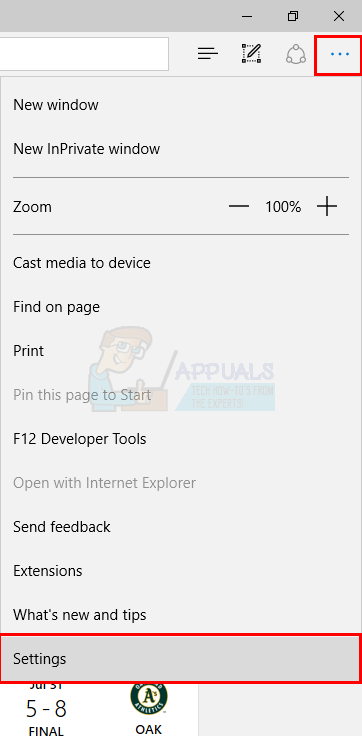
- Click on the 3 dots (top right corner) to open the menu
- Click Settings

- Click to toggle on the Sync your favorites and reading list. It will be under the Account
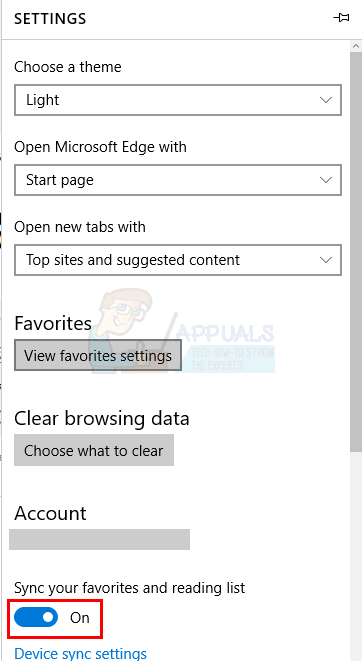
That’s it. Your favorites and other settings should be synced now.
Import Bookmarks
Luckily, it is pretty straightforward to import bookmarks into the Microsoft Edge and the procedure is the same across all the Windows versions.
- Open Microsoft Edge
- Click on the 3 dots (top right corner) to open the menu
- Click Settings
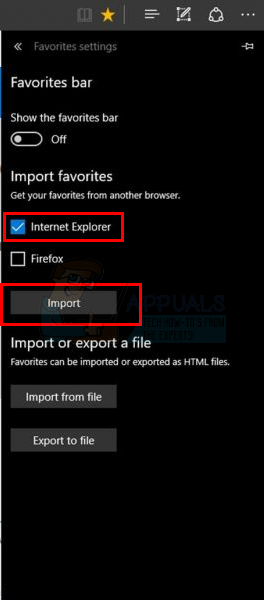
- Click View favorites settings

- Now, you have two options. If you haven’t exported the bookmarks from other browsers then you can directly import the bookmarks from them. Just simply select the browser from the list and click Import.
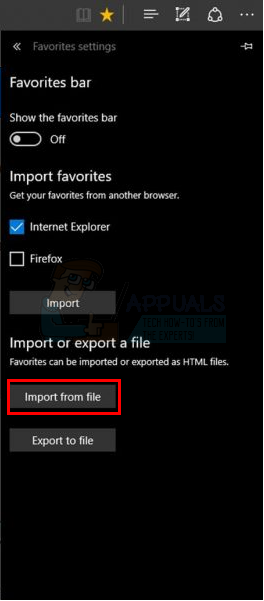
- However, if the browser isn’t listed then you will have to export the bookmarks from that browser (if you haven’t already). The steps for exporting bookmarks from Google Chrome and Mozilla Firefox are given in the beginning of this section. Once you have the HTML file, click on the Import from file, navigate to the location of that file, select the file and click Open
Internet Explorer
Export bookmarks/favorites
Exporting Bookmarks or Favorites from the Internet Explorer is very easy. Just follow the steps given below to export all of your Internet Explorer favorites.
- Open Internet Explorer
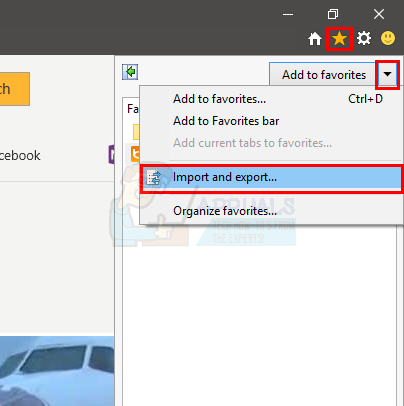
- Click View Favorites. This should be a star on the top right corner
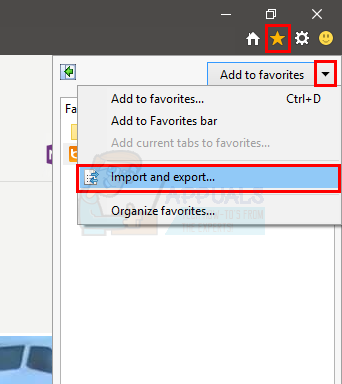
- Click the Arrow (pointing downwards) just on the right side of Add to favorites button
- Click Import and export…
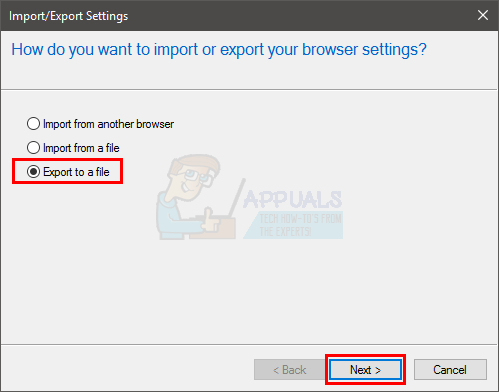
- Click Export to a file and click Next
- Check the box favorites box (because we want to export favorites)
- Click Next

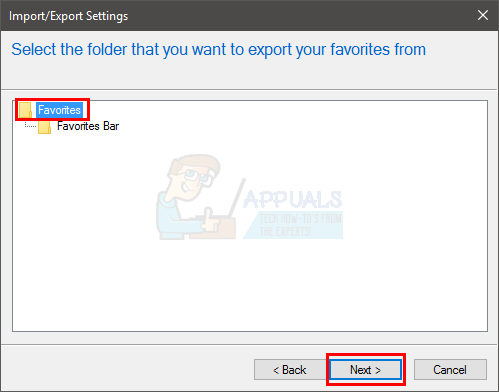
- Select the folder that you want to export. In this case you should select the Favorites folder.
- Click Next
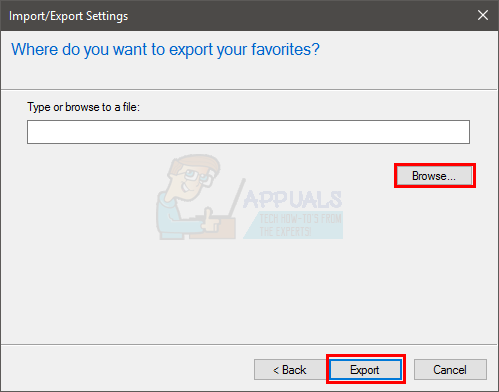
- Click on browse to select the location where you want to export the favorites and click Export
- Once it is done, click finish
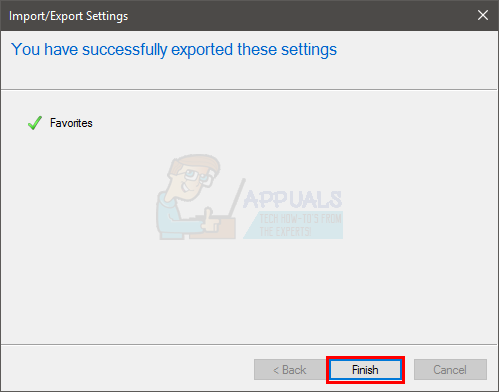
Now you should have your favorites/bookmarks from the Internet Explorer in a file.
Import the bookmarks
Importing bookmarks to the Internet Explorer is also very easy. You can import directly from another browser (this might not work for all browsers) or you can import the bookmarks from an htm bookmark file (that will contain exported bookmarks from another browser).
Import from Chrome directly
You can export bookmarks from Chrome directly. Follow the steps given below to do so
- Open Internet Explorer
- Click View Favorites. This should be a star on the top right corner
- Click the Arrow (pointing downwards) just on the right side of Add to favorites button
- Click Import and export…
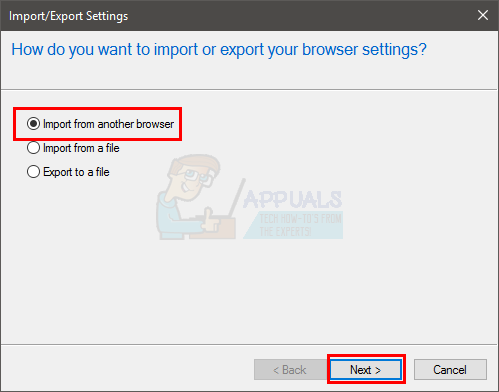
- Select Import from another browser
- Click Next
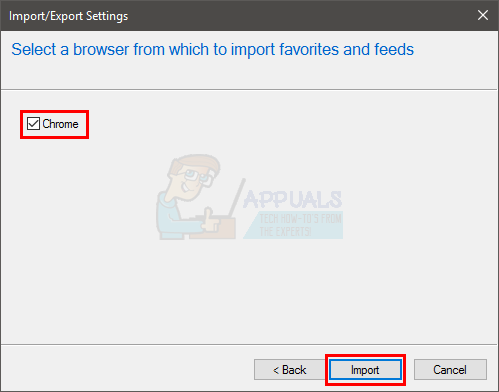
- Check the Chrome option
- Click Import
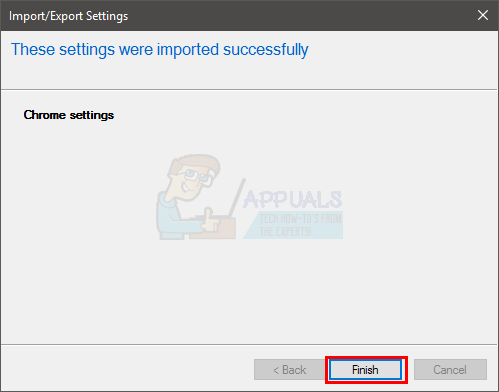
- Click finish once the bookmarks are imported successfully
That’s it, you should have the bookmarks from your Google Chrome.
Import from a bookmarks file
If you already have a bookmarks HTML file then follow the steps given below to add it to your Internet Explorer
- Open Internet Explorer
- Click View Favorites. This should be a star on the top right corner
- Click the Arrow (pointing downwards) just on the right side of Add to favorites button
- Click Import and export…

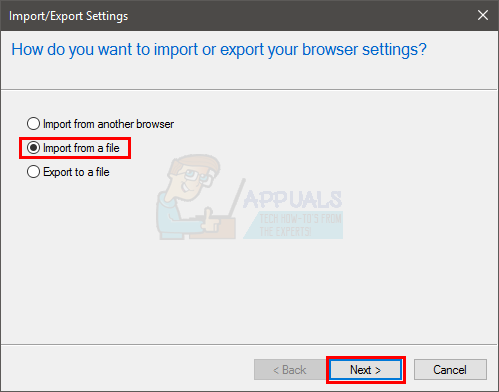
- Select Import from a file
- Click Next
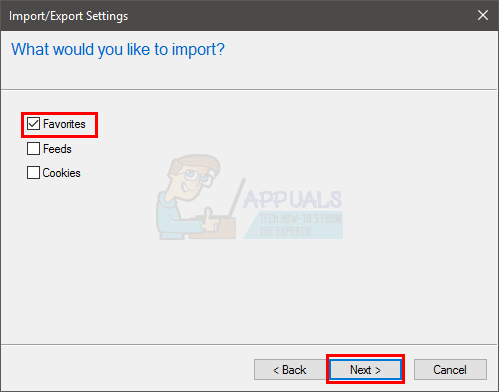
- Check the favorites box (because you want to import a favorites/bookmarks file)
- Click Next
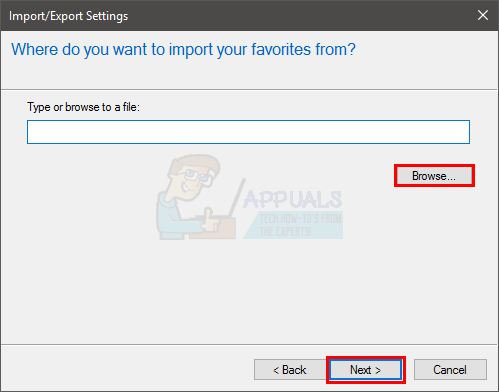
- Click on browse to navigate to the location where your bookmarks file is and select it. Click Open
- Click Next
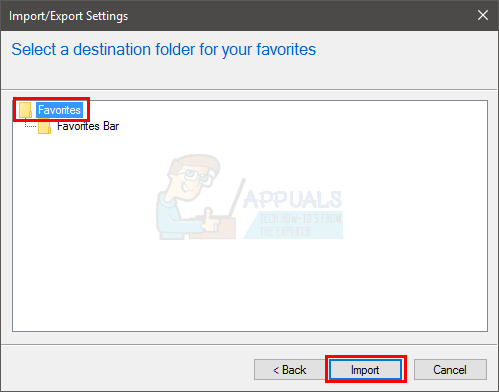
- Select the folder where you want to import. In this case you should select the top favorites folder
- Click Import
- Wait for it to import. Once the process is finished click finish
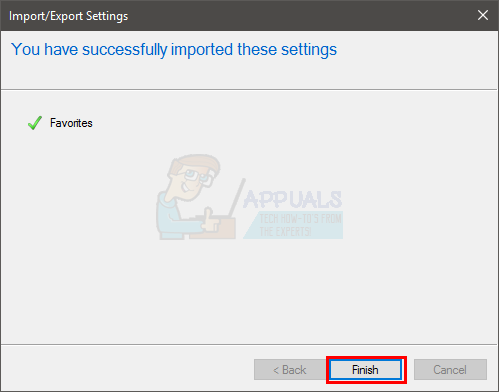
This should successfully import all the bookmarks from the file.