How to Edit and Trim Videos on Windows?
Since Microsoft decided to stop including Movie Maker with the newer Windows releases, some users are left without an intuitive way to edit short videos taken by themselves.
Most users looking to edit a video turn to a third party solution believing that Windows isn’t equipped to do this by default. If you’re a new Windows 10 user, you might be unaware that the operating system has built-in capabilities to trim or split portions of a video.
Fortunately, Windows is perfectly capable of trimming and splitting various videos, but the path of doing so is not as straightforward as one might believe.
If you’re looking for a way to edit a video without installing any additional software follow the 1st Method but for if for any reason you cannot; then try Method 2 which utilises the VLC Media Player to achieve the same objective.
1. Cut or Split videos with the Photos App on Windows 10
Editing videos under Windows 10 is a little counter-intuitive. Since the default app for opening videos is Movies & TV, one might expect that this app is equipped with video editing capabilities. Well, it isn’t.
The only way to trim and split videos in Windows 10 is via the Photos app. Here’s a quick guide on how to do this:
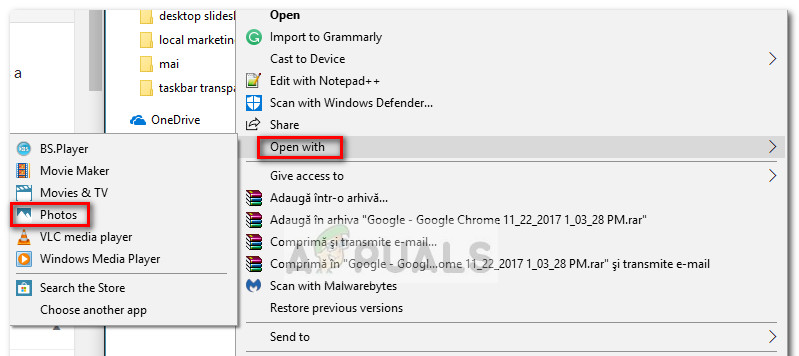
- Navigate to the location of the video that you’re trying to edit, right-click on it and choose to Open With > Photos.
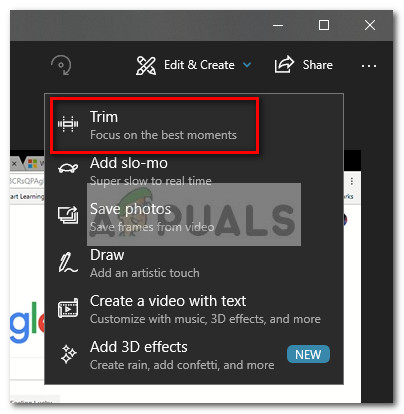
- Once the video is open in the Photos app, hit the Edit & Create button in the top-right corner and choose Trim.
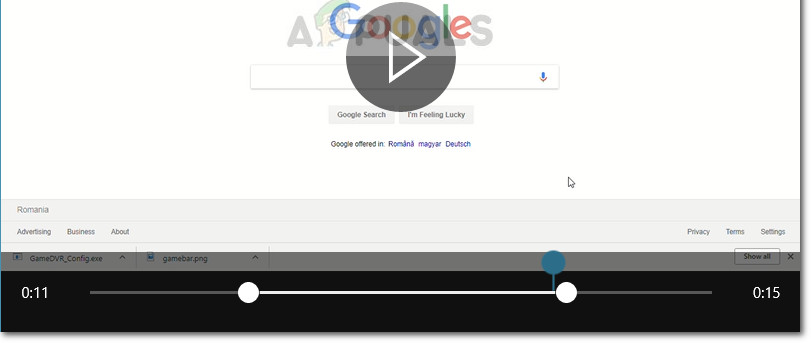
- Next, you should notice the appearance of two new sliders. Adjust them to remove the unnecessary parts from a video and focus on the best moment. When you’re satisfied with the result, hit the Save a copy button located in the top-right corner of the Photos app.
 Note: When you hit the Save a copy button, the selected portion of the video will be saved in a separate file alongside the whole video. Windows will automatically add a “Trim” termination at the end of the name so you’ll know which is what.
If you wish to split a single video into multiple smaller pieces, you’ll need to open the video with the Photos app, trim it once and then re-open the original video to trim it once again. You’ll need to do this systematically until you manage to split your video into as many pieces as you want.
As you can see, the Photos app is an extremely basic editing tool. But it’s easy to use, intuitive and works pretty fast. If you only need to trim a video or split it into multiple sections, it will get the job done in no time. If you’re looking for something more elaborate, you have little choice but to use a 3rd party solution.
2. Cutting/Trimming Clips with VLC Media Player
The VLC media player is one of the most used cross-platform multimedia players. It supports all kinds of media formats and streaming protocols. It provides many different kinds of features to optimize the videos in the media player. Some users are wondering about how to trim or cut video clips in the VLC media player. There is no such feature in the VLC media player for cutting or trimming videos yet. However, there is an alternative method to does a similar job. In this article, we are going to show you a method through which you can trim or cut the video clips in VLC media player.
The VLC media player has an option for recording the media that is playing in VLC. There is no specific tool for cutting or trimming the video like in some video editing software. The only option for you is to use the recording feature and record the clips from the full video file. The file will be saved in the Video folder of your system. However, this will still not be the best option as the recorded clip will have few seconds difference depending on the file. You can try playing with it to find the correct timing for recording clips.
- Open the VLC media player by double-clicking on the shortcut. You can also open it by searching it through the Windows search feature.
Opening the VLC media player - Now click on the File menu and choose the Open option. Select the video file that you want to trim/cut in VLC and open it.
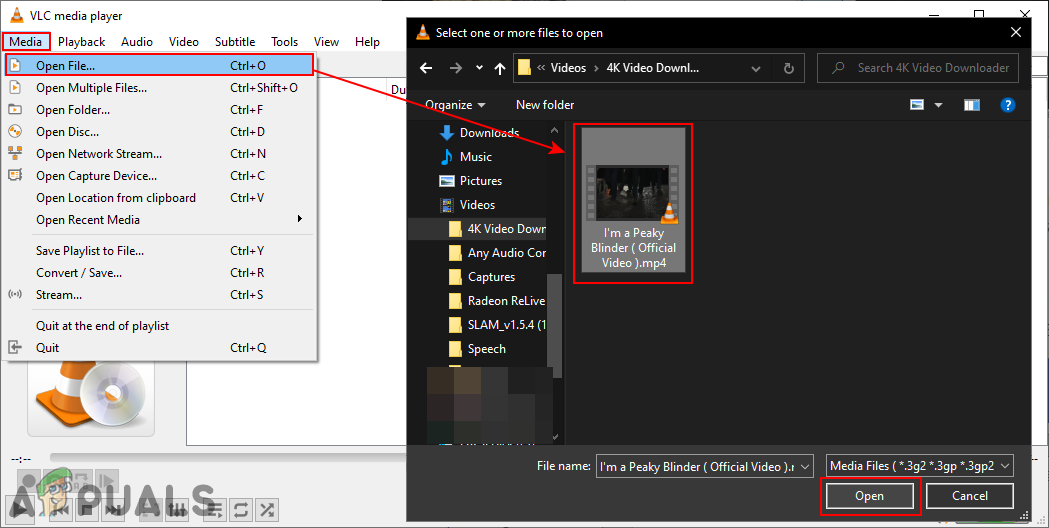
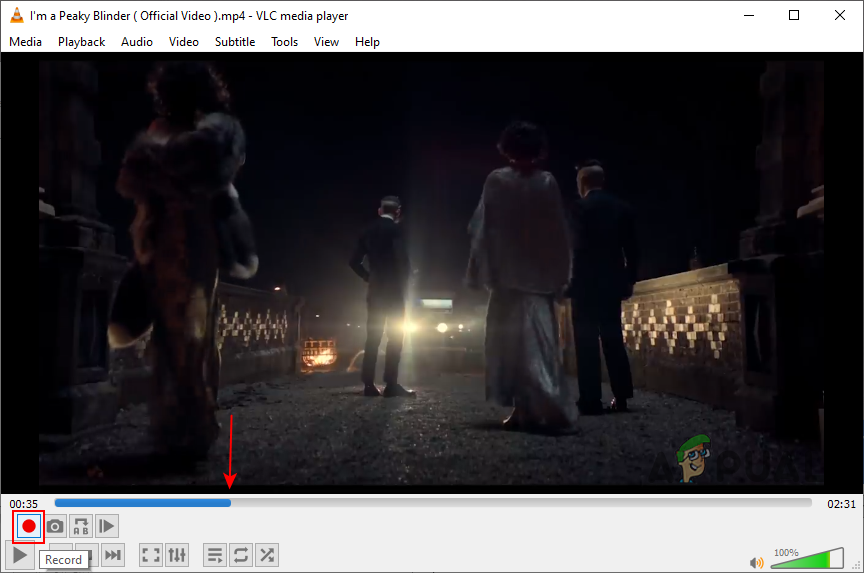
Opening a Video file - Click on the View menu in the menu bar and choose the Advanced Controls option. This will enable some advanced buttons over the top of default control buttons.
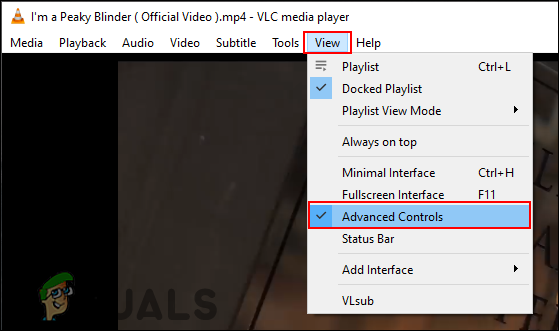
Enabling Advanced Controls - Now move to the starting point in the video and pause the video. Click on the Record button and play the video.
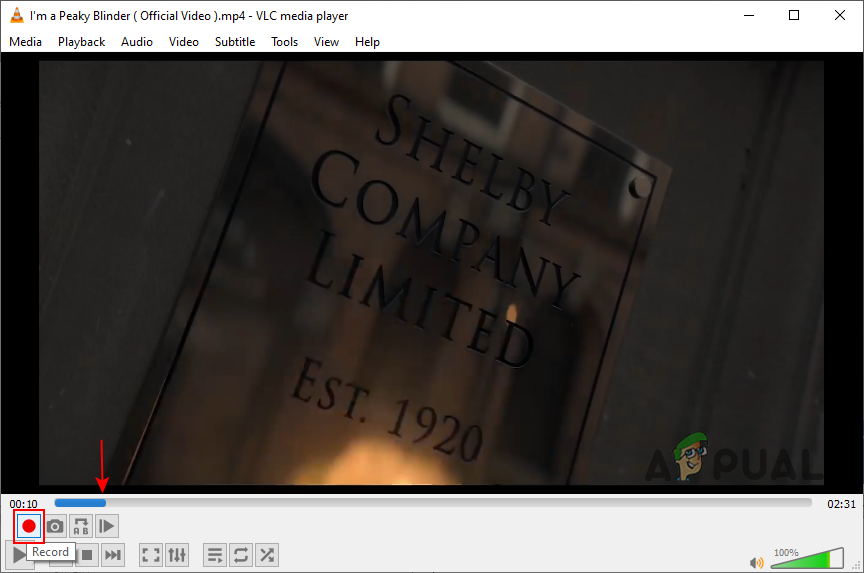
Recording a clip - When it reaches the ending point, pause the video and click the Record button again.
Completing a recording - The file will automatically be saved in the Video folder on the computer. If you want to change the location of the folder, click on the Tools menu in the menu bar and choose the Preferences option.
- Now click on the Input / Codecs icon at the top and change the directory for the “Record directory of filename” option as shown.
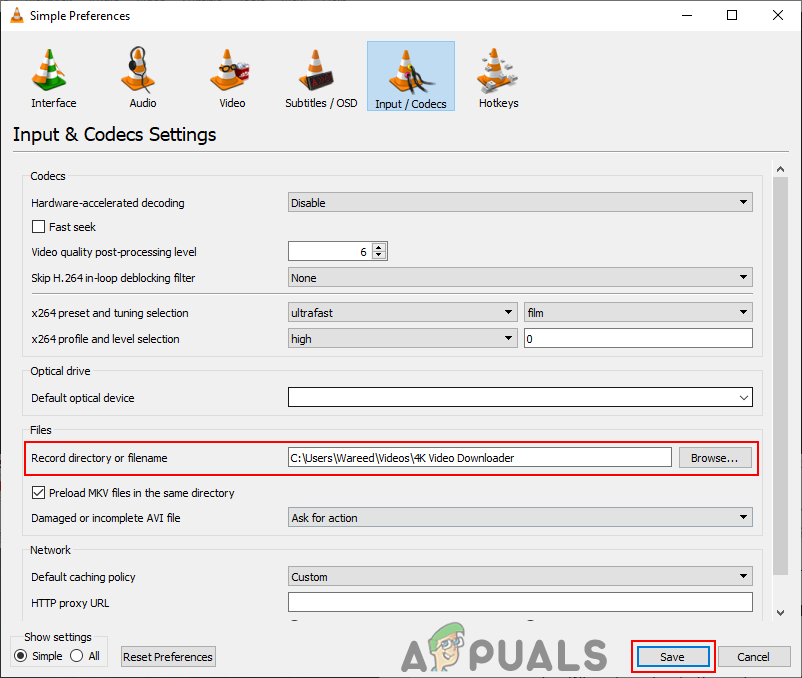
Changing the directory - Click on the Save button to save the changes for VLC recorded files directory.
We still do not recommend using the VLC media player for cutting or trimming video clips. There will be some timing and quality issues from time to time. The VLC media player is basically used for playing most types of multimedia files. It does provide some additional options, but it is far from a video editor. If you want to get a better result, then try using a video editor rather than the VLC media player.


