How to Draw a Ghost on Adobe Illustrator
Adobe Illustrator can be used to make a number of illustrations with a lot of ease. You can make a ghost illustration with just one simple tool on Adobe Illustrator, and edit it slightly, to make it look super cool. You can use these illustrations on cards, or any of your designs. Follow the steps as mentioned below to make a ghost on Adobe Illustrator to perfection.
- Open your Adobe Illustrator to an empty artboard. The basic idea is to draw a freehand sketch on the artboard which will look like a ghost. You can use a pen tool for this if you want to, but an easier way to scribble for such a drawing would be to use the pencil tool. You can find the pencil tool right under the shape tool. If you click the right button of your cursor on the icon under the shape tool, you will find the pencil tool there.
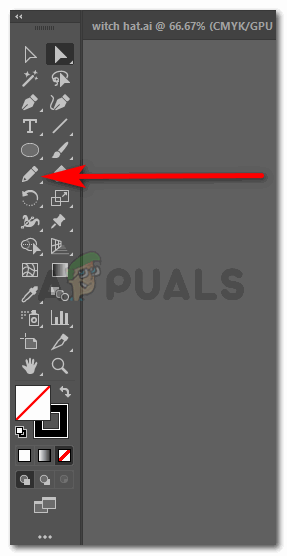
Selecting the pencil tool to draw a rough sketch 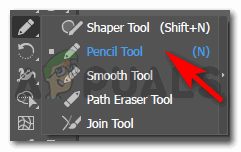
Pencil Tool - All you have to do it scribble on the artboard a freehand sketch. You can use an image of a ghost for reference to draw this. If you find this very hard, you can also bring the image of a ghost on Adobe Illustrator, and trace it with the pen or pencil tool, depending on which one you find easier. I drew the sketch looking at an image. I did not trace it though, but you can if you find this way a bit difficult to handle.
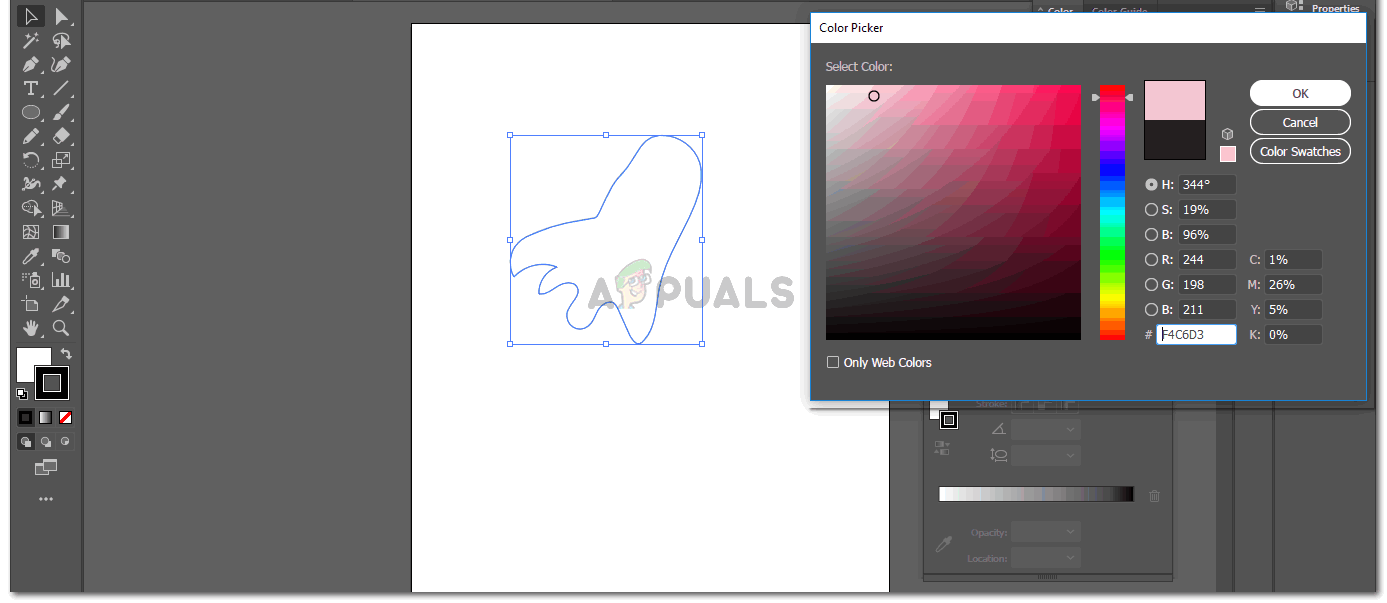
Draw a freehand outline for the ghost.
For the outline of the shape that you just drew, make sure you use the lightest shade. The only reason you are adding a color right now for the outline is to see it visible on the screen. After the effects of a ghost are added to the shape, the outline will be removed to make it look perfect.
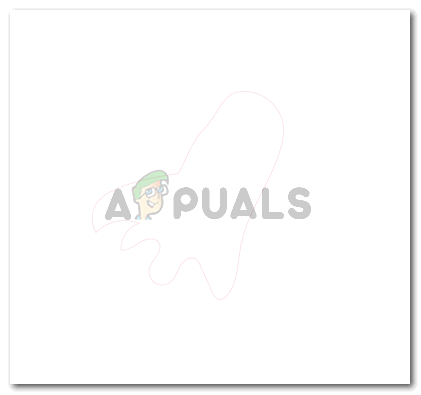
I chose the lightest shade of pink, and this is how my ghost looks like after I selected the color, which is barely visible.
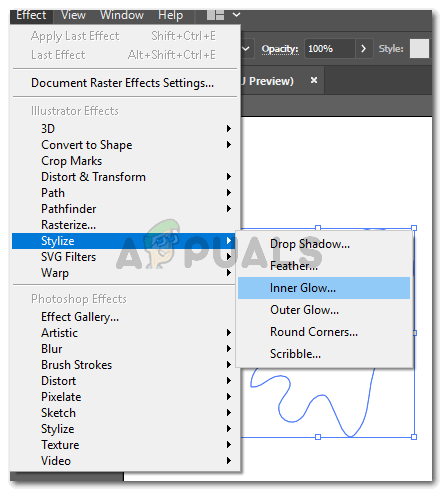
- Now, to finally add the effects to the ghost, you will select the shape, go to ‘effect’ on the top toolbar, locate the option for Stylize, which will open an extended list of effects for you to try. Here, you will see the effect ‘Inner Glow’, as shown in the image below. This is what you need to click on.
Use the Inner Glow, to make the drawing look more real A box for Inner Glow settings will appear. Here, you have to try all the settings to see which makes your ghost look more realistic and more arty. First things first, change the color of the glow, where was by default at white, but now is grey after I changed it. If you click on the white square right in front of mode, the options for colors will show. Choose grey, but if you want to make it a color, you can always choose a different combination. The mode, opacity, and blur can be altered from these settings. To see how the effect is showing on the shape, check the preview box.
- Once all the editing is made, click OK to finalize all the effects. Your ghost has been colored successfully.
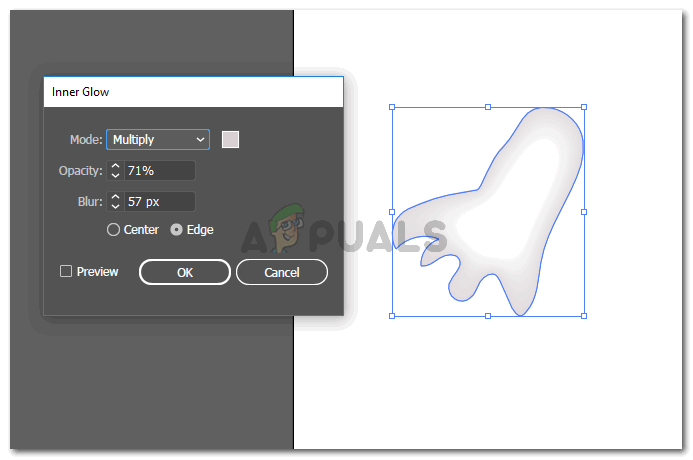
Edit the settings 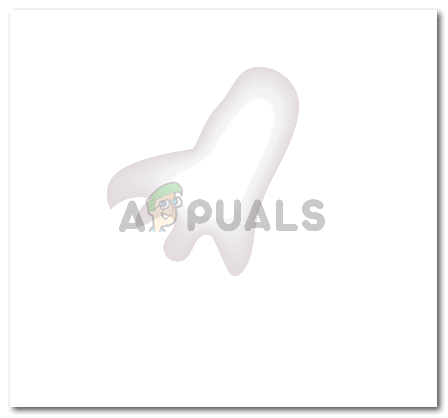
The ghost illustration is almost complete - The next step is to make the eyes for the ghost. Since you are designing it, the choice is up to you whether you want to make the features of the ghost, or you want to keep it just like this, just how the logo for Snapchat it. But, to show you how you can make the eyes for a ghost, here is what you need to do. Select the Ellipse tool from the left toolbar panel. Select the color for fill and outline. I chose the color black for the eyes.
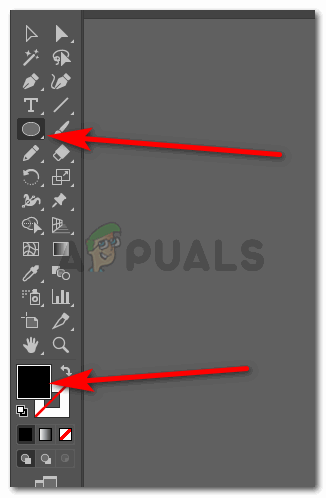
Ellipses for the eyes I simply drew one small oval keeping in mind the size of the body of the ghost that I just made. And instead of making two ovals, I copied the one oval that I drew. You can copy an image by selecting the image, pressing the alt key on your keyboard while you click on the shape and drag and drop a copy of the image on anywhere on the artboard. When you copy an image, the cursor on Adobe Illustrator shows two copied cursor, which is a sign that the image is being copied once you release the mouse.
Draw the eyes for the ghost - Now that the eyes have been made, I will select both the eyes, and drag them to the body of the ghost. Since the body of the ghost is a little tilted, I will rotate the eyes to match the angle of the body.
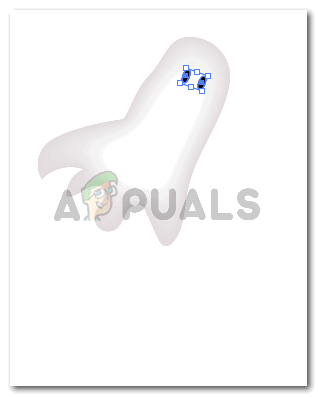
Adjusting the eyes accordingly The ghost illustration is ready to be used now.
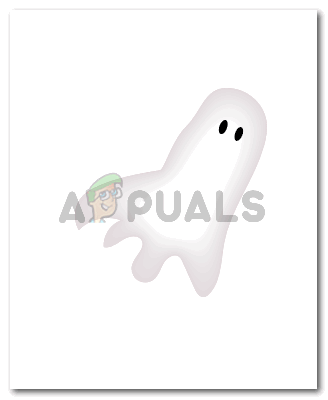
It is ready

