How to Disable Recent Files in Windows?
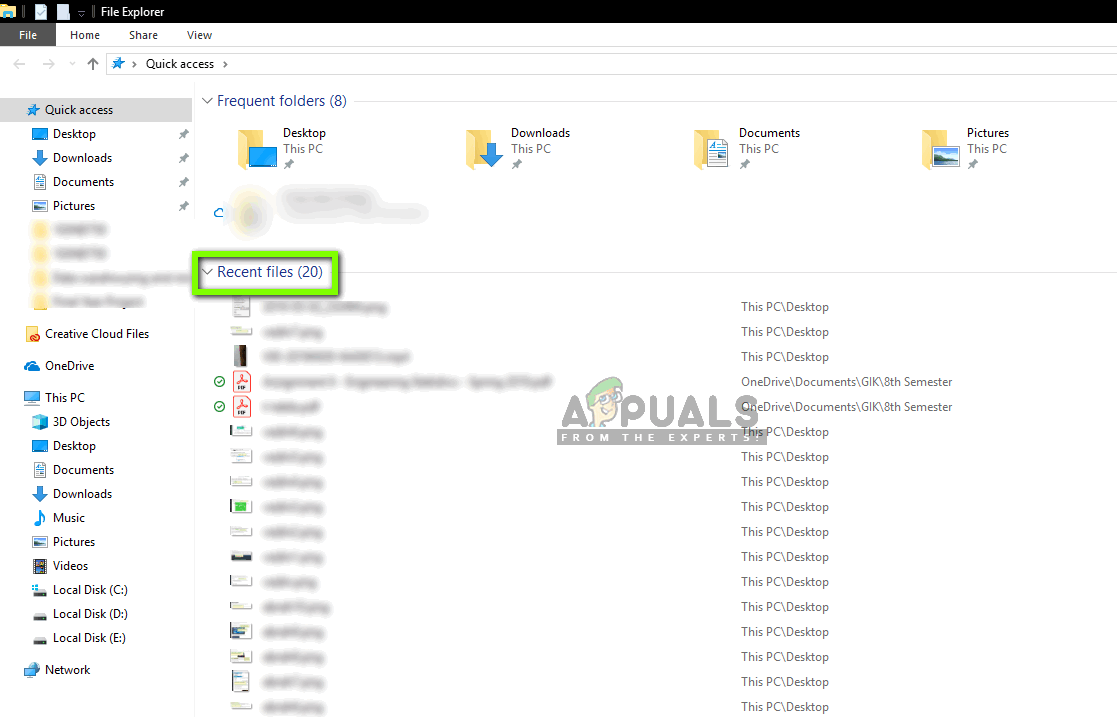
Windows 10 comes with an easy to use interface and better security features than its predecessors. One of the new features added in it is the “Recently Opened Files” feature that displays the user’s recently opened files in the File Explorer. However, this feature generates some privacy concerns if more than one person uses the same Computer. Therefore, in this article, we will guide you with the methods to disable this feature.
How to Disable Recent Files in Windows 10?
The “Recent Files” feature might be a privacy concern for some people and here we will teach you how to disable it permanently. In order to disable it, you can apply three methods that are listed below.
Method 1: Clear Recent Files Manually
Information about the recently opened files is stored in the form of cached data. You can locate this data and manually delete it from time to time. In order to do that:
- Press the “Windows” + “R” key simultaneously to open the “Run” Prompt.
Opening Run Prompt - Copy the following address into it
%AppData%\Microsoft\Windows\Recent
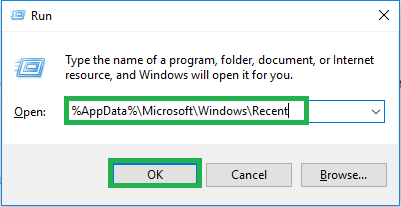
Typing the Address in the Run prompt - Click on “OK“, press “Ctrl” + “A” and then press “Shift” + “Delete” simultaneously.
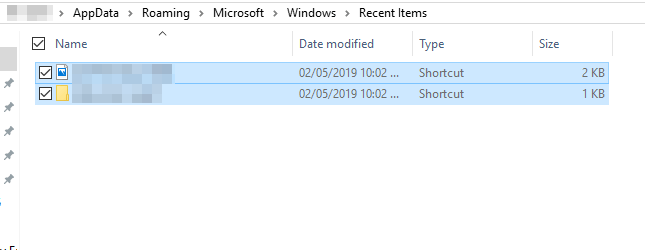
Pressing “Ctrl” + “A” to select all the files - Click on “Yes” in the prompt.
- All the “Recent Files” displayed in the File Explorer will now be gone.
Method 2: Disabling through the Group Policy Editor
If you are using the “Pro” version of Windows 10, then you can access the Group Policy Editor. The Group Policy Editor can be used to modify any type of settings for your Windows 10. In this method, we will be disabling the history of recently open files through the Group Policy Editor. Follow the below steps:
If you are using Windows Home Edition, then skip this method. Check the Registry Editor method, it will work similarly to this method.
- Press “Windows” + “R” on your keyboard to open the “Run” Prompt.
Opening Run Prompt - Type in the following command in it and click on “OK”
gpedit.msc
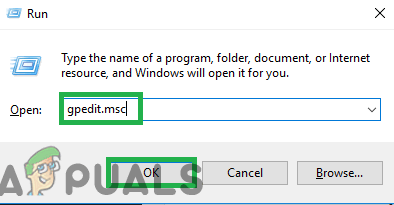
Typing “gpedit.msc” in the Run prompt - Click on the “User Configuration” option and then on the “Administrative Templates” one.
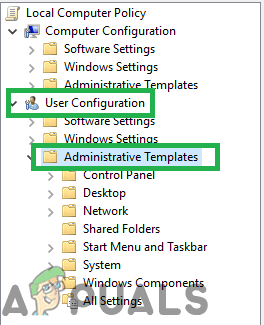
Clicking on “User Configuration” and then on “Administrative Templates”. - Select the “Start menu and Taskbar” option and in the right pane select the “Don’t keep the history of recently opened documents” option.
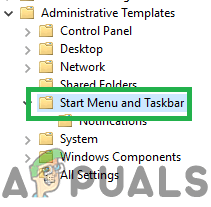
Selecting “Start Menu and Taskbar”. - Double click on it and check the “Enabled” option.
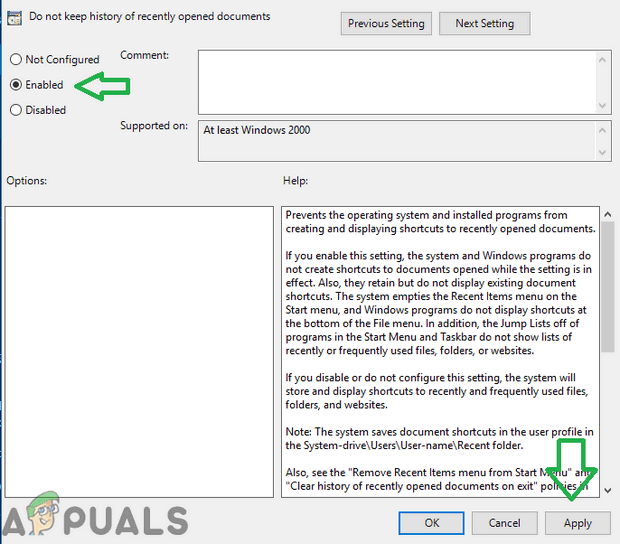
Selecting “Enabled” - Click on “Apply” and then on “OK“.
Method 3: Disabling through Control Panel
Another way to disable the recent files panel is through the Control Panel. In order to disable them from the Control Panel:
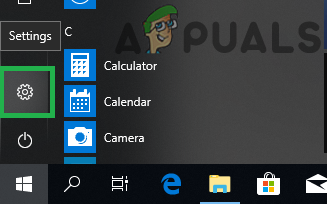
- Click on the “Start Menu” button and select the “Settings” icon.
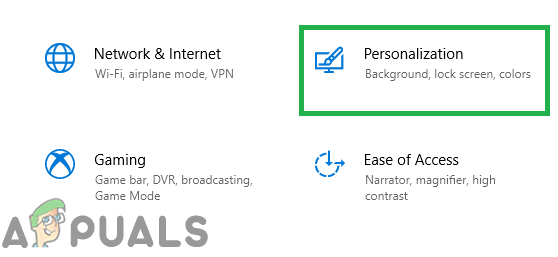
Clicking on the start menu and selecting the settings icon - Click on “Personalization” and then on “Start” in the left pane.
Clicking on “Personalization” - Scroll to the bottom and click on the “Show recently opened items in Jump Lists on the Start or the Taskbar” toggle to turn it off.
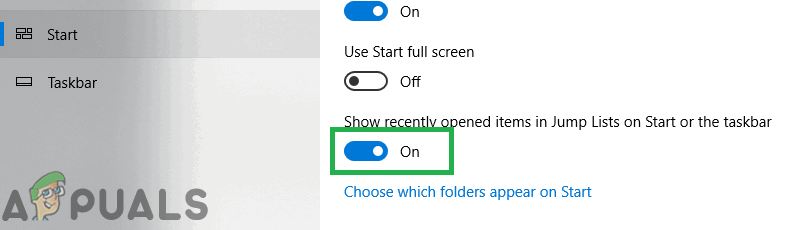
Clicking on the toggle to turn it off
Method 4: Disabling through the Registry Editor
You can also disable the history of the recent files through the Registry Editor. If you used the Group Policy Editor method, then your Registry will automatically update the values for this. However, if you are using this without configuring Group Policy Editor, then you need to create the missing key/value for it to work.
- Press “Windows” + “R” keys on your keyboard to open the Run dialog. Then type “regedit” and click on “Ok” to open Registry Editor.
Note: Choose “Yes” for the UAC (User Account Control) prompt.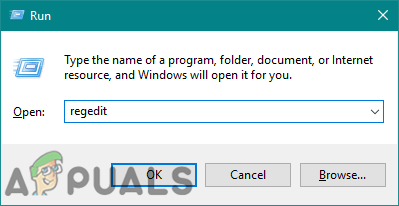
Opening the Registry Editor - Navigate to the following key in the Registry Editor window:
HKEY_CURRENT_USER\Software\Microsoft\Windows\CurrentVersion\Policies\Explorer
- If the “Explorer” key is missing, you can simply create it by right-clicking on the Policies key and choosing New > Key. Name the key as “Explorer“.
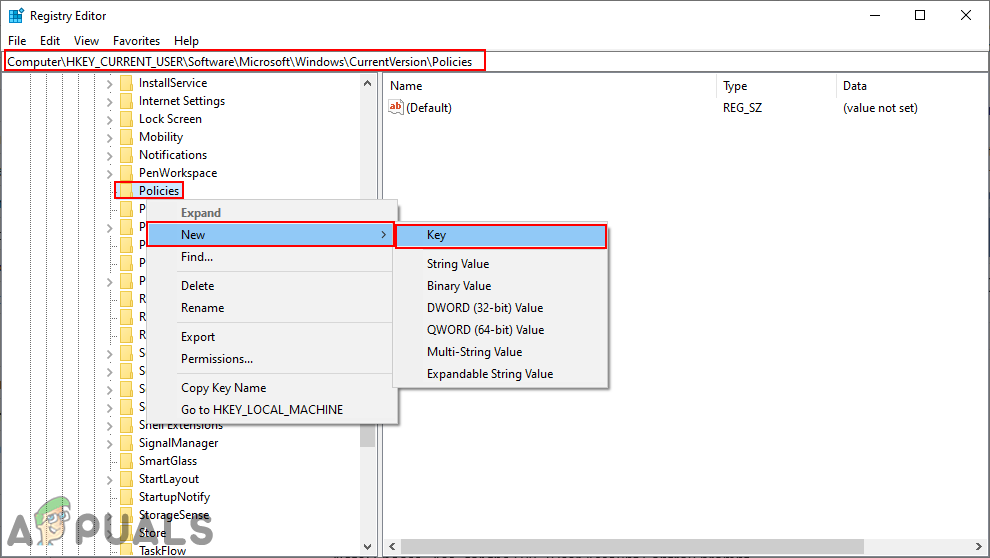
Creating a missing key - Select the Explorer key, right-click on the right pane and choose New > DWORD (32-bit) Value. Name this value as “NoRecentDocsHistory“.

Creating a new value - Double-click on the value and set the value data to “1“.
Note: Value data 1 is for enabling a value and value data 0 is for disabling value.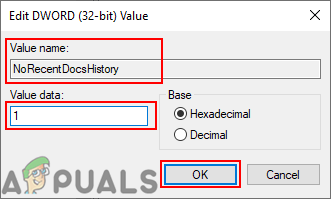
Enabling the value - After all the modifications, make sure to restart your computer to apply the newly created settings.


