How to: Defer Upgrades in Windows 10
Microsoft is releasing regular updates for Windows 10. It is a very good thing for users since these updates solves various problems and release new features for the Windows 10 users. But, nothing is perfect and there are times when the updates contain a few bugs. These bugs can either be a little bit annoying or completely break a feature in Windows 10 and there is no sure way of knowing it until you actually get the update. This might not be a big issue for some but it can cost a lot of time and money for people whose businesses rely on their systems.
Since there are different categories of Windows 10 users, Microsoft released the Defer Windows Updates feature in its Windows 10. This feature is mainly designed for the people who aren’t willing take the risk of a new Windows update. If your Windows is on this feature, it will be on the Current branch for business. What this means is that you will get the updates later on, usually after a couple of months, when the updates are improved and bugs are fixed. This way, you have an option to delay the updates to minimize the risk of getting a Windows breaking bug. Keep in mind that this feature doesn’t delay all the updates. You will still get the Security updates as soon as they are released but the other updates will surely be delayed until they are matured.
It’s worth noting that this feature isn’t available for all Windows 10 versions. The Windows 10 Home Edition doesn’t have this feature. So, if you ae running Windows 10 Home Edition then you don’t have a say in this matter.
So, here are a couple of methods given below to Defer Upgrades/Updates for your Windows 10.
Method 1: Using Settings
The simplest way of turning the Defer Updates feature on is via the Settings screen of Windows 10. Now, since the Creators Update brought new settings and options for deferring updates, we will be mentioning 2 different ways to defer Windows Updates. The first way is for the people who have installed the Windows Creators Updates. The second way is for the people who haven’t installed the Creators Updates (because there are plenty of people).
If you have installed Creators Updates
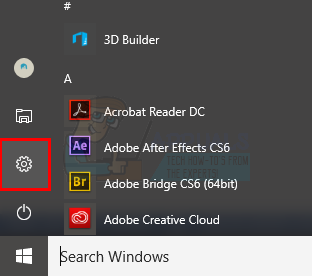
- Press Windows key once
- Select settings
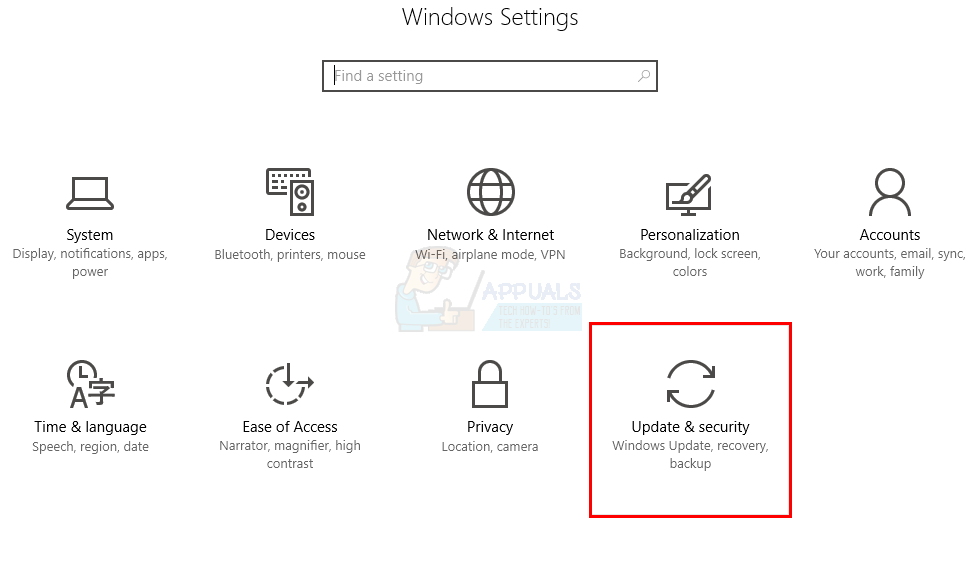
- Select Updates & Security
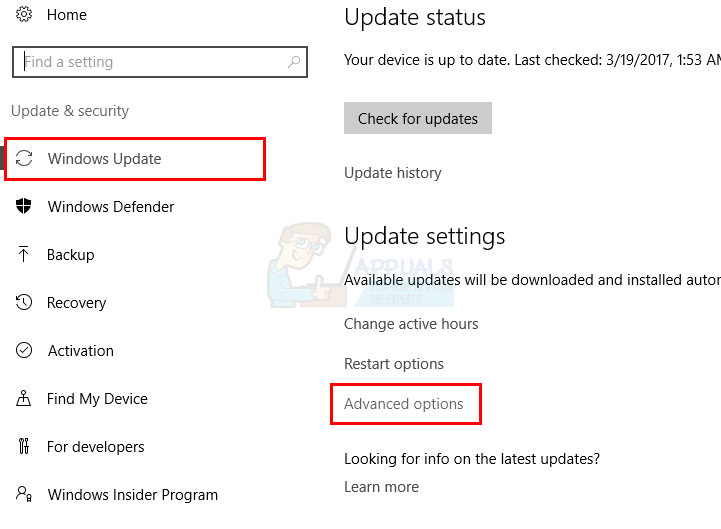
- Select Advanced Options. Make sure you the Windows Update section is selected (from the left pane). If it isn’t, then select Windows Update from the left pane.
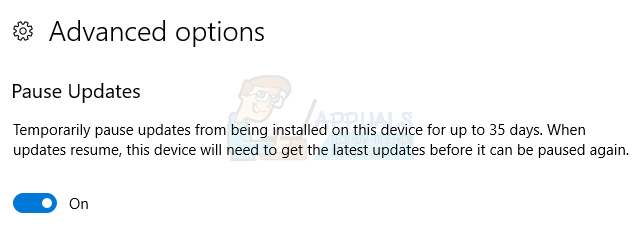
- Turn on the Pause updates Keep in mind that this will pause the updates for 35 days. Windows will automatically search, download and install the latest updates after these 35 days. You will be able to pause updates for the next 35 days once the updates are installed.
You can also change the Update Branch (more on this later in this section) or select the number of days for deferring updates.
- You should still be on the Advanced Options If you aren’t, follow the steps 1-4 given above and then come back here
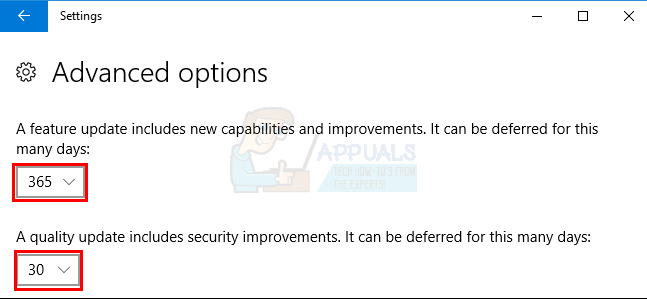
- Scroll down and you should see Feature Update and Quality Update option in Choose when updates are installed section
- You can pick the number of days to defer these updates from the drop down menus under each option. If you are confused about what these are then don’t worry. Feature updates basically deliver new features for the Windows or updates (improvements) for the existing features. Since a new features requires a lot of testing, these can be deferred for a maximum of 365 days. The Quality updates, on the other hand, brings minor bug fixes and driver updates. So, these can only be deferred for 30 days. So, just pick the number of days that you are comfortable with.
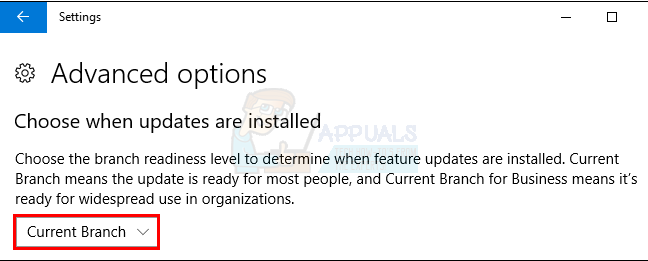
- You can select the Update Branch for your Windows as well. Basically, the Current Branch means that the new updates will be available as they are released. The Business Branch means that the updates won’t be delivered to you until they are tested thoroughly and are suitable for enterprise or business people. So, if you are running a business on Windows 10 and don’t want to deal with a faulty update that can break a very common feature then switch to Business Branch. This option can be select from the drop down menu in Choose when updates are installed section.
If you haven’t installed Creators Updates
- Press Windows key once
- Select settings
- Select Updates & Security
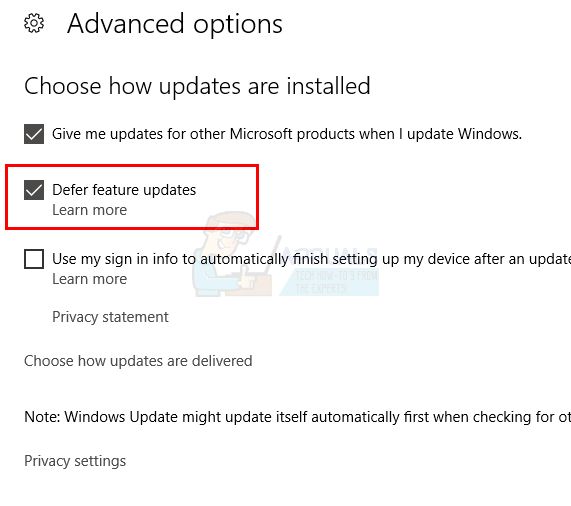
- Select Advanced Options. Make sure you the Windows Update section is selected (from the left pane). If it isn’t, then select Windows Update from the left pane.
- Check the Defer updates option
That’s it, now your updates will be deferred until they are tested multiple times.
Method 2: Local Group Policy Editor
If the method 1 doesn’t work then you can turn off the Defer Upgrades/Updates from the Local Group Policy Editor as well.
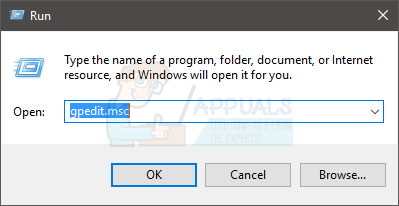
- Hold Windows key and press R
- Type gpedit.msc and press Enter
- Double click Computer Configuration from the left pane
- Double click Administrative Templates from the left pane
- Double click Windows components from the left pane
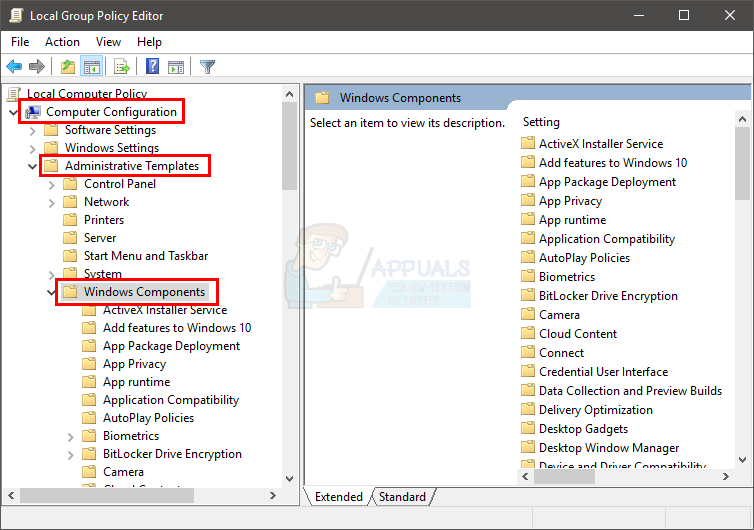
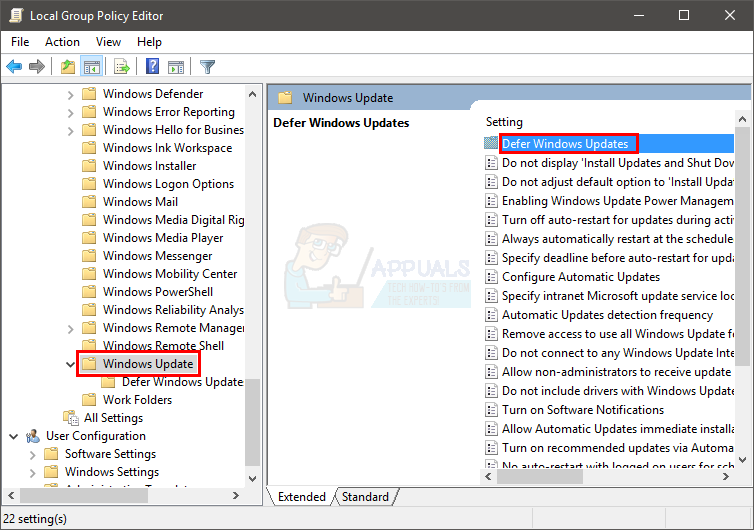
- Click Windows Update from the left pane
- Locate and double click Defer Windows Updates from the right pane
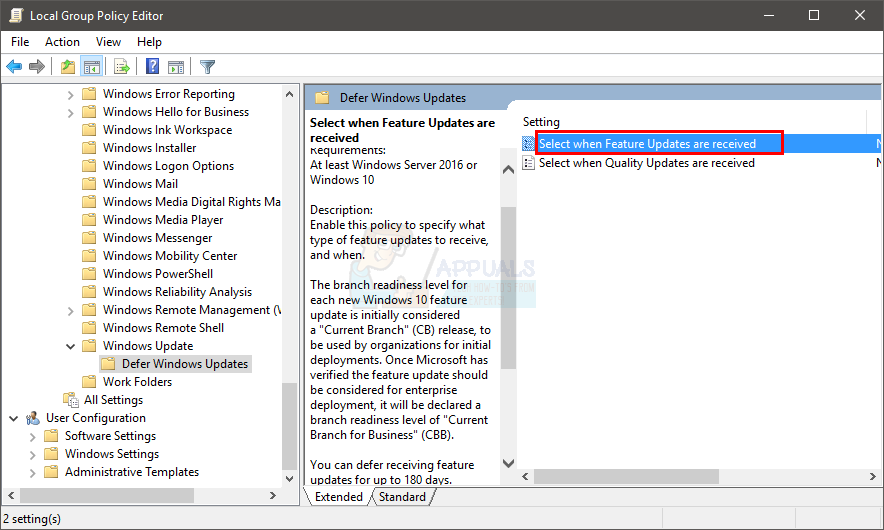
- Double click Select when Feature updates are received
- Select Enabled from the newly opened window
- Now, you can change the settings as per your requirements.
- You can select the Current Branch or Current Branch for Business from the drop down menu in Options The Current Branch will deliver updates as soon as they are released for the public use. The Current Branch for Business will deliver updates quite slowly. If you select the Current Branch for Business, you will get the updates when they are thoroughly tested and majority of their bugs are fixed by the Microsoft.
- You can also check the option Pause feature updates. Checking the Pause feature updates option will pause the updates for a maximum of 60 days (or until you uncheck the box yourself)
- You can select the number of days that you want the updates to defer. The maximum number of days that you can enter are 180.
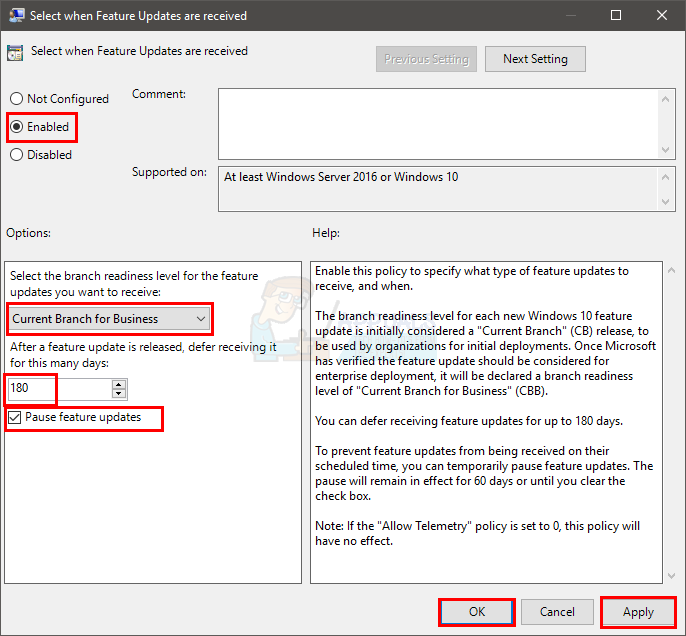
- Once you are done changing the settings, click Apply then Ok
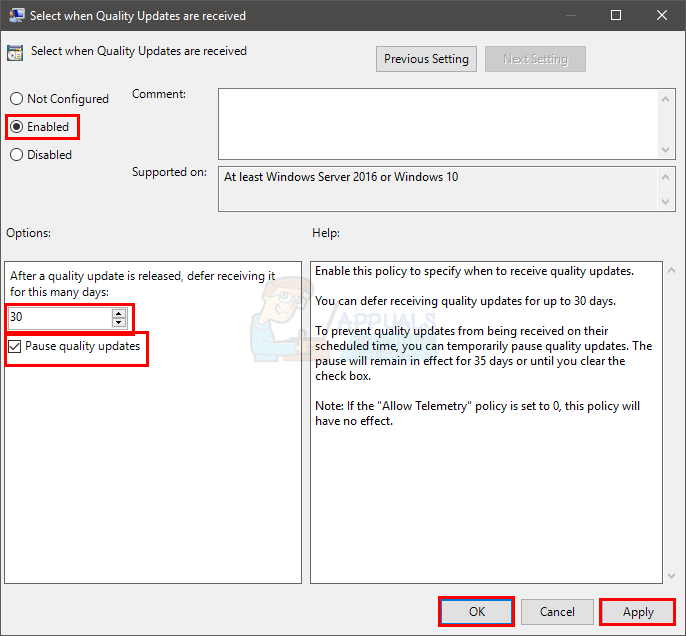
- Now, double click the Select when Quality updates are received

- Select Enabled from the newly opened window
- You can enter the total number of days to defer Quality updates. The maximum number of days that you can enter are 30.
- You can also check the option Pause quality updates to pause the quality updates for a maximum of 35 days (or until you come back and uncheck this option).
- Change the options that suits you best and click Apply then select Ok
That is it. Now your Windows Upgrades and Updates will be deferred for the span of time you mentioned in the settings.