How to Cut a Circle in Different Paths on Illustrator
Working as a Graphic Designer can be a bit tough at times as you have to find solutions to your ideas and practically implement it on the shape that you are drawing on the application. A few months back I had to draw something which needed to have these cuts on the path, and I just explored the entire Adobe Illustrator and finally found a simple solution for it.
If you are looking for a similar solution, where you need to add cuts to any shape, or a circle in this case, then you must follow the steps as mentioned below.
- Let’s start drawing first. Draw the shape that you want to work on first. For this example, I am used the ellipse tool to draw a circle. For all the newbie Graphic Designers, you will find the ellipse tool in the drop-down list that appears after clicking on the rectangle icon as shown in the pictures below.
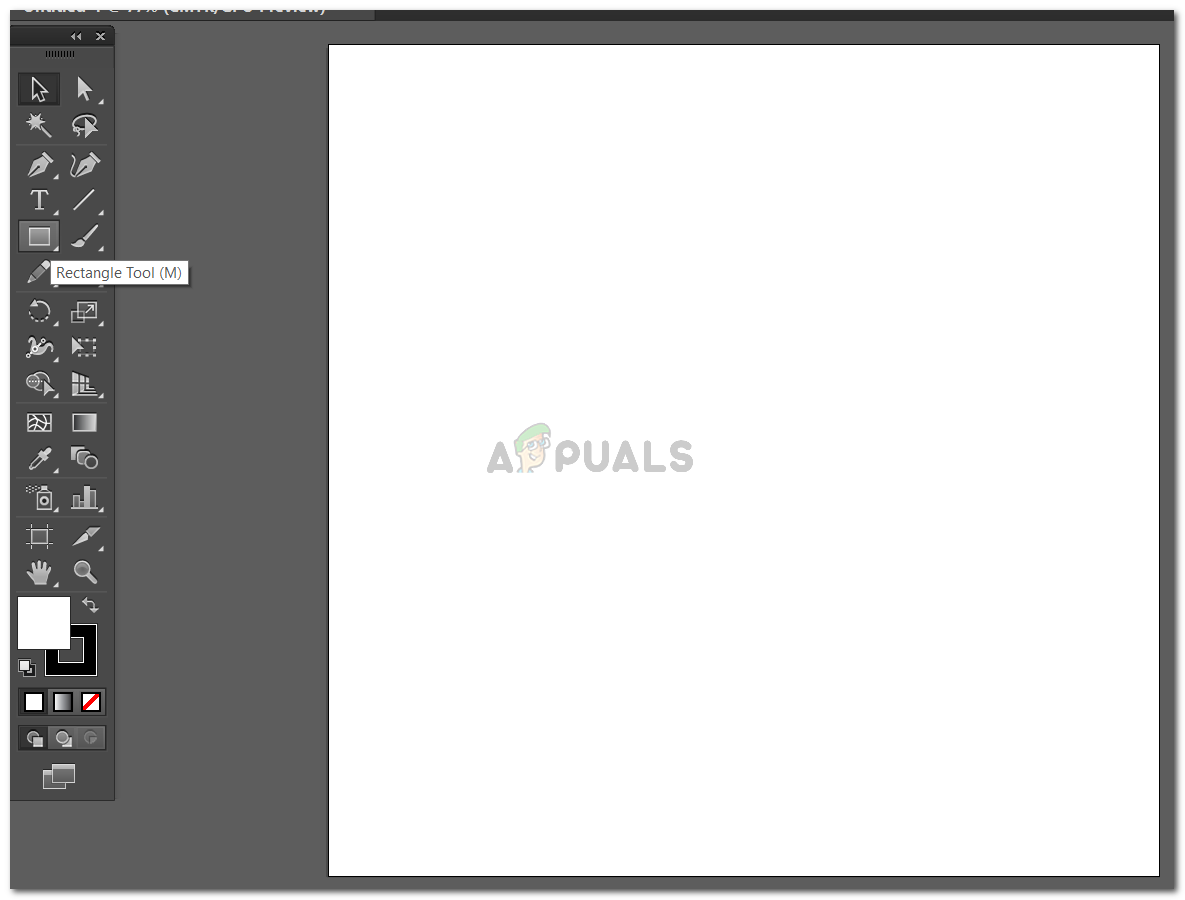
Click on the Rectangle tool to find more options for shapes that you can draw. 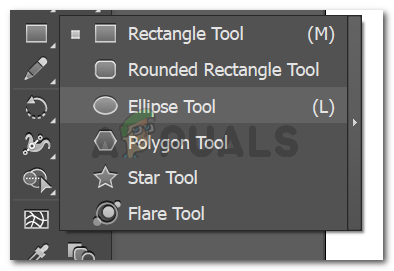
Ellipse tool - Once the Ellipse tool has been selected, you can draw the desired shape on your artboard.
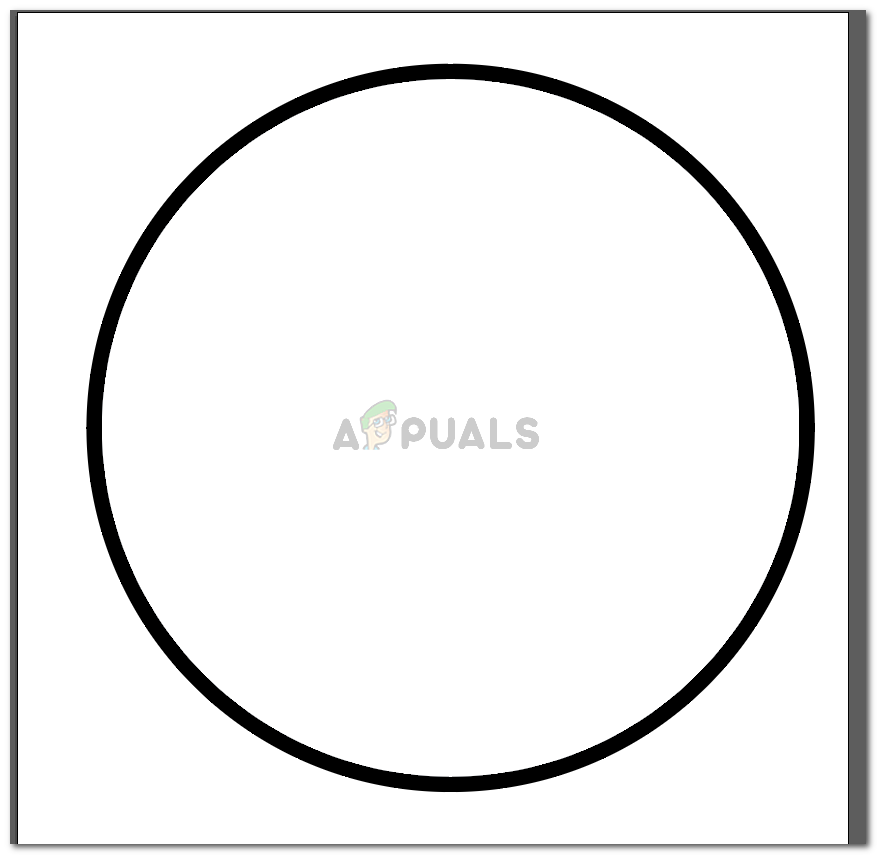
Drawing a circle on your artboard. - After drawing a circle, you need to use the Line segment tool.
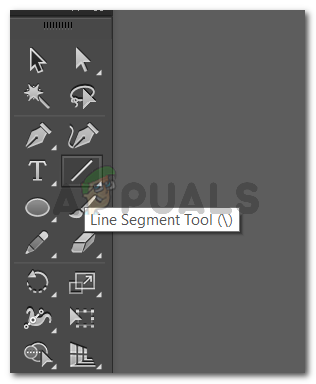
Using the line segment tool to draw cuts - Use the Line Segment tool to make lines on the circle’s path which is where you want the circle to have no lines.

This is just a rough example. You can draw the lines to cut the circle in half or even quarters. Note: It is very important that you work on different layers when making these lines and the circle. If you are working on the same layer, there are chances that the outcome you are expecting will not turn out the way you want it. You can open the layers panel which will be visible on the right-below corner.
- Select all the layers, or all the shapes directly, and create the outline strokes for these. For this, after using the selection tool, select all the shapes that you have drawn on your artboard, including the circle.

Select the shapes - Now click on the tab for Object on the top tool panel.
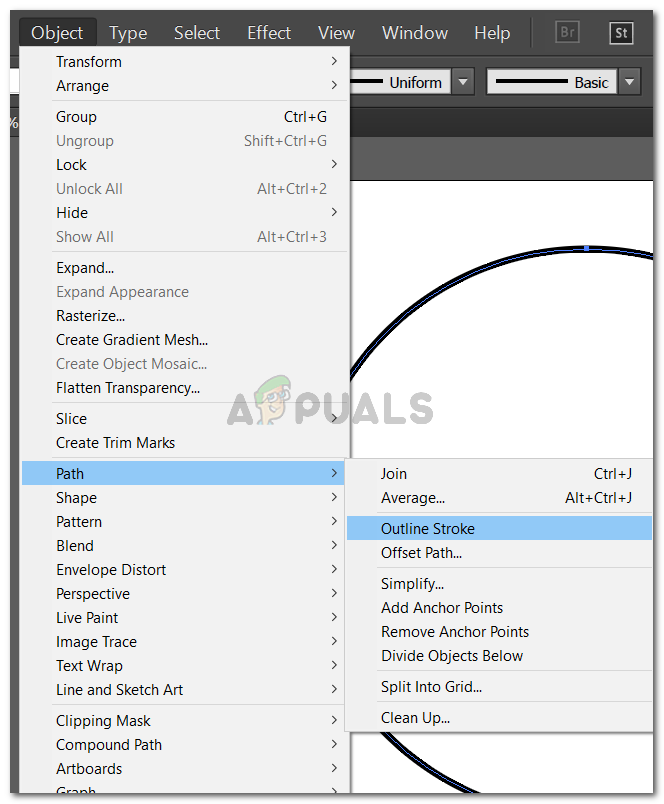
Object>Path>Outline Stroke This will create the outline strokes for all the four shapes.
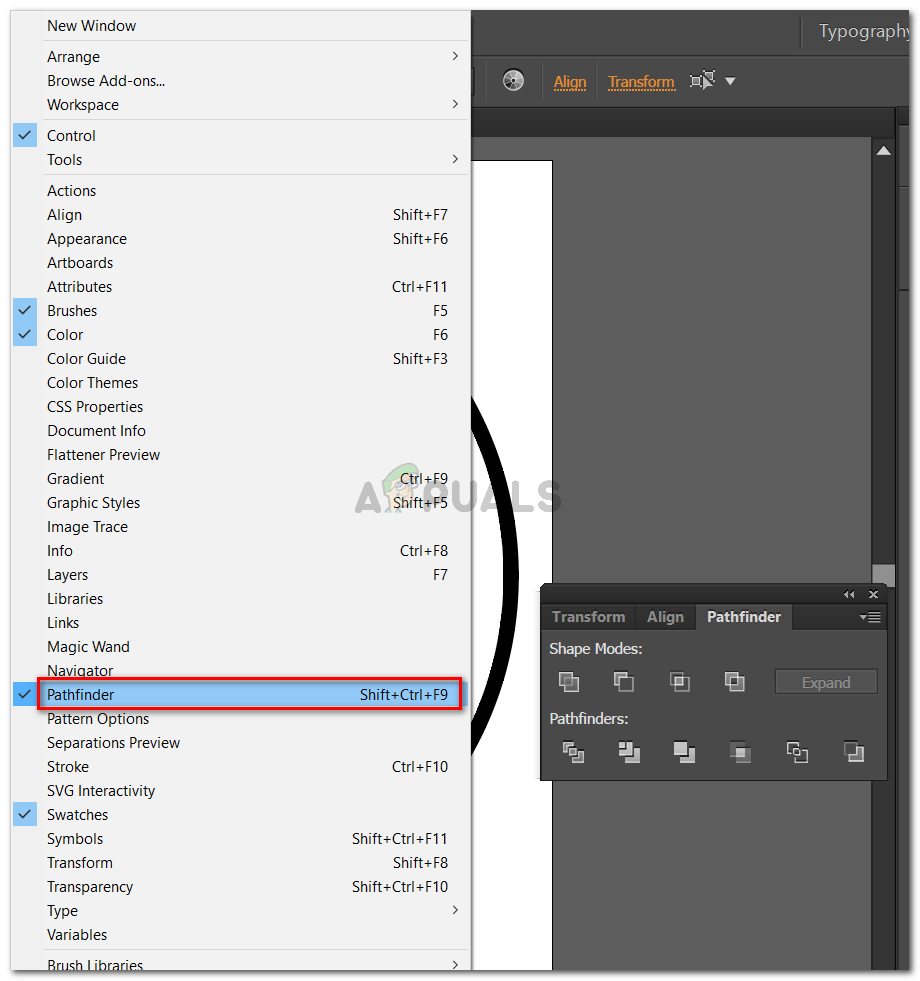
- After creating the outline strokes, you will select the three layers for the lines (the cuts in this case), and group them to make them one single shape. One these three lines have been grouped, you will now select the circle as well, but you will not group it now. You will open the Pathfinder, which can be accessed through the Windows tab on the top toolbar.
Pathfinder - To create the cuts on the circle in places of the lines, you need to click on the option from Pathfinder which says ‘Minus Front’.
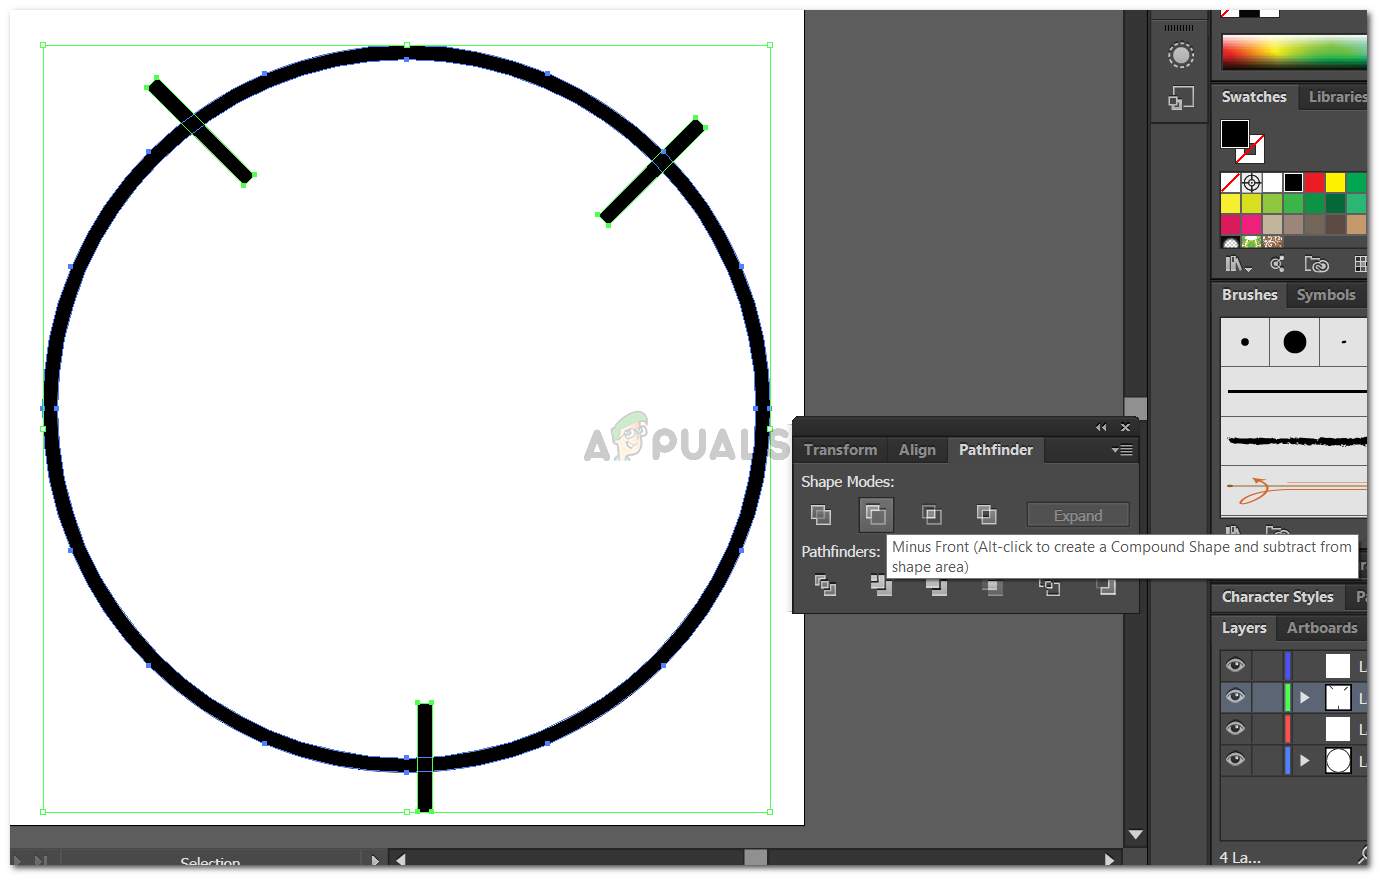
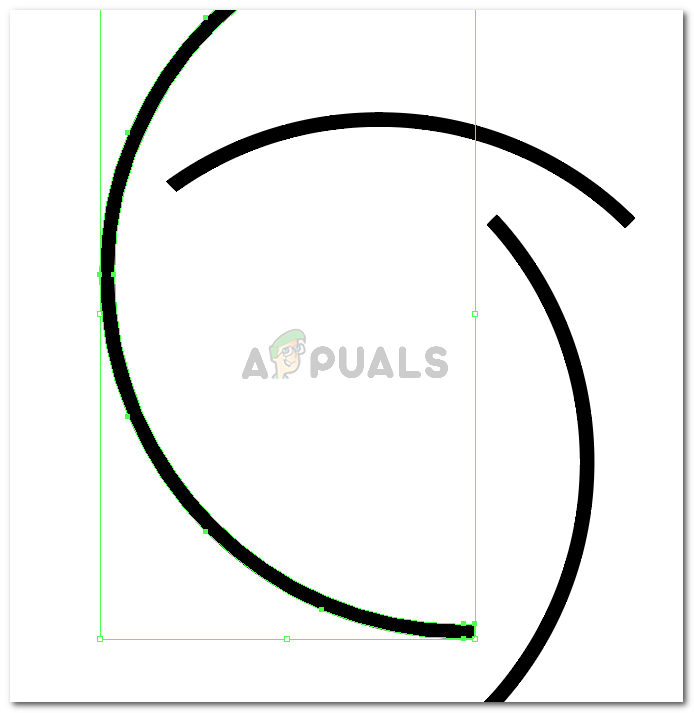
Minus Front This will cut the circle from the spaces overlapped by the lines and the shape will now look something like this.
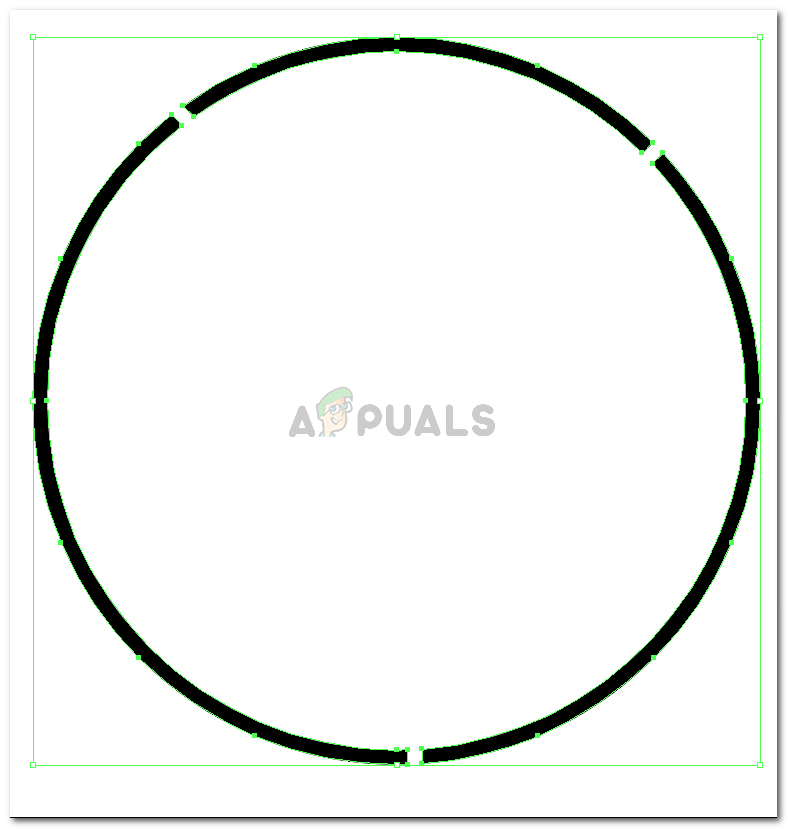
The circle has cuts now If you will move this circle around, the entire shape will move with it. You can right click on this shape and ungroup the three segments if you want to use the different parts of the circle differently.
Using the segments as you like Another important instruction when you are creating a similar concept is, that if you want the cuts on the outline, you must make sure that the shape has no fill when you create it in the first place. If you have a white fill or any other color fill in the base shape, the circle, for instance in this example, then the outcome will be very different from what you are seeing here. You can try these both sets yourself and see the difference in the output that it creates.
Every designer has her or his own way of doing things. So this is how I do it. This does not mean that the way you do it, or the way you have been taught is wrong. There are a gazillion ways to do things, you can pick the one that suits you the best and gives you the best outcome.


