How to Create Templates on PowerPoint
Presentations are the first impression you get to make on your employers, so make sure that it is up to the mark and looks great. Working on a PowerPoint presentation is easy, while you can explore the various options to make your slides more appealing to the eyes of the people you are presenting to. Remember always that less is more, especially in designing your template for the presentation. Keep it simple and classy.
Follow the steps as mentioned below to make a powerful PowerPoint template for your presentation.
- Open your MS PowerPoint to a blank document. Go to File when you open PowerPoint click on new to open a new file. From the various options of templates for the presentation, select a black presentation which is the very first option on the screen.
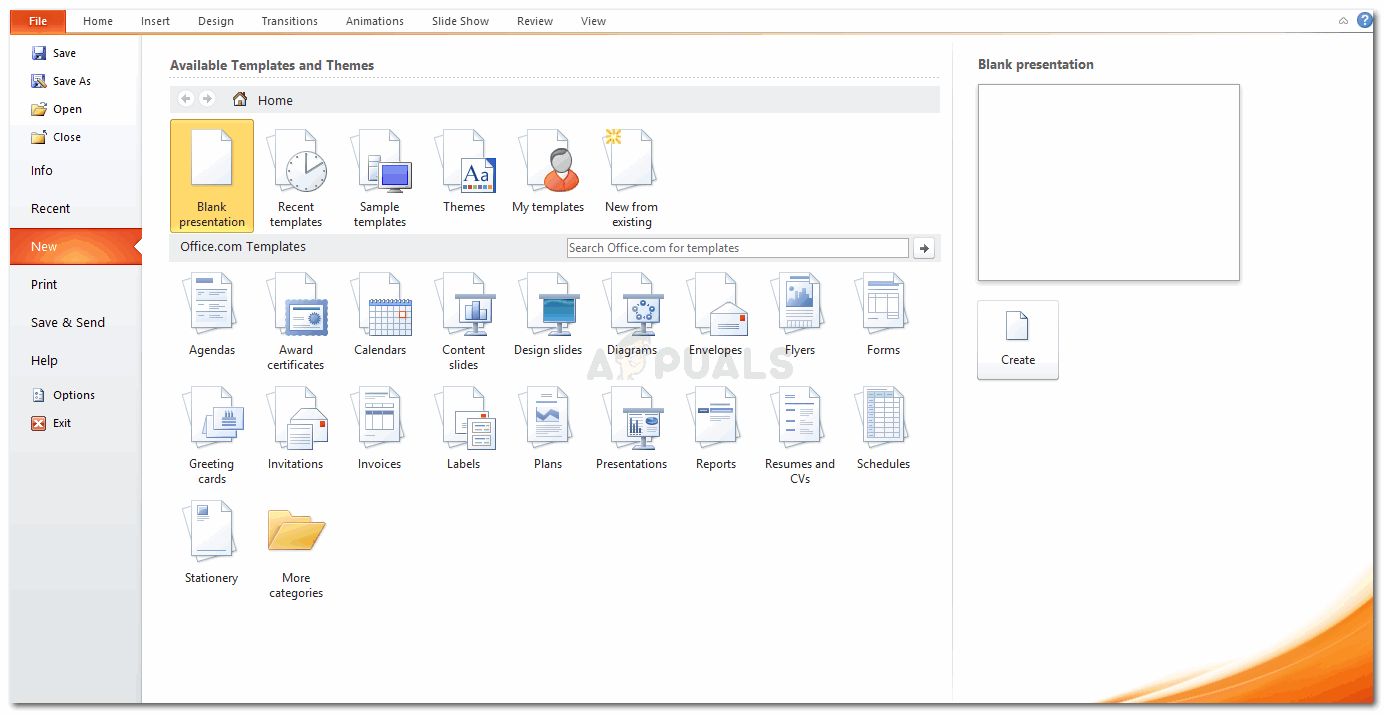
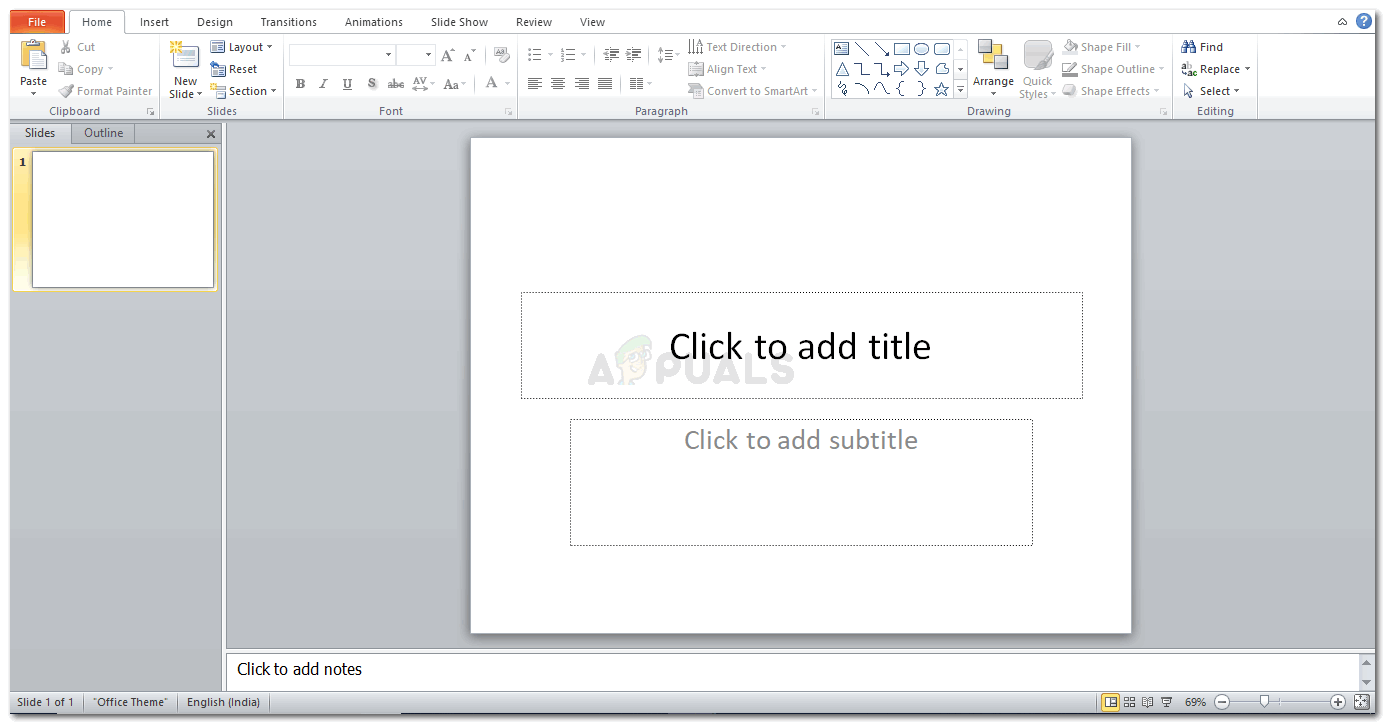
Select an empty/blank presentation to begin with - This is how your blank presentation will look.
Starting from the beginning - Click on the ‘Design’ tab on the top tool bar.
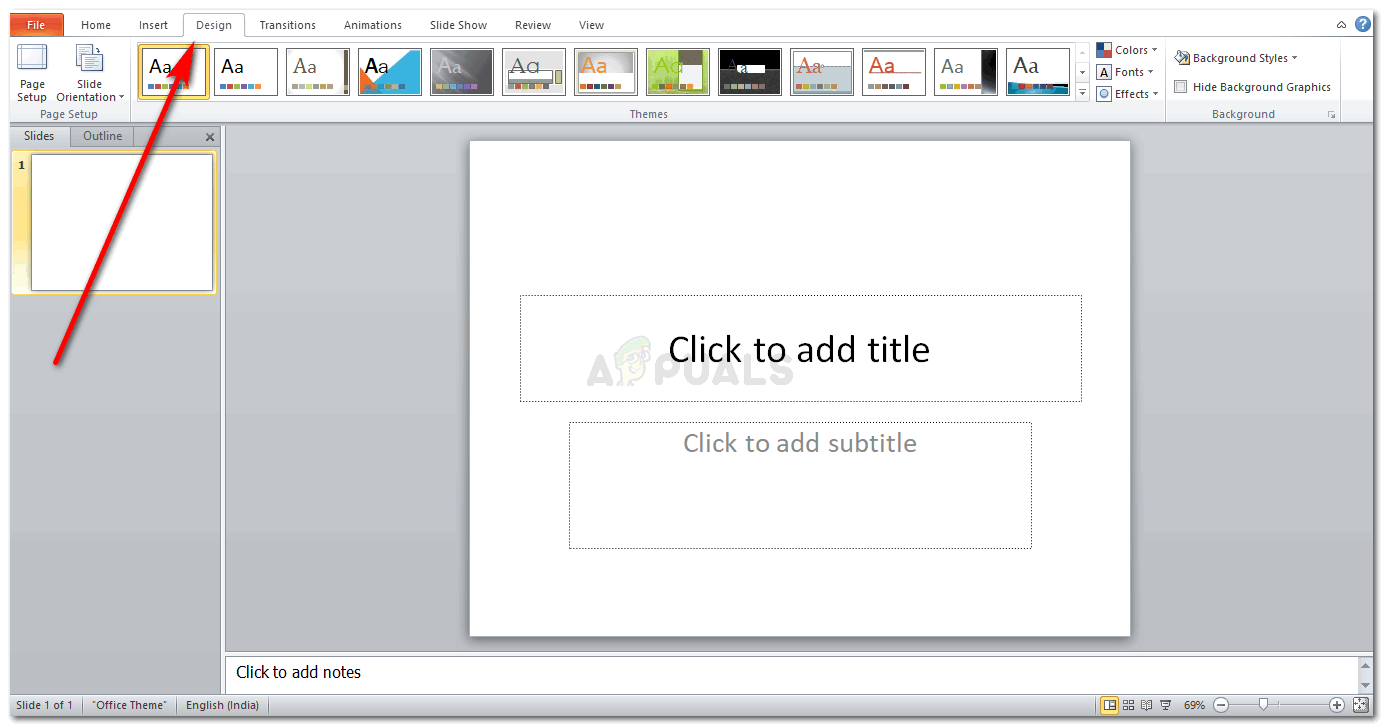
Design Tab You will be shown various options for editing your presentations design. Select your presentations orientation, how you want the slides to appear, whether you want landscape orientation or portrait.
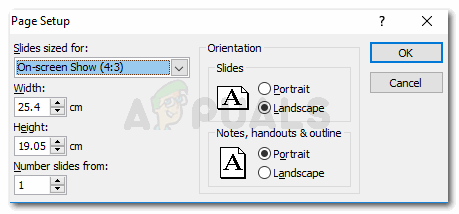
Page Setup options You can also change the size of your slides according to your requirements. Under Page Setup, select the size for your slide from the drop down list under the heading ‘Slides sized for’.
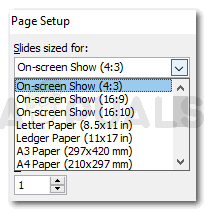
Set your slide page up. You can choose the size according to the requirements of your presentation I selected A3 just for this example. A large slide size would help you add more details to a page.
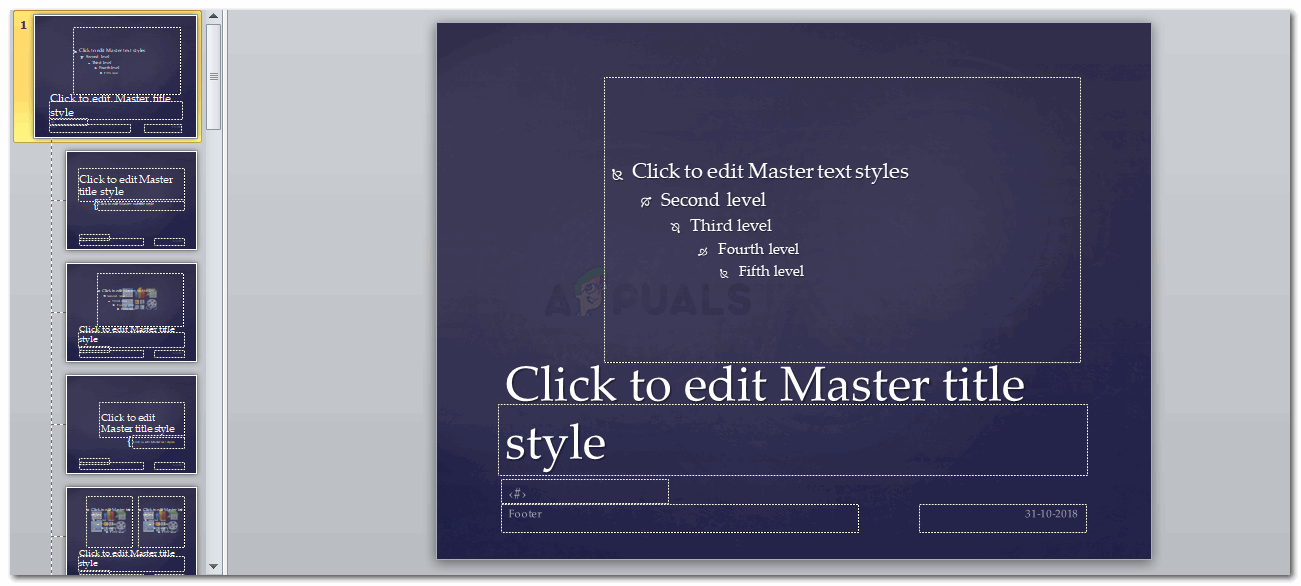
- Now, go to View tab on the top tool bar and click on ‘Slide Master’.
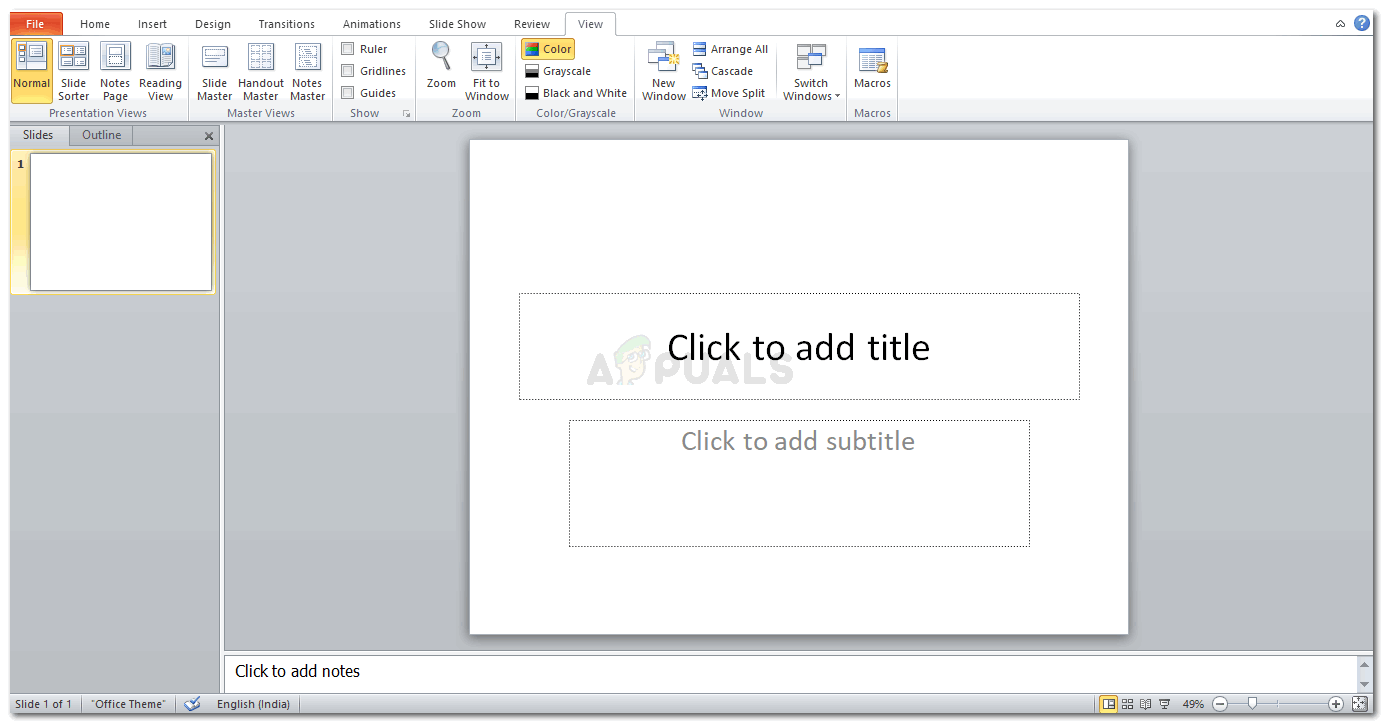
This is a simple presentation slide Clicking on Slide Master will make your screen and the slides in front of you look like this.
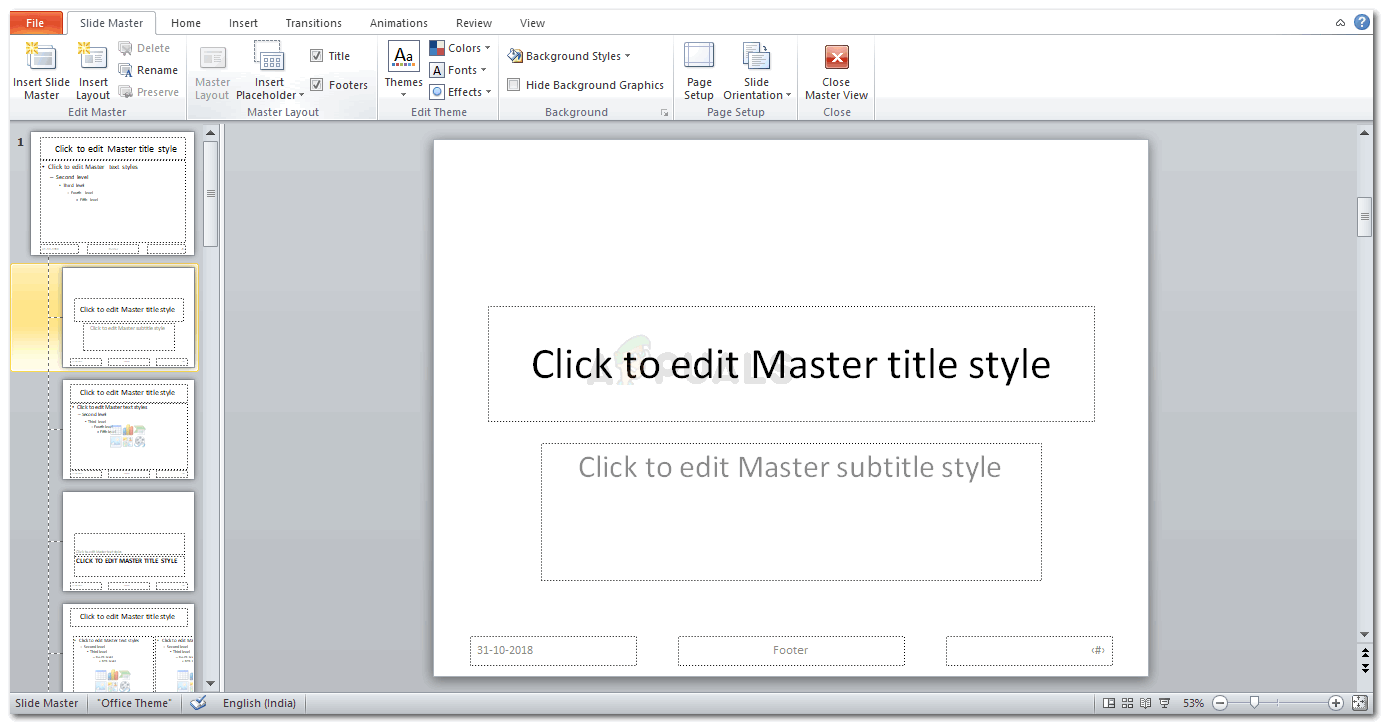
Inserting a Master Slide - You use the following tabs on your master slid

Tool options for designing the slides e to make major changes to the template.
- Use the Themes tab to add an interesting background for all your slides.When you take your cursor on each theme, you can preview how it will appear on your slide. This will help you choose a theme for your slide as you can see the preview right on the screen.
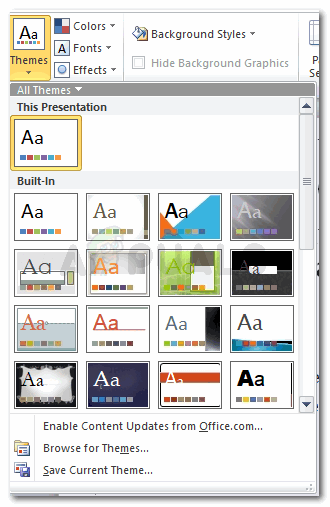
Themes to choose from I am going to click on one of the themes.This will select this theme for all the slides automatically, changing every slide.You can see how the slides look now once you have clicked on one of the themes. Here is how my slides are looking.
your selected theme With the ‘Colors’ tab, I can change the colors scheme of the theme matching my content or product which I am writing about.I changed it to the following color scheme.
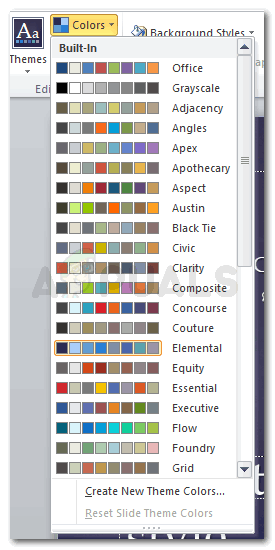
Color palette for your slides theme 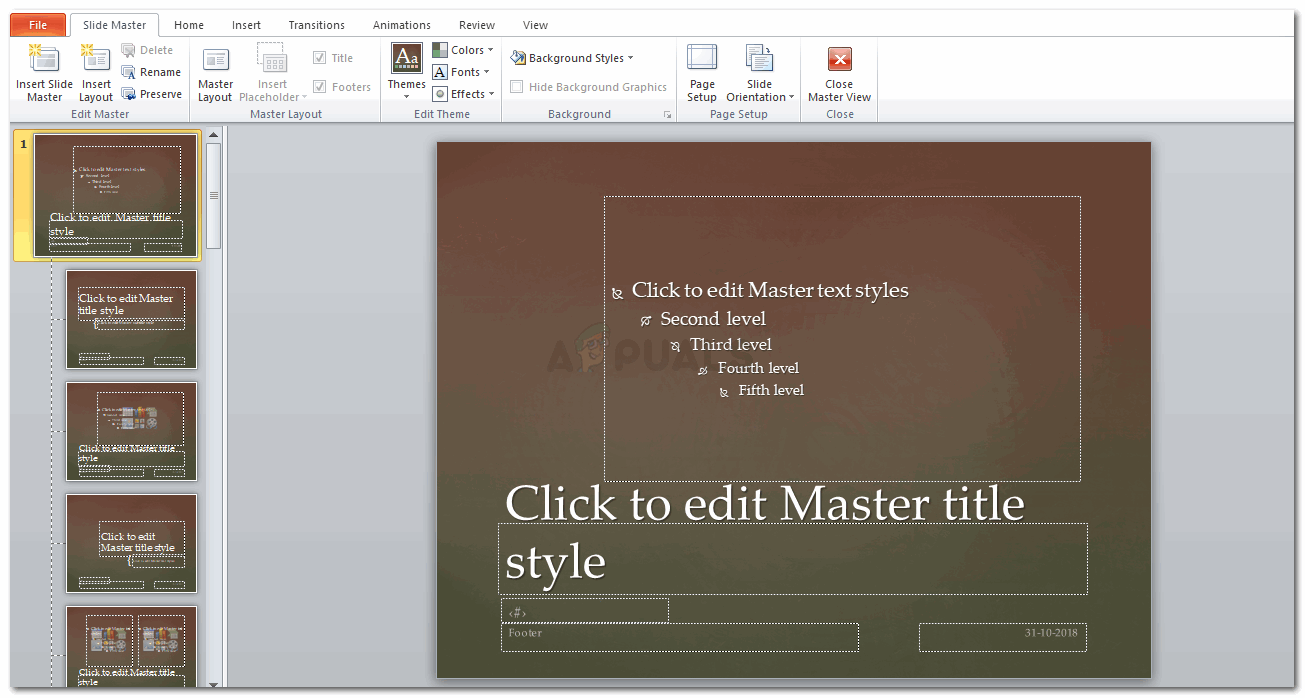
Change the colors accordingly Change the style of your background with the following options on PowerPoint.
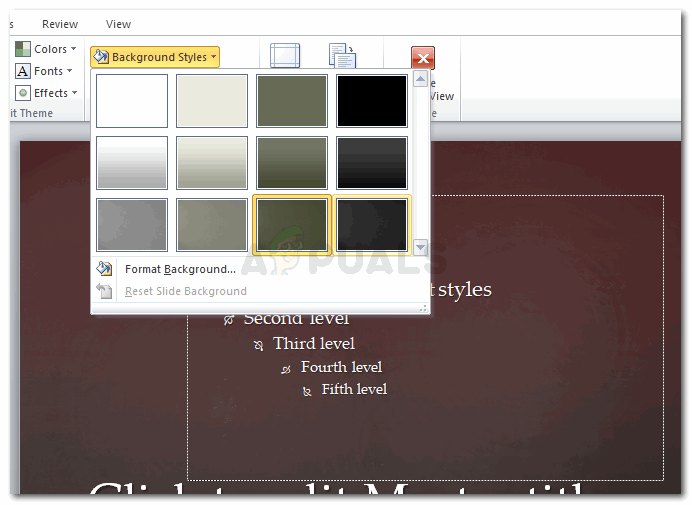
Add a background style - Do you see the sections on a slide? Those are called placeholders. You can delete a place holder by simply bringing the cursor at the edge of that placeholder and selecting it. Once selected, press the delete button.
You can also add place holders on an empty slide. For this, you will notice a tab for ‘Insert Place Holder’ under Slide Master on the top tool bar. When you click on this tab, you will be directed to so many more options for your slides. You can add a place holder for a picture, a graph, a video or even text.
Insert Place Holder 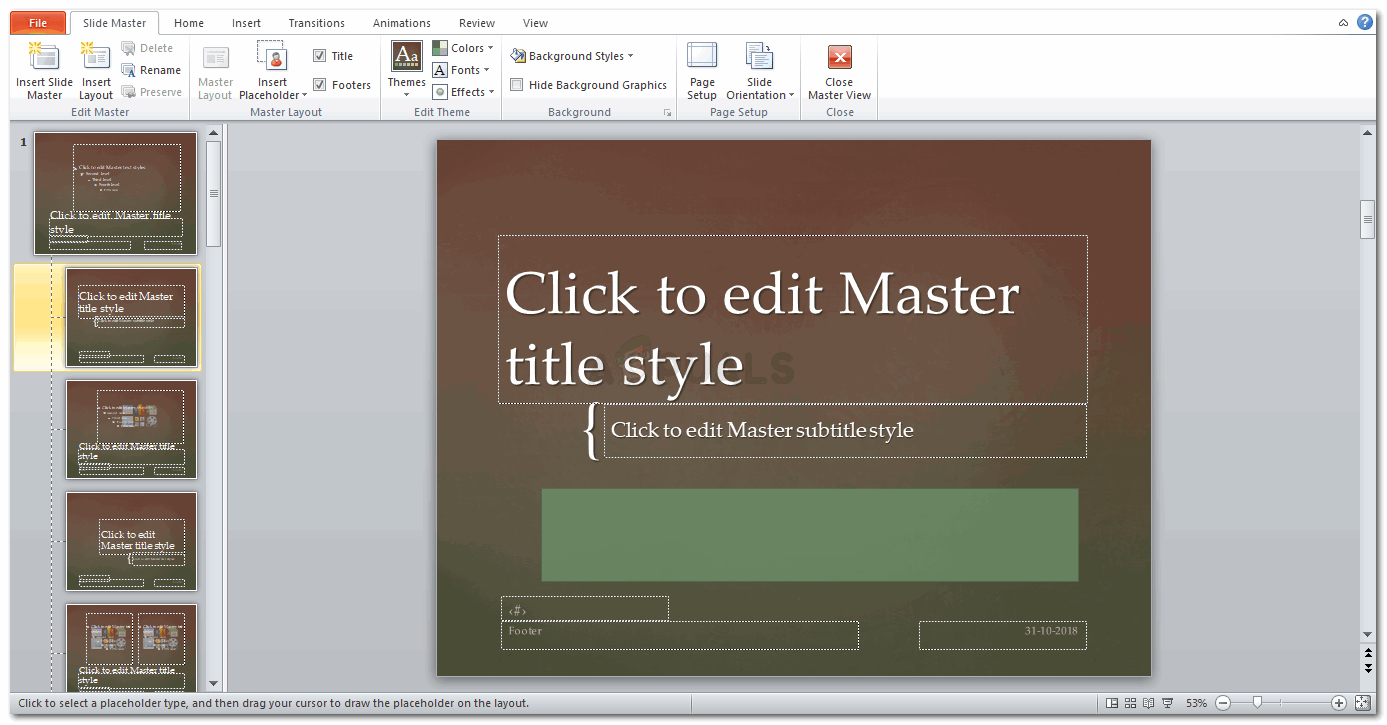
When you will drag the cursor to create a place holder, this is how your screen will appear The purpose of a place holder is to provide enough place on your slide for a specific feature. This will keep the slide balanced and organized. If you don’t add a place holder, it is possible that your content will overlap each other at some point of your presentation which might be tough for you to edit. This way, you can edit place holder separately. And if you don’t like the content in that certain place holder, you can delete it.
Clicking on any place holder from the options makes the cursor look like a plus (+) sign. You can click and drag the cursor on the slide to adjust your place holder where ever you want to add it.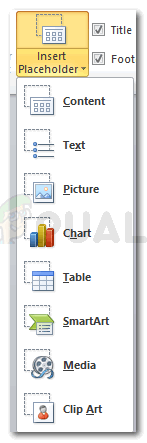
Options for placeholders I created a place holder for clip art, so now I can add any image here.
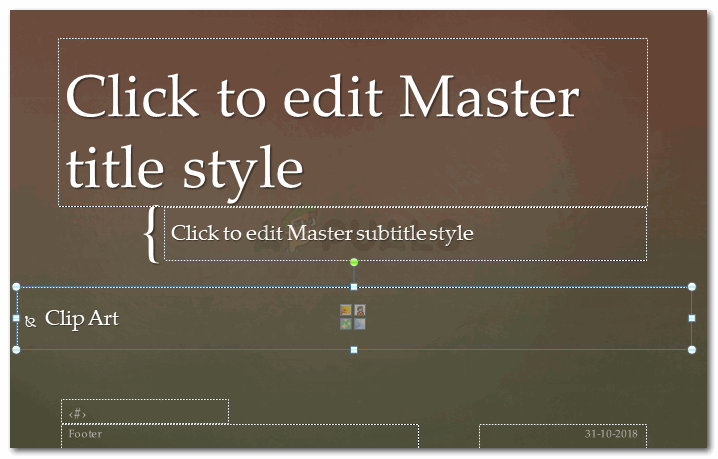
Place holder for clip art I can even move the place holder by selecting the place holder, and moving the cursor while I have still pressed the left button of the mouse. I might as well increase the size of the place holder by dragging the point at the corners of the place holder or reduce the size, depending on how much space I want the place holder to take.


