How to Create a Dual Boot for Windows and Ubuntu
Ubuntu is a free and open-source Linux based distribution and it is a popular operating system for cloud-based computing with support for OpenStack. Windows, on the other hand, is one of the most popular operating systems that is used by a lot of people and it is great for achieving day-to-day as well as Office tasks on the computer.
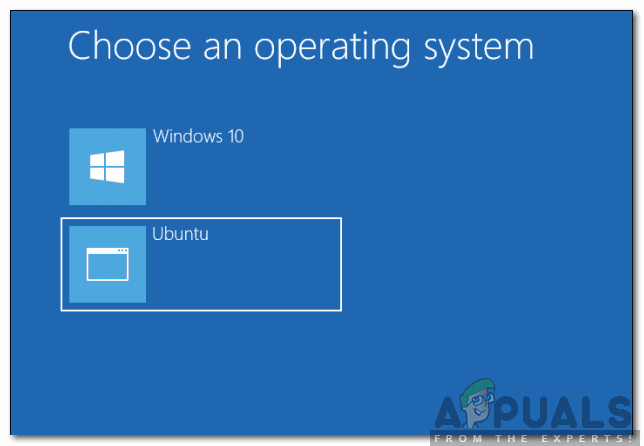
In this article, we will guide you with the easiest method to create a dual boot option for Windows and Ubuntu on your computer. This means that during the boot process you will be given a choice to boot into either Windows or Ubuntu. Make sure to follow the steps carefully and accurately to prevent conflict and also make sure to backup your important data before proceeding.
How to Create a Dual Boot for Windows and Ubuntu
Dual Boot for Ubuntu and Windows can be created quite easily but for that, you will require a computer that already has Windows 10 installed on it and a 2GB or greater USB Drive. In order to create a dual boot:
- Turn on the computer and boot into Windows 10.
- Download Ubuntu from here.
- Ubuntu will be downloaded as “.iso“.
- Press “Windows” + “R” to open the Run prompt
- Type in “Diskmgmt.msc” and press “Enter“.
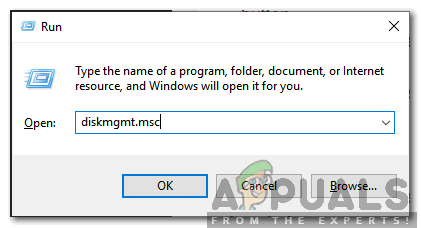
Typing in “diskmgmt.msc” and pressing Enter - Right-click on the drive on which Windows is installed and select “Shrink Volume“.
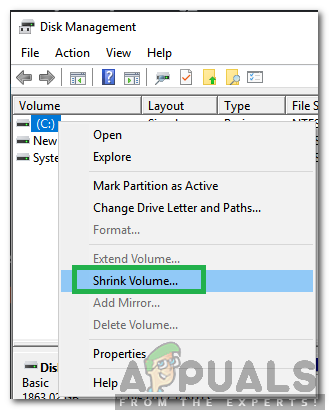
Clicking on the “Shrink Volume” button Note: Make sure to free up some space in the drive before proceeding.
- Type in the amount of Volume that you want to shrink, it is recommended to have at least 50 GB for Ubuntu and related software.
- Wait for the process to be completed and close the window.
- Plugin the USB Drive that is to be used for Ubuntu installation.
- Right-click on the drive and select “Format“.
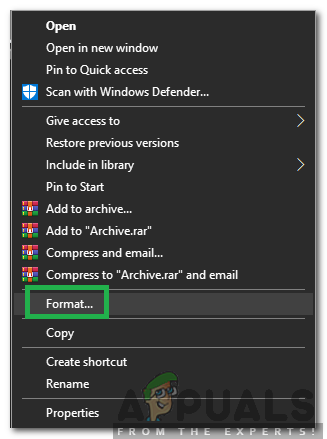
Right-clicking and selecting “Format” - Click on the “File System” dropdown and select “FAT32“.
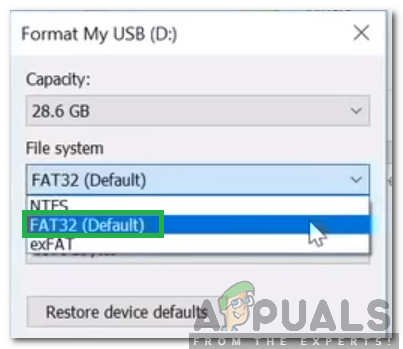
Formatting the USB to FAT32 - Click on “Format“, wait for the process to be completed and click on “OK“.
- Download the “Etcher” tool from here.
- Once downloaded, click on the executable and follow the onscreen instructions to install it.
- Open the Etcher tool after installing and click on the “Select Image” option.
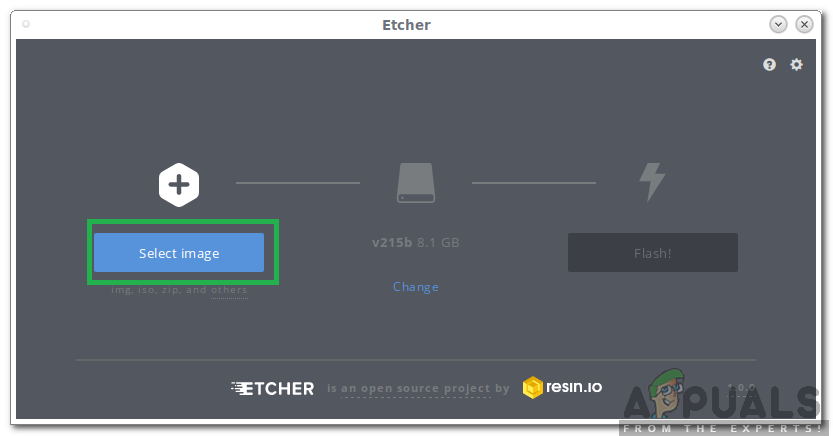
Clicking on “Select Image” option in Etcher - Select the “.iso” that we downloaded in the third step.
- Select the “USB Drive” that we formatted in the twelfth step.
- Click on “Flash” and the tool will begin to make the USB bootable.
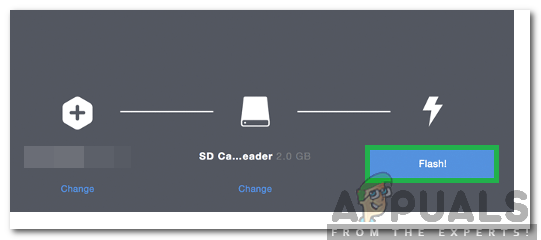
Clicking on “Flash” - Once the USB has been made bootable, plug it in and restart the computer.
- Press “F10” or “F12” depending upon your system to boot into the boot menu.
- Use the arrow buttons to scroll and select your USB.
- On the next screen, select the “Try Ubuntu Without Installing” option.
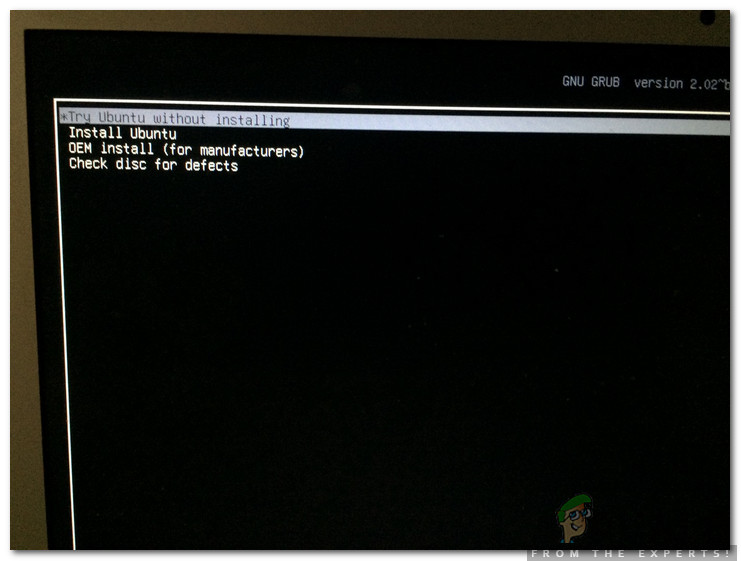
Selecting the Try Ubuntu Without Installing - Once the computer has booted into Ubuntu, click on the “Install Ubuntu” option on the desktop.
- Select your language and click on “Continue“.
- On the next screen, check the “Normal installation” button and uncheck the “Download Updates while installing Ubuntu” option and click on “Continue“.
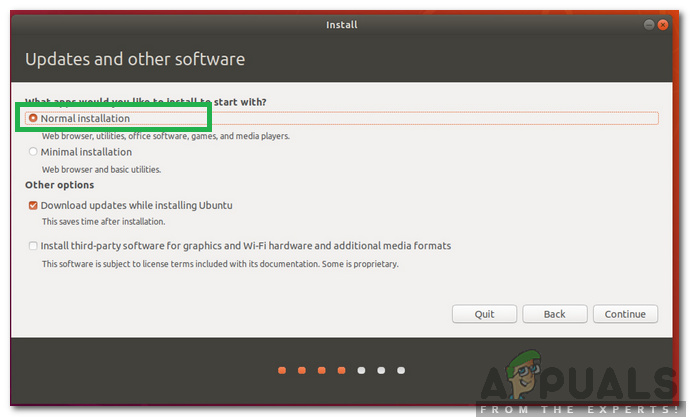
Selecting Normal Installation and unchecking the “Download Updates” option - On the next screen, check the “Install Ubuntu Alongside Windows Boot Manager” and click on “Install Now“.
- The installation process will begin and after it finishes enter the account details for Ubuntu login.
- After that, the dual boot option will be available for you during startup.
Note: On some computers, you might have to configure Ubuntu as the priority Boot option in the UEFI Boot Sequence configuration inside the BIOS.


