How to Correctly Use the Clone Stamp in Adobe Photoshop
A ‘Clone Stamp’, in Adobe Photoshop can really help a designer edit their image, to fill in the gaps in the design. Clone, as the name suggests, uses the clone of an already existing image, as selected by the designer and then is cloned into the image in a way which makes it look like a part of the image. For this article, I have taken an image from Google for a flower bouquet. I will use the clone stamp to add more flowers and leaves in the image to show the readers how a clone stamp can be used. And as they say it, practice does really make you perfect. You need to get the art of using a clone stamp because it might not come out the right way when you first use it.
So here is how you can use a Clone Stamp on Adobe Photoshop.
- Open your Adobe Photoshop. Drag and drop an image from your computer. It could be an image, an illustration, a portrait or even a photo with your friends. You can clone stamp anything and anyone in a picture. After you have added the picture, you need to locate the clone stamp icon on the toolbar towards the left of your screen. The icon literally looks like a stamp, so it will be easy for you to find. You can look at the image below to see how the icon for Clone Stamp really looks like.
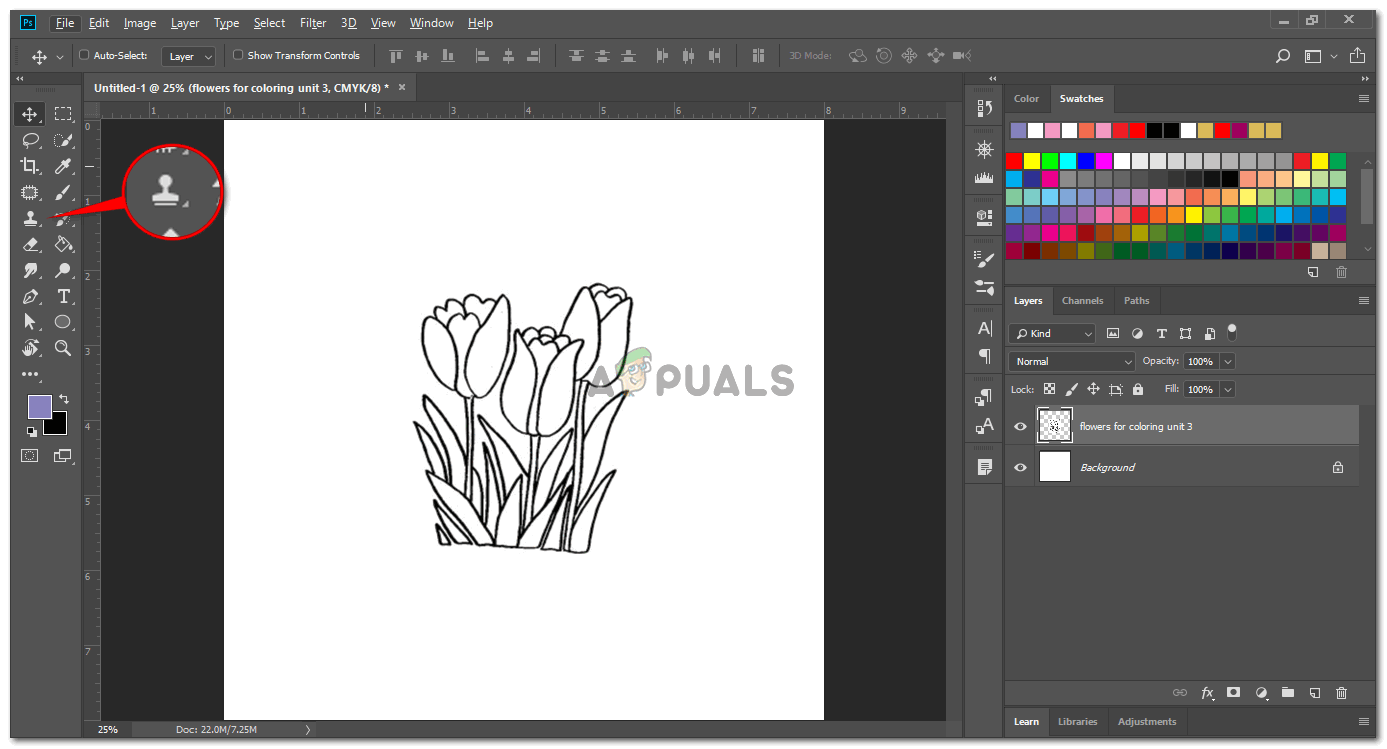
Add an image to use the clone stamp or draw one. - When you click the right button of your mouse on the Clone Stamp icon, you will see an extended list of tools within this icon. You can explore these to see how it works. Select the Clone Stamp tool for now2 to see how this works.

Choose the Clone Stamp from the tools panel on the left side of the screen - Clicking on the Clone Stamp tool will change the way your cursor looks now. When you bring your cursor to the artboard, it will look like a big circle. You can adjust the size of this circle by pressing the square brackets on the keyboard. ‘[‘ this to decrease the size and ‘]’ to increase the size of the clone stamp brush. The size of the clone stamp tool determines the area that you will pick from the image and will apply in the background or the foreground of the image. So according to your requirements, pick a size which will make your cloning look natural.
- Some images need to be rasterized before they are editable. For this, click right on the layer for the image, an click on the tab that says ‘rasterize layer’.
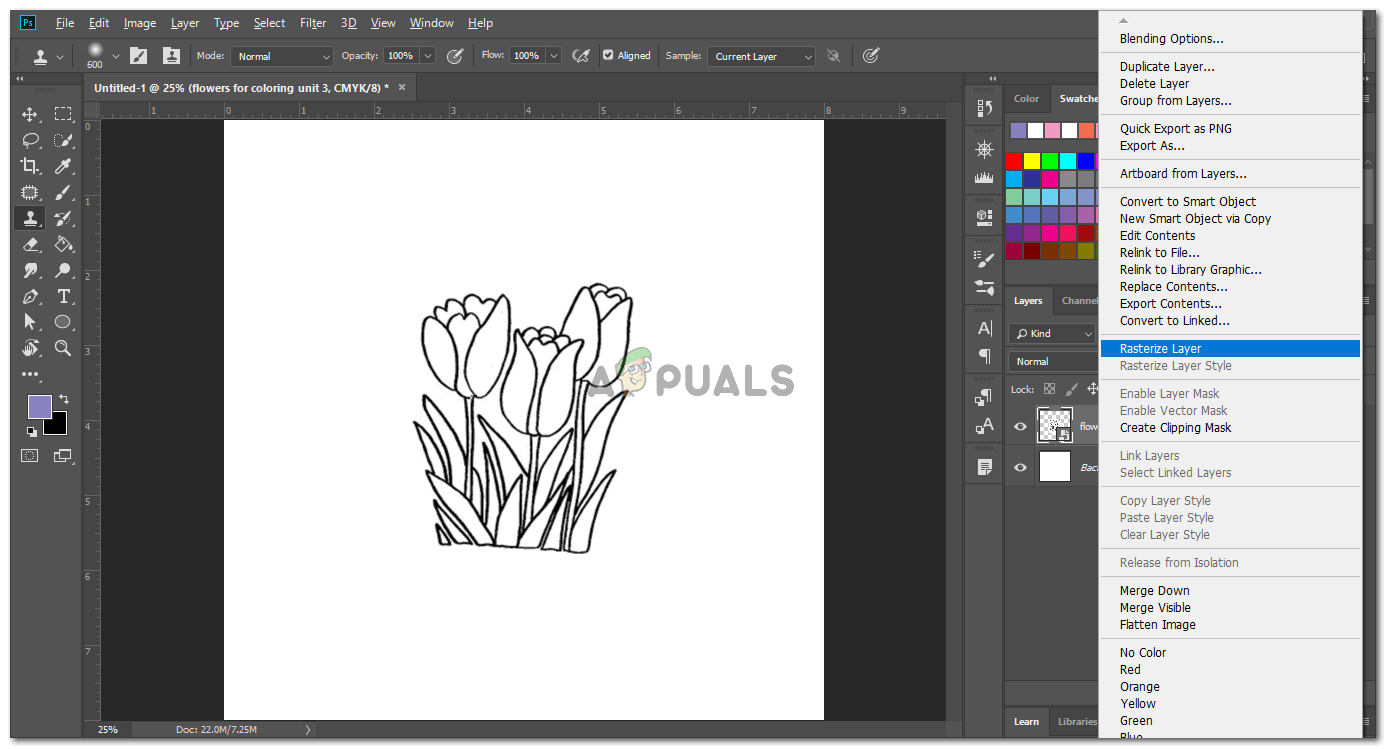
Rasterize the image before it can be cloned through the Clone Stamp tool - Now, I will press the ‘alt’ key on the keyboard while my Clone Stamp is still selected as a tool. This will instantly change the cursors look, it will look like a smaller circle which looks like ‘target’ sort of icon that appears usually in games. Now to select a clone of the image, I need to press the Alt button and click the cursor on the area which I want to use as a clone. One click will be enough for this selection. Now, when I leave the Alt-tab and move the cursor around, I will see the part of the image that I just selected through the clone stamp. To add this clone, I will simply click on the area where I want to see it. Look at the image below, I cloned the back of the image with the same flower that is in the front.
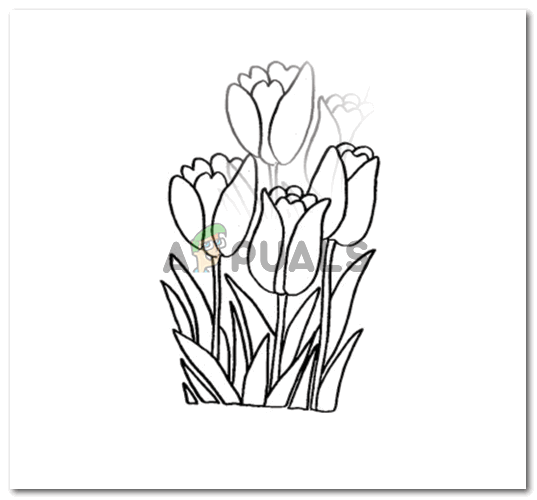
Successful cloning. The Clone Stamp can be a tricky tool to use. So don’t worry if the first trial does not turn out the way you expected. I can repeat these steps as many times as I want to to make the image look something like this.,
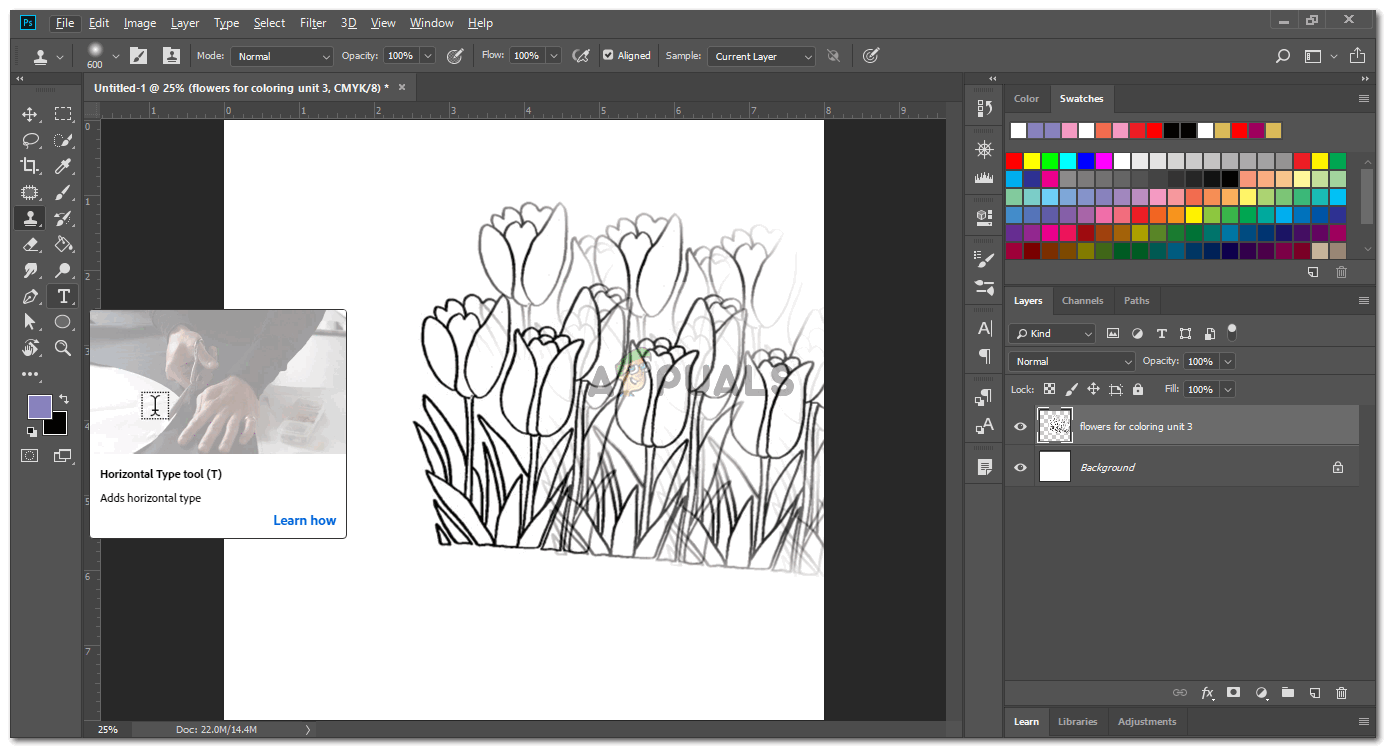
Repeat the steps depending on how you want your image to look like - You can alter the brush for Clone Stamp according to your requirements from the settings that appear on the top toolbar once you click on the icon for Clone Stamp.

Clone Stamp tool settings - From changing the size and type of a brush to adding an airbrush effect, you can choose these settings from this panel that appears at the top of the screen.
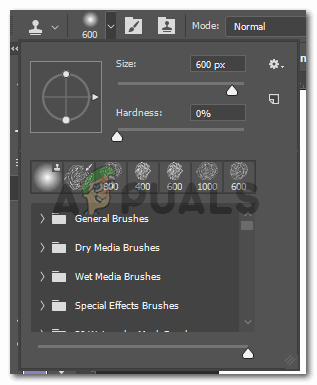
Brush type and size 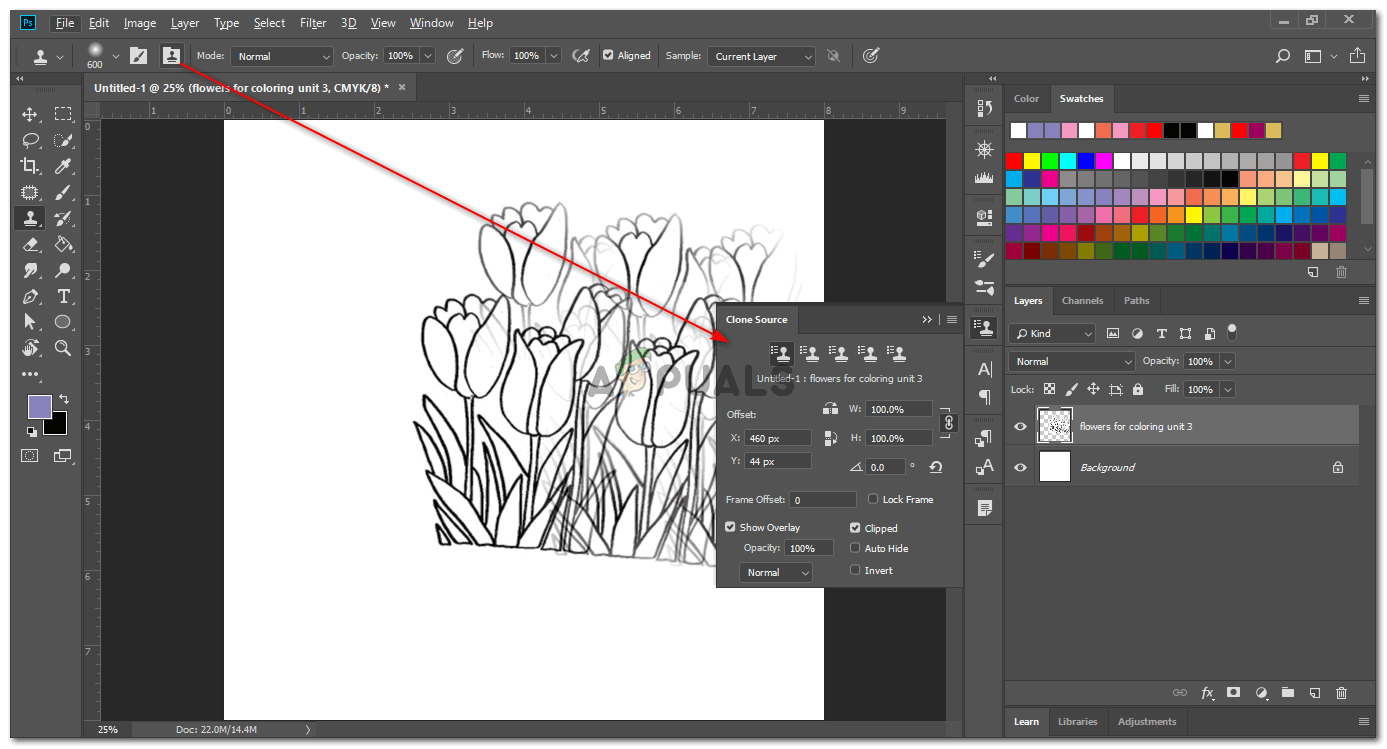
The current details about the Clone Stamp you are working with
Clone Stamp acts more like a correction tool for images. You can use this tool to correct any flaws in the image. You can take a piece of the background, for instance, of a tree, and clone stamps it in front of the tree. Continuous clicking might even hide the tree from the front and show just the background in the image because of the clone stamp.


