‘Configure XBOX One controller for gaming with your Mac device’
No matter how thrilling and captivating PC gaming is for the immersed enthusiasts out there, using a keyboard for it can be monotonous and restricting. Even the most hardcore PC gaming fans will admit that the real gaming feel and flexibility comes from a gaming controller, be it a windows gaming specific one or a console controller adapted and configured to meet your PC gaming needs. On that note, let’s talk about the XBOX One controller: a controller that is, despite the Sony vs. Microsoft vs. Nintendo controversy surrounding this debate, admittedly one of the best physically designed controllers out there for gaming.
Since the XBOX One is a Microsoft owned product, naturally, its configuration with a Windows PC device is rather seamless. For those gamers out there that use a Mac device for their gaming, configuring an XBOX One controller is not an automatic inbuilt functionality that powers on directly just through a basic Bluetooth connection like the Sony Play Station controllers do with Apple’s Mac OS. That said, configuring your XBOX One controller with your Mac device is not an impossible feat either: it just takes a few additional steps.
Step 1: Preparing Your System
Before you begin configuring your XBOX One controller and integrating it with your gaming interface, you will first need to set up a client that will recognize your XBOX One controller and serve as a base platform to link your connectivity with your native Mac OS. For this, download the 360 Controller application through GitHub, accessible at this link.
- Once you click to download the file, you will have to find the downloads folder on your Mac device and search for the downloaded DMG file.
- Double click on this to launch a window that displays the “Install360Controller.pkg” file. Double click on this file to process the driver’s installation.
- A standard window will pop up on your device prompting the installation. The window will indicate the driver details as well as latest updates to the package. Ensure that you have downloaded the latest available version of the 360Controller from GitHub to avoid facing any difficulties due to instability bugs.
- At this point, ensure that you do not have any applications running in the background that may need saving and save all your other data as the installation will restart your system and you may lose unsaved data in the process. Once you’ve ensured this, follow the on screen instructions in the pop up window to allow the installation to continue and execute.
- You will be prompted to agree to the product’s terms of licensing. You can read the license at this point and then click on Agree.
- Once you do this, the application installation will process on your system and your Mac device will subsequently restart to complete the procedure.
Step 2 A: Integrating Your XBOX One Controller with your Mac Device – Wired USB
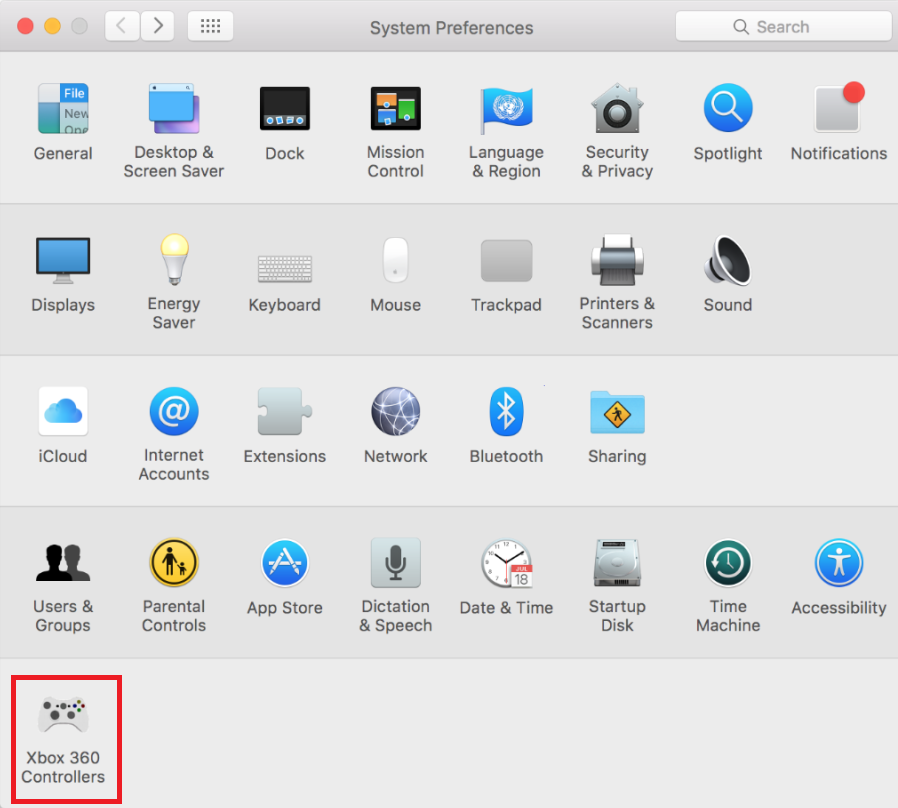
Once your system boots back up, head into the Apple menu in the top left corner of your screen and click on System Preferences. This will open up your system’s settings window. At the bottom of the screen, in the last tier of available commands, you should see a nested menu titled: Xbox 360 Controllers with an XBOX controller icon. This menu works to configure all Xbox controllers: 360 and One alike. Click on this menu. You will be directed to another page that will recognize your device and allow you to configure its layout according to your gaming needs. To proceed with this:
- Connect your XBOX One controller to your Mac device using its USB cable.
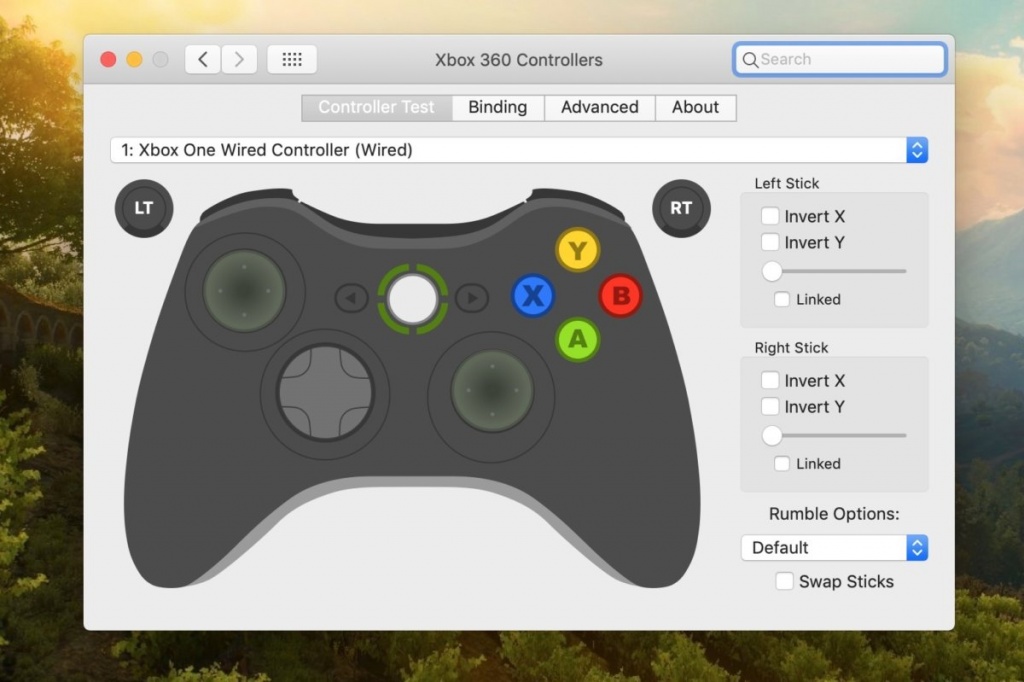
- Once the controller is connected, its name should show up in the drop down menu at the top displaying available devices. Select your controller and perform any button manipulations or tweaks you may want. If you would like to leave it at the standard settings, you can forego the tweaks.
- Once you are happy with the controller’s setup, you can escape this menu. Your controller is now paired with your Mac device and recognized by it for your gaming activities.
Step 2-B: Integrating Your XBOX One Controller with your Mac Device – Wireless via Bluetooth
If you would like to connect your XBOX One controller wirelessly with your Mac device, after the installation of the Xbox 360 Controllers client has been completed and your computer boots back up, carry out the following steps:
- Head into the Apple menu in the top left corner of your screen and click on System Preferences. This will open up your system’s settings window.
- Press and hold the XBOX logo pairing button on your controller until it starts to blink.
- In your System Preferences pop up, head into your Bluetooth settings.

The Mac System Preferences Menu Showing The Bluetooth Menu. - Search for your Xbox controller in the list of devices available and process the pairing and connection.
- Head back into your System Preferences pop up and at the bottom of the screen, in the last tier of available commands, find the nested menu titled: Xbox 360 Controllers with an XBOX controller icon. As with the wired connection, this menu again serves the purpose of configuring all your Xbox controllers: 360 and One alike. Click on this menu. You will be directed to another page that will recognize your device (which you have now already paired via Bluetooth) and will allow you to configure its layout according to your gaming needs.
- At the top of the screen, click on the drop down menu and select your paired XBOX One controller from the list of available devices.
- Perform any button manipulations or tweaks you may want. If you would like to leave it at the standard settings, you can forego the tweaks.
- Once you are happy with the controller’s setup, you can escape this menu. Your controller is now paired with your Mac device and recognized by it for your gaming activities.
Step 3: Troubleshooting Your Connection
If you wish to tweak any controller related settings, troubleshoot any issues, or remedy any connectivity problems, you will need to access the same Xbox 360 Controllers menu nested in the System Preferences as this will be the client that deals with all of your controller related concerns.
Common connectivity issues in wireless pairing arise from your controller already being connected to your console and engaging with it actively. Ensure that your console is powered off or out of range when carrying out the configuration steps above. Low battery on the controller can also a reason preventing its configuration with your system.
Final Thoughts
Pairing an XBOX One controller with a Mac device is fairly simple. It warrants the same basic procedure of configuring any external device with your Mac, except with the addition of an external client and a few extra steps. Once you have carried out all of the steps outlined above, your controller will be ready for use. Simply launch whichever game you would like to play and have at it.


