How To Compress / ZIP a File in Windows 10
People often use third-party softwares to Compress or Zip the files. These third-party softwares do quite well but are not recommended as security is an ultimate necessity now days. A majority of Windows users don’t use the built-in feature to Compress/ ZIP files and folders that is the most secure and the best way of achieving the desired output. Windows 10 is pretty advanced and the compression tool integrated works quite well. So, you can definitely, Compress / ZIP a file in Windows 10 instead of using the third-party paid tools. You can compress a single file/ folder or you can also compress multiple files/ folders using the compression tool inside Windows 10.
A ZIPPED or Compressed file is the most convenient way of transferring huge sized files and folders over the Internet. Files take less space when they are compressed and can be transferred without consuming a large amount of bandwidth.
Ways of Compressing /Zipping a Single File or Folder in Windows 10:
Method # 1: Using the “Send to” Option to Compress /ZIP a Single File or Folder
You can compress/ ZIP a single file or folder using the “Send to” option inside Windows 10. Follow the instructions below.
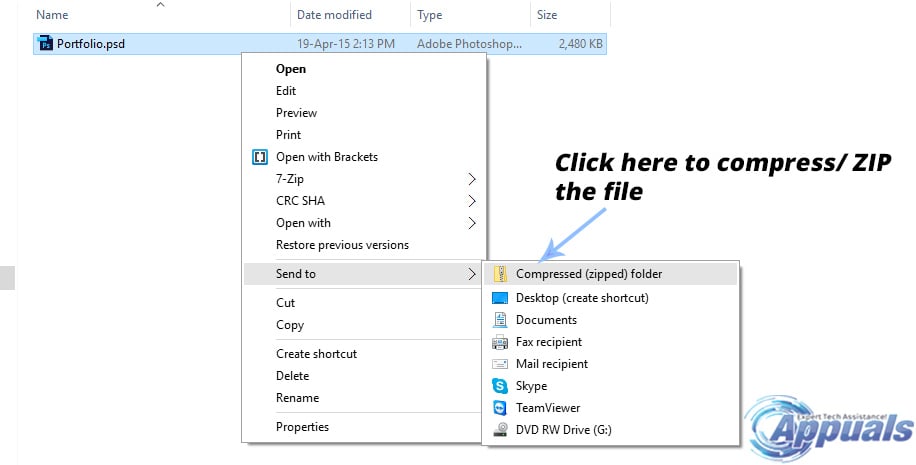
To compress a file/ folder using the “Send to” option, right click on the target, navigate to Send to and click on Compressed (zipped) folder from the menu appearing after. You can refer to the below image for illustration.
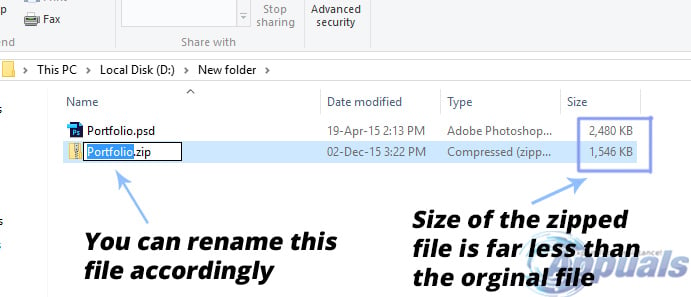
After the file is compressed, you would see a new file with a conventional folder icon. By default, the zipped file will be renamed according to the original file /folder but you can also rename this file. You will notice a big difference between the Zipped file and the Original version of that file.
Method # 2: Using the “Top Ribbon Menu” to Compress /ZIP a Single File or Folder
There is another way to compress/ Zip a file in Windows 10 i.e. using the Ribbon Menu located at the top of the Windows Explorer.
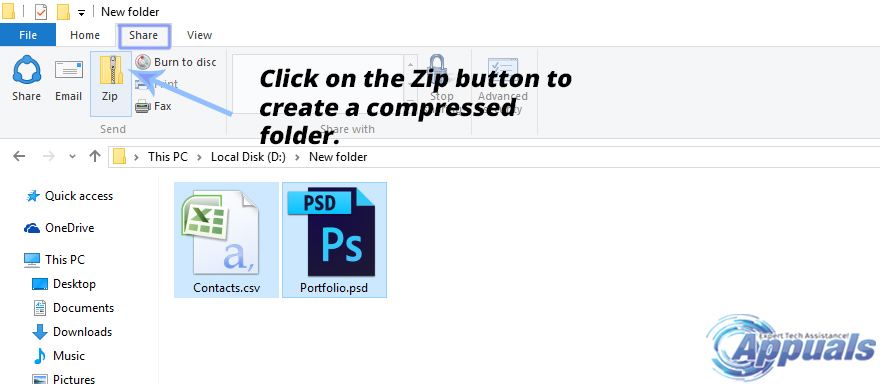
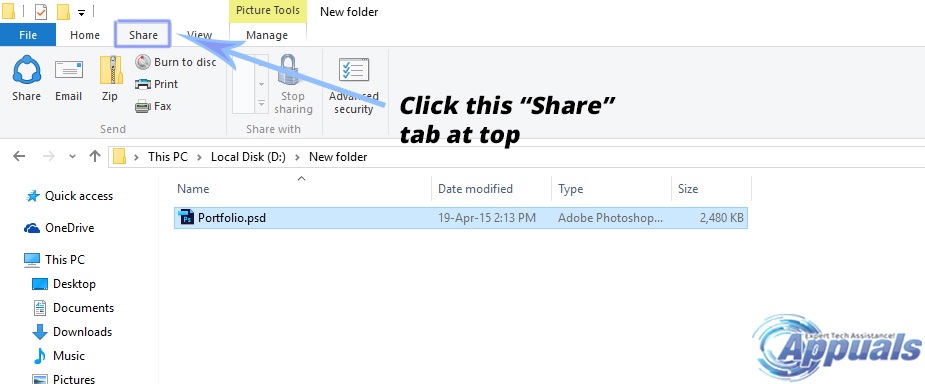
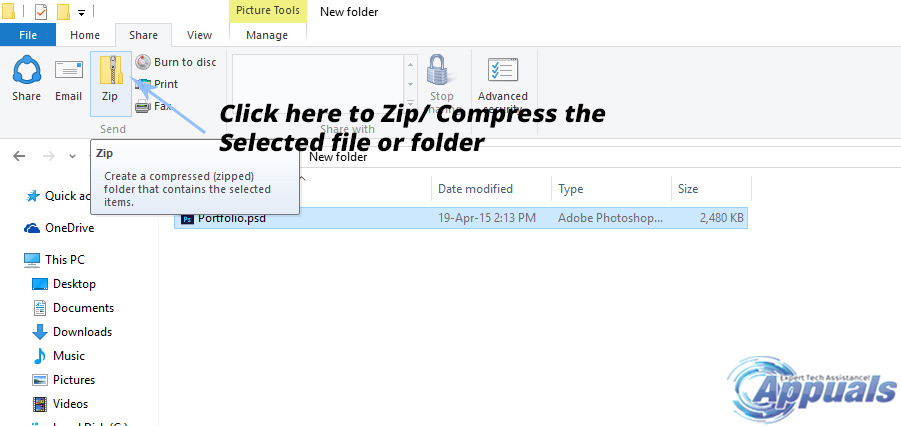
Select the file or folder you want to compress and move your cursor to the top of the Windows Explorer inside the Ribbon Menu area. Click on the Share tab to open the relevant settings.
Inside the Share tab, you will see an option called Zip. Click on that option and the selected file will be zipped/ compressed.
Ways of Compressing /Zipping Multiple Files or Folders in Windows 10:
Method # 1: Using the “Send to” Option to Compress /ZIP Multiple Files or Folders
You can also compress multiple files and folders using the Send to option inside Windows 10.
To compress multiple files or folders, press and hold the CTRL button on your keyboard and select the files using the left mouse button.
Right click on the any of the selected file or folder and select the Send to option followed by Compressed (zipped) folder.

It will create a new compressed folder inside the same directory. You can rename and share the folder accordingly.
Method # 2: Using the “Top Ribbon Menu” to Compress /ZIP Multiple Files or Folders
Multiple files and folders can also be compressed/ zipped using the Ribbon Menu.
Select the desired files and folders by holding the CTRL key and navigate to the Ribbon menu at the top of the Windows Explorer.
Navigate to the Share tab and click on Zip to create a compressed folder.