How to Change the Name of a Sheet Within an Excel File
Working with Microsoft Excel sheet would become even easier once you have it all organized. And by organized here, I mean naming the sheets with different names so that they are easier to access. You can name different sheets on your Excel with different names so that you know which sheet has data related to what content. This could be a lifesaver for many especially in a case where people have to add data to a worksheet which further has sub-sheets. The default names of sheets ‘Sheet1’,’Sheet2’ and so on cannot be defined by the name. And to look for a certain data can become a hassle if you have to go through all the sheets to find that one sheet which has the data you are looking for.
So, to make your work life much easier if it involves the use of Excel sheets, follow the steps below and learn how you can change the name of different sheets on one Microsoft spreadsheet.
There are four ways to access the sheets name and change it:
- Double click on the name of the sheet
- Using short keys to select the name of the sheet
- Clicking the right cursor on the sheet tab to change the name
- Using the tools ribbon the top panel to access the settings for renaming a sheet
Double Click on the Name of the Sheet
- When you open an Excel sheet, you can see the name of the sheets below.

Open Excel Sheet - Right click on this tab or the tab you want to change the name for. You need to double click, remember this. If you click once, the tabs name will not be editable but instead, it will just open the sheet in front of you. So, to change the name of the sheet, click the cursor twice on where it is written ‘Sheet1’.
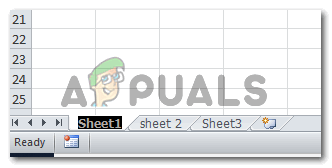
Double click on the name of the sheet, which by default settings on Microsoft Excel is named ‘Sheet1’. With the number varying with each sheet added. The text on the tab will get selected as shown in the image below. You can press the backspace key on your keyboard to erase this name and write a new name for this sheet. Once written, simply press the enter key on the keyboard, and see that the name has been changed successfully.

Change the name accordingly and press enter. To make your work easy, keep the name of the sheet very direct to help you find data in the future.
Using Short Keys to Select the Name of the Sheet and Change it
- Press these keys, and keep pressed at the same time. The minute you leave the keys, the name of the sheet gets selected as shown in the image below. The keys are, ‘Alt+H+O+R’.

Short keys to select the name of the sheet and rename is are, Alt+H+O+R - Change the name of the sheet and press enter key from the keyboard.

Write the name of your choice, and press the enter key to finalize the name of the sheet
Clicking the Right Cursor on the Sheet Tab to Change the Name
- On the sheets tab which is at the end of the Excel sheet, click the right button of the cursor on the sheets tab for which you want to rename the sheet. Clicking right will open a list of options to choose from.
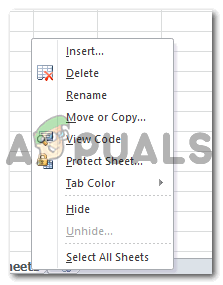
Right click on the sheet you want to rename - On this list, you can see the option for ‘rename’. Click on that and the sheet you want to rename will get selected.
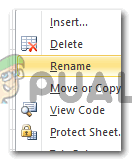
Click on the tab that says Rename 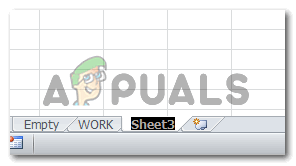
The sheets name will get selected. You can now type in the name of your choice for the sheet. - Change the name for your selected sheet now and press enter.
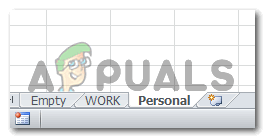
Name changed.
Using the Tools Ribbon the Top Panel to Access the Settings for Renaming a Sheet
Another way to access the option for renaming a sheet on Microsoft Excel is by using the ‘Format’ tab on the top tool panel for Excel. Follow the steps below to learn how to access it.
- Click on the sheet on Excel for which you want to change the name for.
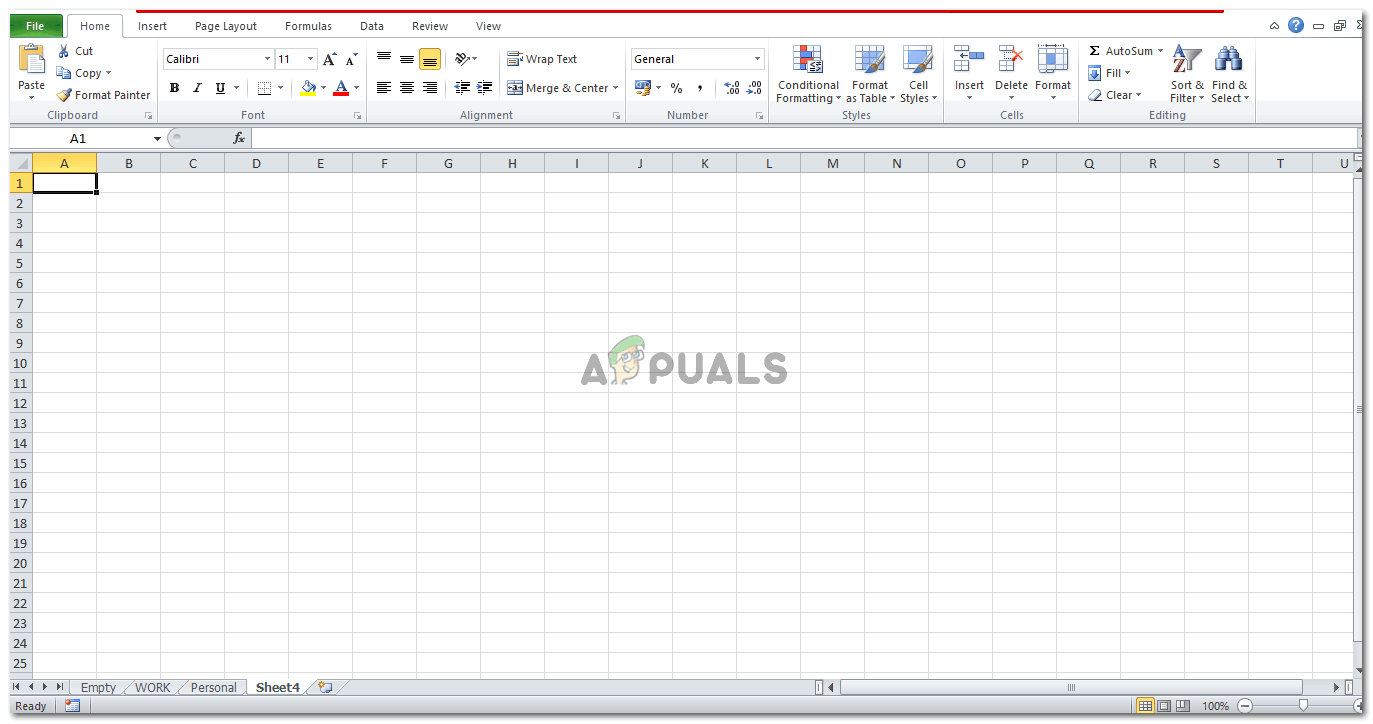
When you open an Excel sheet, you will find all the tabs which will help you make the file better on the top menu - Under the Home tab on the top panel, locate the tab for ‘Format’ as shown in the image below.
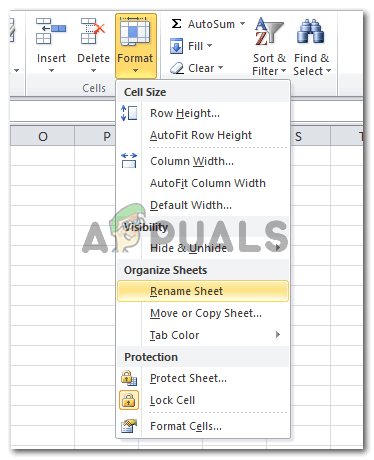
Format> Rename Sheet Here you will find the option for ‘Rename Sheet’. This is what you need to click on.
- The minute you click on Rename Sheet, the sheets name will get selected on the sheet tab below. Ready for you to edit.
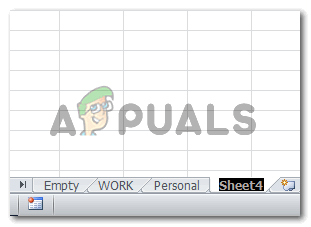
Sheets name is selected automatically for you to make any changes. You can change the name for it by simply typing the name for this sheet and pressing the enter key from the keyboard to finalize the name.


