How to Change Screen Resolution on Windows 10
Being comfortable with your computer’s screen resolution is extremely important since a computer’s screen resolution is what decides how big things on the display seem to the user, how clear images are and how content is displayed on the screen. Generally, the higher the resolution, the sharper and clearer content on your screen will be. You being comfortable with your computer’s screen resolution is paramount since the resolution basically determines what you see on your computer screen and how you see it. While Windows has its own defaults for screen scaling using which it sets a recommended screen resolution for your computer screen, you ultimately have the ability to have whatever screen resolution you want.
This is also true in the case of Windows 10, the latest and greatest iteration in the long line of Windows Operating Systems for computers. Changing your screen resolution on Windows 10 is not only possible but is also quite easy. Changing screen resolution on Windows 10 is also pretty similar to changing screen resolution on older versions of the Windows Operating System, so users who upgraded from older versions shouldn’t have any problems adapting to the new method. Here’s how you can change the screen resolution on a Windows 10 computer:
- Navigate to your Desktop.
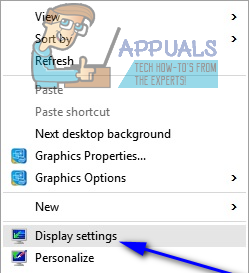
- Right-click on an empty space on your Desktop.
- In the resulting context menu, click on Display settings. Doing so will take you to your computer’s Display settings within Settings > System.
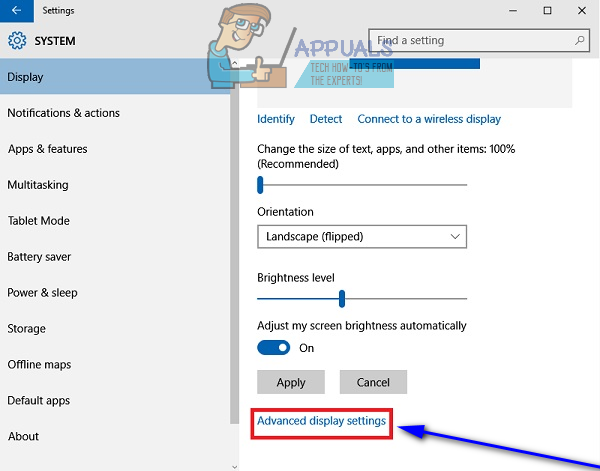
- To change your computer’s resolution, in the right pane of the window, scroll down and click on Advanced display settings.
- Open the dropdown menu located directly underneath Resolution and click on your desired screen resolution to select it.
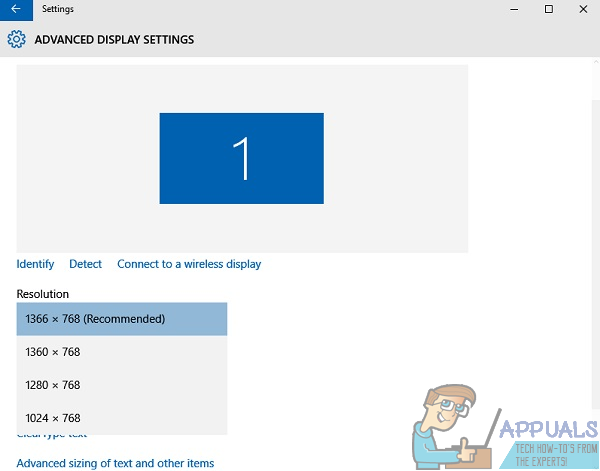
Note: The screen resolution Windows recommends for your specific combination of computer and monitor has (Recommended) written next to it. The recommended screen resolution for a Windows 10 computer varies from one computer to the next, and it is not at all necessary for you to use Windows’ recommended screen resolution on your computer. You can set the resolution lower than the recommended value if your computer screen supports it, and you can also set the resolution higher than the recommended value if you would like content on your screen to appear larger (although doing so will also result in the content appearing less clear and sharp). - Click on Apply. The screen resolution change you have made will be applied to your computer.
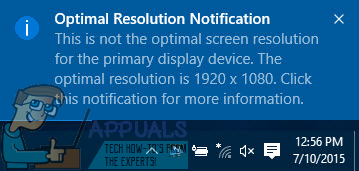
- If you see an Optimal Resolution Notification but you are sure you want your screen resolution to be changed to the value you selected, simply ignore the notification.
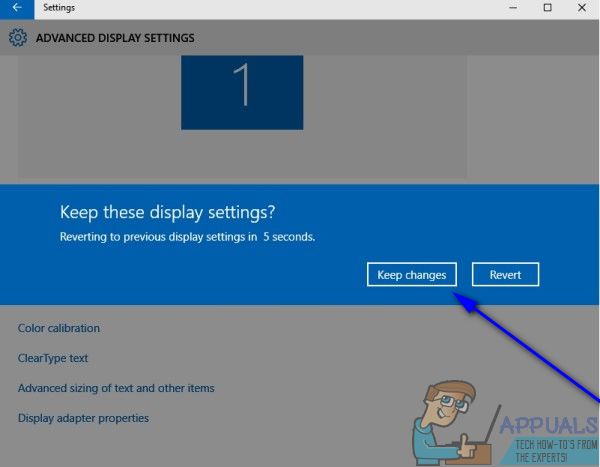
- Click on Keep changes when Windows asks you if you want to keep the display changes you have made. You will only have 15 seconds to click on Keep changes however, as after 15 seconds Windows will revert the screen resolution change you made and you’ll have to change the resolution all over again.
- When done, simply close the Settings window and bask in the glory of the new screen resolution you have chosen and set for your computer.