How to Change Default Camera in Windows?
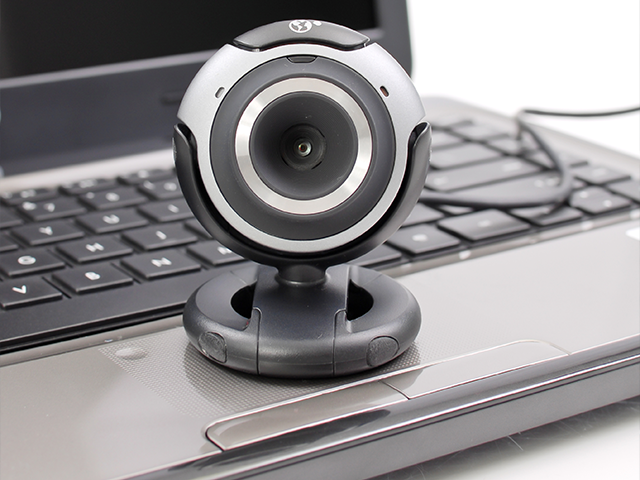
Some people prefer to use an external camera instead of the built-in ones in laptops, monitors, tablets, etc. However, certain applications may ignore this external camera and utilize the internal one. In this article, we’ll show you methods to configure Windows to use a specific camera for all applications.

We have investigated the common issue of Windows failing to select a specific camera and have developed a couple of workarounds to address it.
1. Disable Other Camera
When applications use a camera, they usually call upon the default or first available option. By turning off the internal camera, you remove its availability, forcing the system and all applications to recognize and utilize your preferred external camera as the go-to option for video input.
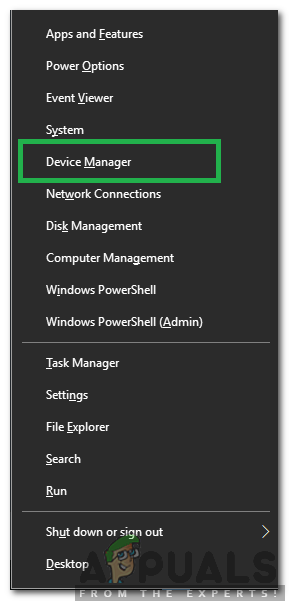
- Press the Windows + X keys simultaneously and select Device Manager from the list.

Selecting “Device Manager” from the list - Double-click on Imaging Devices to expand the dropdown.
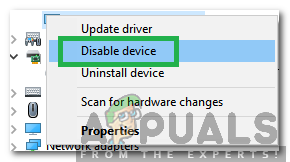
- Right-click on the internal webcam and select Disable device. It usually has the manufacturer’s name.

Selecting “Disable Device” from the menu - Attempt to use an application and verify that the correct camera is now being utilized.
2. Selecting Drivers as Default
By going through this process, you basically tell your computer to prioritize the external camera’s drivers over the internal ones. This prompts your system to automatically choose the external device anytime an application requests camera access, avoiding the need to manually switch cameras each time.
- Press Windows + S to bring up the search option and enter Control Panel.

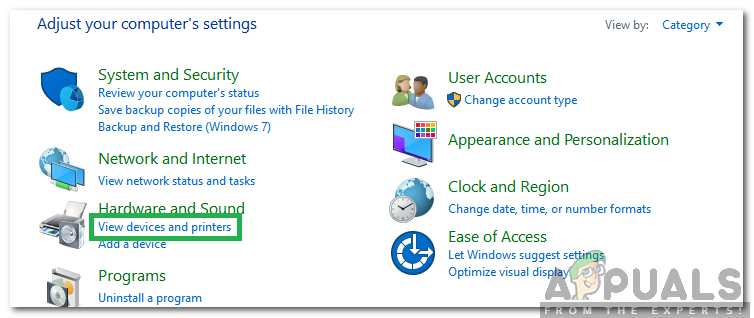
Clicking on the “Control Panel” option - Click on the first result and then select View Devices and Printers found under the Hardware and Sound category.

Selecting “View Devices and Printers” under the Hardware and Sound option - Locate the webcam in the list. If it is present, right-click on it and choose Set this device as Default.
- Confirm whether the change resolves the issue by using the camera in an application.


