How to Change Artboard Size on Illustrator
Adobe Illustrator, in my opinion, is one of the best softwares to use when designing anything. It is very easy to learn and much easier to use. You can add as many artboards and enjoy working on these simultaneously. One of the major queries often asked by newbies about Adobe Illustrator is how to change the size of the artboard, once you have already selected a certain template or file and have the artboard ready on the screen. To learn this, just follow the steps as mentioned below, and you will become a pro at altering the size of the artboard on Adobe Illustrator.
Changing the Size of an Artboard on Adobe Illustrator
- Assuming that you have already selected a certain size for your artboard when you create a new file. Later you realize that this is not the dimensions as per your client, or you, so you need to change the size of the artboard after a new file has been created.
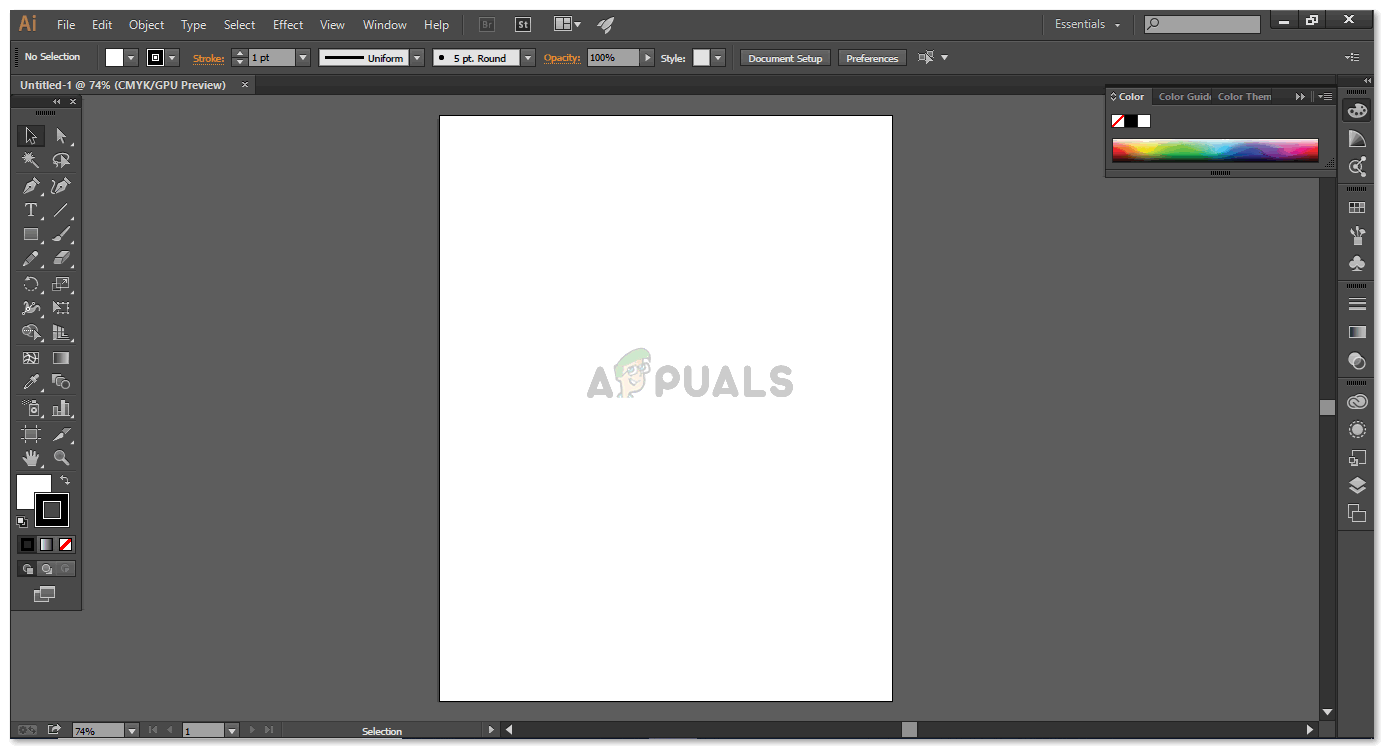
This is how your artboard looks like when you create a new file on Adobe Illustrator. - On the screens left side, you will notice a tools panel for Adobe Illustrator. Towards the end of it, you will notice the icon for Artboards, which looks like this.
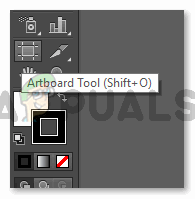
Artboard tool. You can use this tool to create a new artboard or edit the existing artboard. You can shift the artboards, increase or decrease the size, and even add artboard marks and margins to aid yourself when designing a project. - The cursor changes when you click on this icon for the Artboard tool. You can also use the keyboard shortcut for this, which is shift + O, as shown in the image above. Now, since your cursor looks different once this icon is selected, you can now create a new artboard by clicking and dragging anywhere on your workspace (the grey area that appears on your screen for Adobe Illustrator). Other than this major feature of this tool, when you click on this, the top panel for tools also shows more actions that can be taken by using this particular tool as shown in the image below.
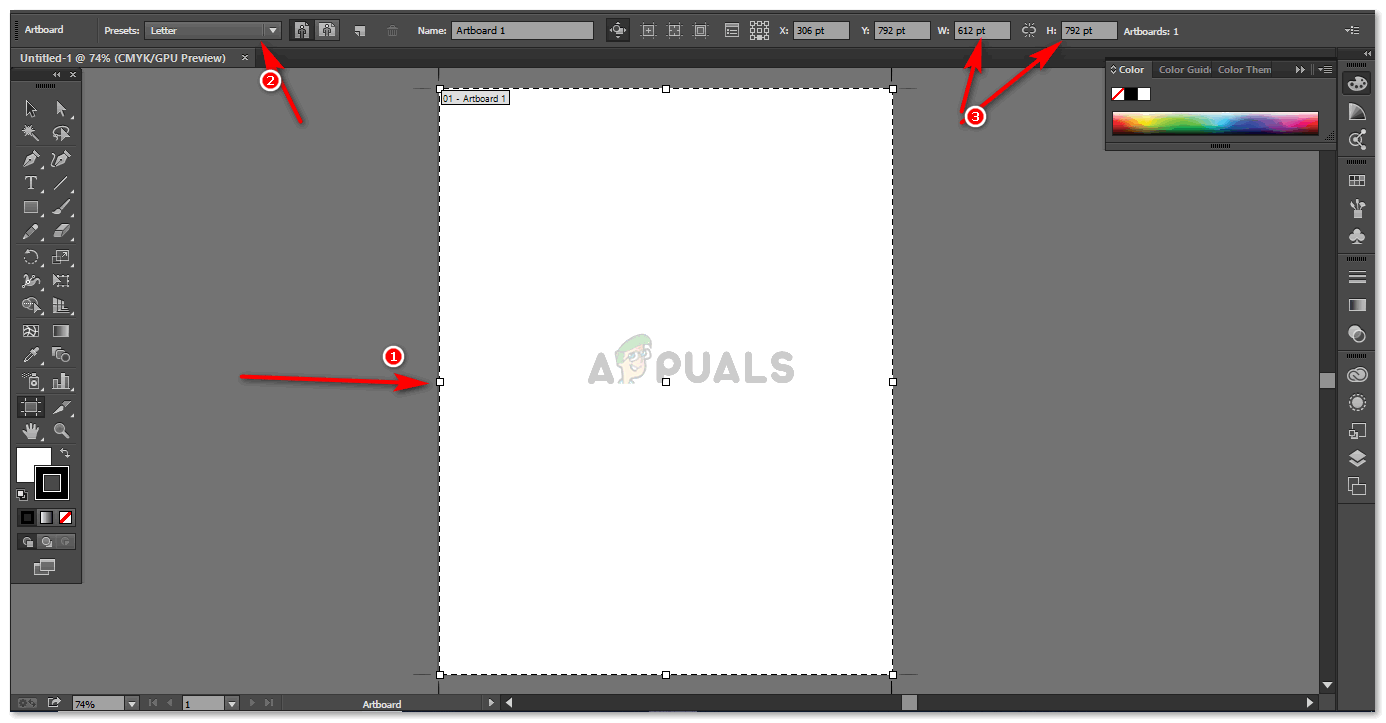
The three points as highlighted by the arrows in this image show you the three different ways in which you can alter the size of your artboard on Adobe Illustrator. - The first arrow in the image above shows these tiny squares which are the boundaries for your artboard. You can simply click and drag these points in whatever direction you like and make it according to your required dimensions. If you want to increase the size of the artboard in a more symmetrical manner, then you must keep pressing shift on your keyboard while dragging these boundary points.
- The second point as marked in the image shows the presets. Presets are basically the inbuilt, already existing sizes of different documents, which can be used to make different projects. You can choose your required present and the artboard will adjust accordingly.

These are the presets available for you to choose from. I mostly work with A4 and A3. 6. The third method of changing the size of an artboard is point number three, which is highlighted in the image under bullet point number 3 in this article. This arrow shows the current measurements of the artboard you are working on. If you want to change these measurements, you can simply type in your required Height and Width in the spaces for H and W, which will change the shape of the artboard accordingly.

You can see the changes in your artboard as you change the Height or the Width one by one. Note: When working with artboards, and when designing different pieces of art on different artboards, make sure you keep enough space in between these artboards so that if in the future, you need to change the size of the artboard, it does not overlap on the artboard next to it. It happens with me a lot and telling you my experience, keeping a nice few points gap between these artboards is a must.


