How to Blur/Fade Edges of an Image/Shape on Adobe Photoshop
Adobe Photoshop can be used to add some really amazing effects to the shapes and text that you add to make your design. You can blur out the edges of a text or shape, or add a soft fade around the shape, by following the steps as mentioned below.
- Take any image that you want to use as a centerpiece for your design. I took a flower from the internet and made a bouquet out of it to make it look more dense.
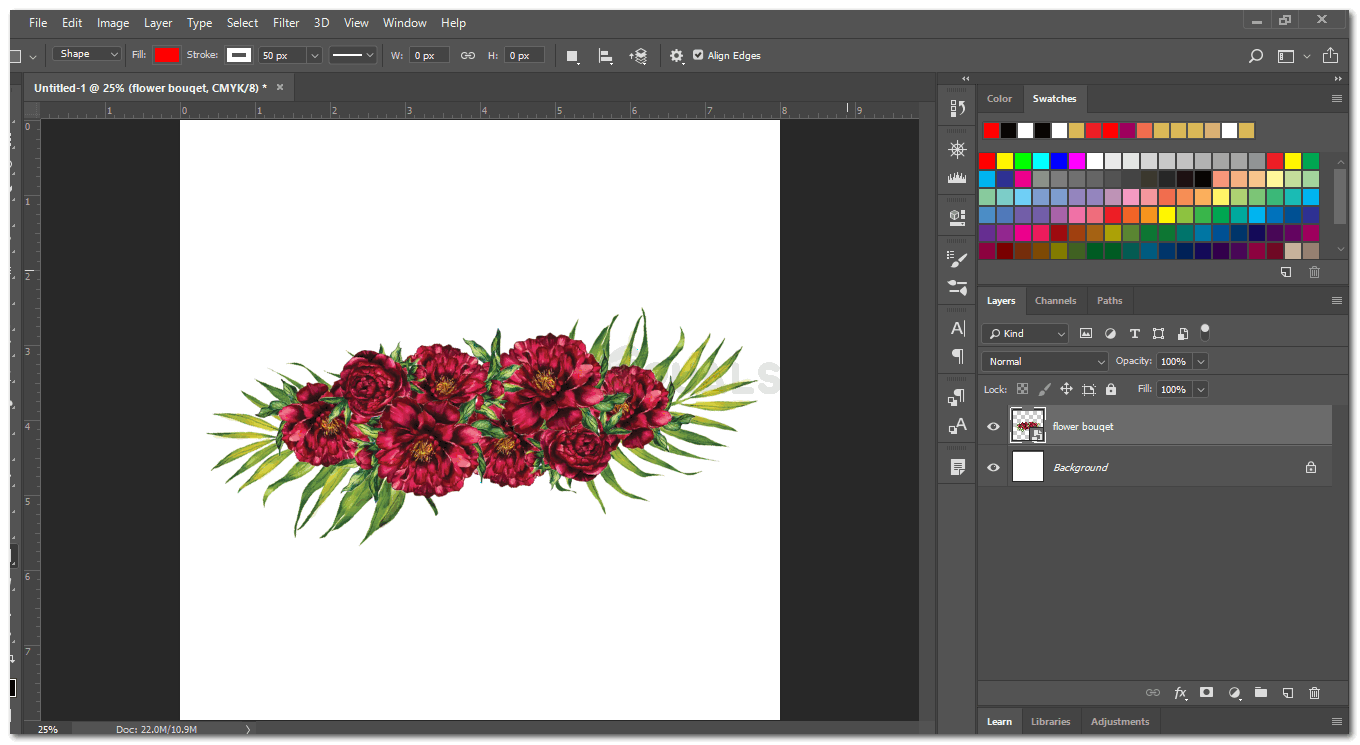
Add any image which can be used for your design. It doesn’t necessarily have to be an image, you could draw it too. - It is very important that you work on different layers. This helps you edit your work more easily in future if you make any errors on any of the layers. You will always have the original layer saved. I added a new layer after the background layer. This is the layer I will use to add a shape around my image. To add a new layer, you can click on the icon as highlighted in the image below which looks like a folded piece of paper.

Creating a new layer, by clicking on this icon 
You can change the name of the layer by clicking where it is written layer 1, or keep it the same. Naming the layers helps you keep your work sorted, especially when a lot of layers are being used. - Now, I wanted to draw an oval around the bouquet of flowers. So I used the ellipses tool from the left toolbar on Adobe Photoshop.
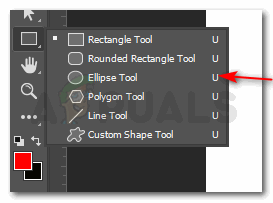
Ellipses tool, to draw a shape around the image - I altered the shape according to the bouquet, adjusted the image accordingly and also added a color to the shape to make it seem more prominent.

You can make any shape around the image. The choice is totally up to you - Now because I want to add a fading effect on the edges of the oval that I created around the bouquet, I will have to add a layer mask on this layer so that I can edit it accordingly. To create a layer mask, I will select the layer of the shape, and click on the icon directed by the arrow in the image below.

Clipping Mask, Layer mask - Layer mask will show an empty mask in front of the ellipse’s layer. This shows that the layer mask has been made. I can now edit the ellipses shape the way I want to for this example.

An empty layer for ellipses appears which is linked tot he same layer - Click on the layer mask, which is the white layer in the ellipse’s layer. Clicking on this would open a properties box, which will have further editing options for you.

Add the Feather effect The point of creating a layer mask is so that you can edit the edges of the shape itself without any changes in the background. For editing the oval shape that I created, and not the entire layer, I will choose the option under this properties box which looks like a square with an extended shape on the four corners. This basically represents the inner part of the layer mask, which is the shape that we have added. I can alter the density of the effect I want to add to the shape, and also refine it. The option for Refine is only visible when you have selected the first rectangular icon for layer mask. But because we have selected the second one, these options cannot be accessed.
Feather, however, is the main feature that we will be using in this example. Scrolling the icon under feather is what will add the faded effect to the edge of the shape, and not the entire shape. The more pixels for feather, the more will be the fading effect.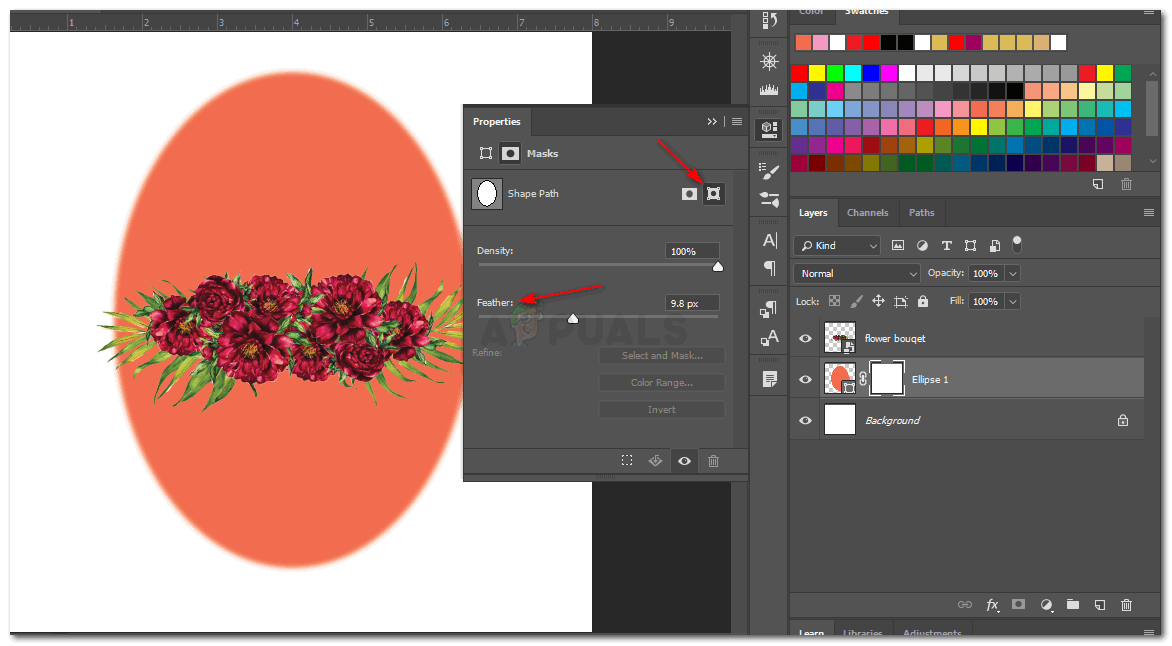
Edges have been faded
Adding a Vignette Effect Using the Same Technique
The same steps can be implemented on an image which you want to give a vignette effect too. The only difference to give a vignette effect in Adobe Photoshop would be that you will use the shades of black, at the edge of the shape to make the blurred edges add the vignette effect.
Another easy way to create a vignette, blurry edges effect over an image would be to use a brush and paint with the blurry brush over the edge. For this, you will have to add another layer, and a layer mask so that the original image does not get ruined by your painting. This will give you a chance to keep the original safe, in case you are not satisfied with the impact it gives. Another tip to remember for this is, that you must keep the foreground and background fills to its original settings, that is, black and white. The vignette effect can only be pulled off if these settings are maintained.


