How to Add or Remove Password from Outlook Data File
It’s always a good practice to password protect your Outlook PST files with a password. Even more so if you share your PC or workstation with multiple users. After you set a password to your PST archive, you’ll be prompted to insert it every time you Open Outlook. After you insert it, all the contents of your PST file will become accessible.

But while a PST password does a good job of preventing other local users from accessing your emails, it can also create problems if your data archive is migrated to a new PC. Since the PST password is saved locally, when you migrate your Personal Folders file, your entire email archive will be rendered inaccessible.
If you’re having trouble adding or removing a PST password, follow the guides below:
How to set a password for a PST file in Outlook
The steps below will walk you through setting a password fo an Outlook data file in Outlook 2016, Outlook 2013 and Outlook 2010. If you’re working with Outlook 2007, follow the Note paragraphs for the exact settings locations.
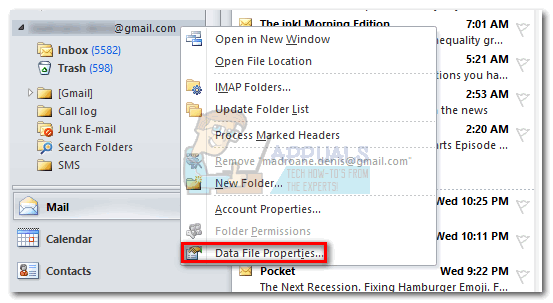
- Open Outlook and make sure your left pane is active. Right-click on your email account and click on Data File Properties.
 Note: In Outlook 2007, go to File > Data File Management and open Account Settings.
 - Once you’re inside the Properties dialog, select the General tab and click on Advanced.
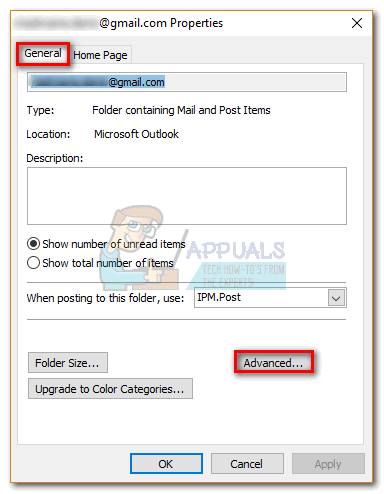 Note: In Outlook 2007 select the Data Files tab, then click on your PST file to select it. Finally, click Settings to open the Data file dialog box.
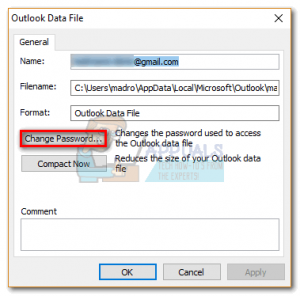
 - Now, you should see an overview of your Outlook Data file. Click on Change Password.
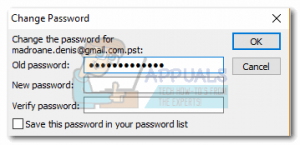
- You will be asked to insert your old password, but don’t get confused. If you haven’t previously set a password for your Outlook data file, leave the Old password field empty. Insert the new password in the two boxes and hit OK to proceed.
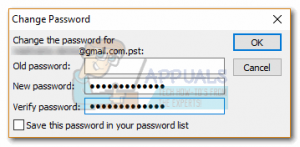 Note: Keep in mind that checking the box next to “Save this password in your password list” is not advisable if you share this computer will other people. If you check it, anyone that uses this computer will be able to explore your Outlook data files.
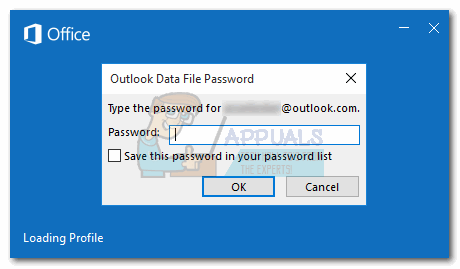
 - Once the password is enforced, you will be asked to insert it everytime you open Outlook.
Keep in mind that Microsoft is pretty bad at recovering forgot PST passwords, so make sure you remember it. Even better, you can write it down and store it somewhere safe.
How to remove a password for a PST file in Outlook
If you’re preparing to migrate to a new PC or you’re simply tired of inserting it everytime you open Outlook, you can easily remove it from your data archive. But keep in mind that the following guide assumes that you know your old password.mHere’s how to remove a PST file password:
- Open Outlook, right-click on your account in the left pane and click on Data File Properties.
- Select the General tab, then click the Advanced button.

- Click on Change Password.

- Now insert your current password in the Old password field. Leave the New Password and Verify fields empty and hit OK.
Removing a password using SCANPST and pst19upg
In the off chance that you’re working with the same PST file for several years, there is another way to remove the password for it. A long time ago, Microsoft released a utility called pst19upg.exe to provide users with the means of upgrading old PST files to the new format. But one side effect of this utility was the fact that it removed the password for any PST file it converted.
Note: pst19upg.exe will not work with PST files created in Outlook 2003 and above. PST files created in Outlook 2002 (and older) use ANSI, while newer Outlook versions use the new Unicode format. If your PST file was created in a newer version than Outlook 2002, do not follow this guide as it will not work.
If you have an old passworded PST file, you can follow the steps below to remove it by using SCANPST and spt19upg. Here’s how:
- Download pst19upg.exe
- Close Outlook.
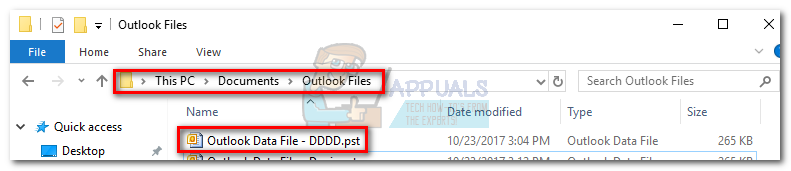
- Navigate to your PST file and make a copy of it. The default location is Documents > Outlook Files.
- Navigate to C:\Program Files and use the search bar in the top-right corner to search for SCANPST.
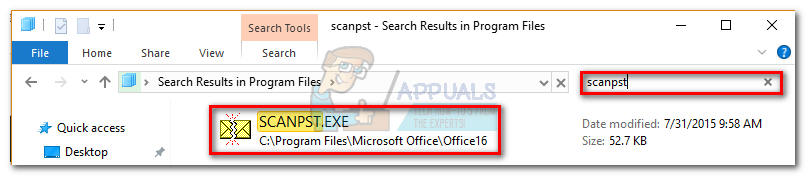
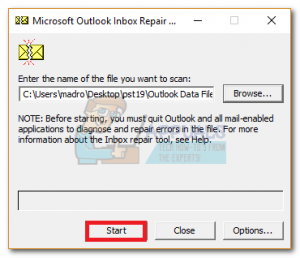
- Open SCANPST, load the copied PST file and click Start.
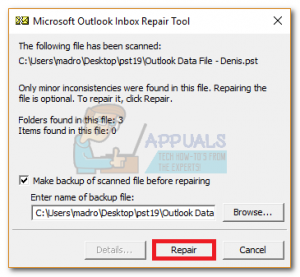
- Click Repair and wait for the process to complete.
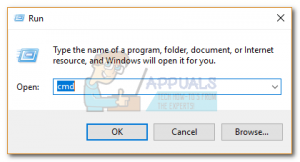
- Press Windows key + R and type “cmd”.
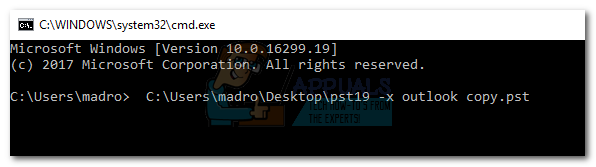
- Type in the path to where you saved the pst19up utility + ‘-x’ + the PST file name. It should look like this: C:\Users\madro\Desktop\pst19\pst19upg.exe -x outlookcopy.pst. This will convert your PST file to PSX.
Note: If you get a message saying “Program terminated in error”, your PST file is too new to be converted to PSX.
- Once the PSX file is created, type same command again but instead of ‘-x’ type ‘-i’. It should look like this: C:\Users\madro\Desktop\pst19\pst19upg.exe -i outlookcopy.pst
- This will create a password-free PST file from the PSX file.
- Now use the SCANPST tool again to repair the newly created file. Then, paste the repaired PST file in the original location.

- Open Outlook and see if it loads without prompting you to enter your password.