How to Add Another Email ID for Current Facebook Account?
If you are a Facebook user, and if you want to change the email address that you use for signing in to Facebook, you can change it by following the steps mentioned below. Facebook users often want to change their email ID for Facebook when they either don’t use that email address anymore or want to make a new one to keep their social and work life all in one place.
There is a possibility that you got signed out of your email address and have forgotten the password for that ID and not Facebook, and you want to get email notifications from Facebook. So, you make a new email ID and add that to your Facebook. You have a choice to either keep both the email IDs active on Facebook or, if you don’t want this, you can always delete the old one. The choice is up to you.
- Sign in to your Facebook account.
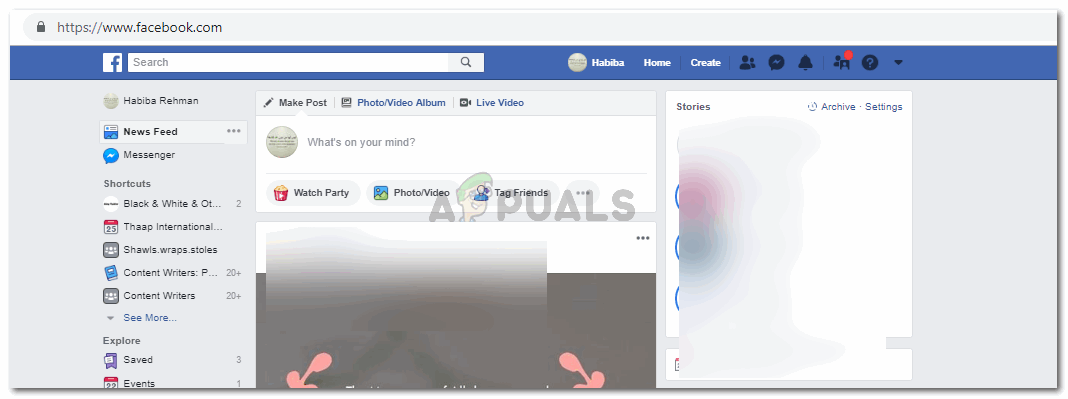
Log in to your Facebook account with the usual email address - Click on the downward facing arrow which is in the top right corner of your Facebook homepage. This is where you head to when you have to log out. And here, you will find the option for ‘Settings’.
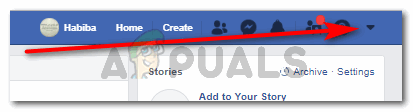
This is the drop-down list for a few important features on Facebook. - Click on settings, as highlighted in the picture below.
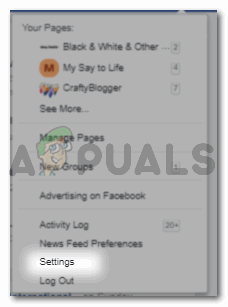
The drop-down list will show you the pages you have created and how you can manage these pages. You will find the option for Settings, as highlighted in the image. - You will be redirected to a page full of different types of settings for your Facebook account. From General, Security, and Login, privacy and pretty much all the settings that you need to manage your Facebook account, are right here. To change, or add another email ID to your current Facebook account, you need to stay on the General Settings, which is the first one on the list on the left. You don’t really have to click on it because they are open by default when you click on settings from the drop-down list as shown in step 3.
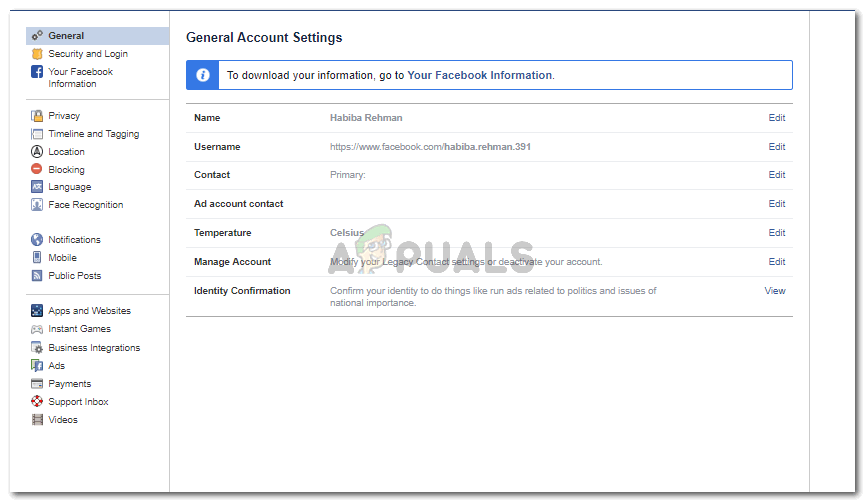
Any settings for your Facebook account can be managed from this option. You will find a whole list o the left for different kinds of settings for your Facebook account. - The 3rd heading under General Account Settings is ‘Contact’. You need to click on the Edit option that is written right on the opposite side. Once you click on edit, your current email ID for Facebook will appear here. If you have already added another ID, that will also appear here. I have two ID’s added on my Facebook account, so that is why I have two options to select from in front of ‘Primary Contact’. Now right under this is the option that says ‘Add another email or mobile number’. This is what you need to click on to either add another email ID to your Facebook account or to remove either of the Email IDs.
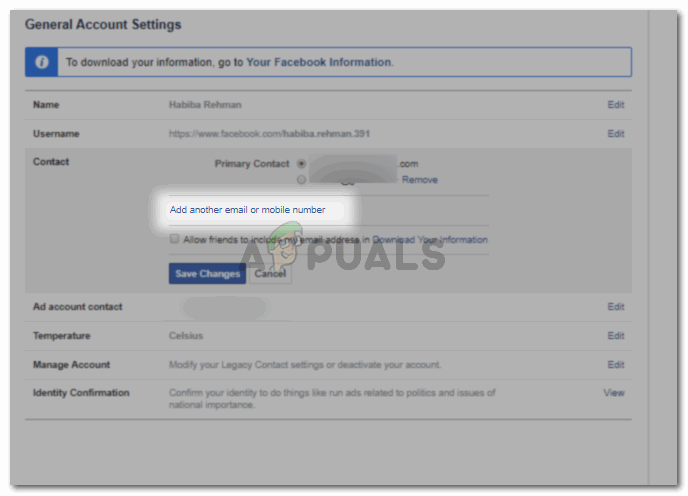
The highlighted text in the image is what you need to click next. This is what will redirect you to a dialogue box for adding a new email address for your Facebook account which you could use as the Primary Contact - Clicking on ‘Add another email or mobile number’, will open this dialogue box.
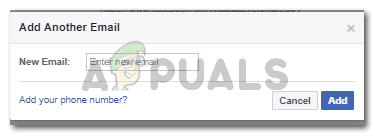
Add the email address here You can type in the email ID that you want to use for Facebook. Now it is up to you whether you want to add an email ID or add a number. After adding the correct information, click on the blue tab that says Add.
- Your new email ID will appear here now. Removing the old ID or keeping is your decision of course. But if you want to delete/remove either of the accounts, you will first select which email address you want to remain the primary account for Facebook contact. The other id which you want to delete will show an option for ‘remove’ written in blue right in front of it. Click on that to remove that account from your primary contact list. Clicking on ‘remove’ will instantly create a strikethrough the email address which you wanted to remove. This makes that email address inactive for contact. You can always undo this, and make this email address your primary contact, by clicking on ‘undo’ in front of the email address that you removed, and then selecting it for the primary contact.

The email address that you just added will appear here. 
to finalize the settings that you just changed, click on ‘Save Changes’
You will always get a notification when you make such changes on your Facebook account. To confirm these changes, you will have to go to your email account and follow the steps as mentioned in the email for confirmation.


This is out of date. The layout is different now. Please update this