How to Add Album Art to MP3 in Windows?
When browsing music libraries on applications like iTunes, Spotify, or Windows Media Player, album art often appears as small thumbnails next to each track or album. This visual element helps users easily identify and navigate their music collections.

Many digital music players and libraries allow users to customize or add album art. Users can often add their own images to ensure that albums downloaded from the internet or ripped from CDs have artwork, even if they didn’t come with any initially.
Adding album art to any MP3 file is simple. We will demonstrate this using some of the most common MP3 players in Windows.
1. Use Windows Media Player
You can easily add album art to your MP3 files using Windows Media Player. This tool lets you play files and manage their details, like album art. When you add or update album art, it saves the image in the file’s ID3 tag, so it’s recognized by other media players and file explorers. This method is simple to use, works well with Windows, and helps you organize your music library with the correct album visuals.
- Download the image you want to use as album art.
- Right-click on the image and select “Copy“.
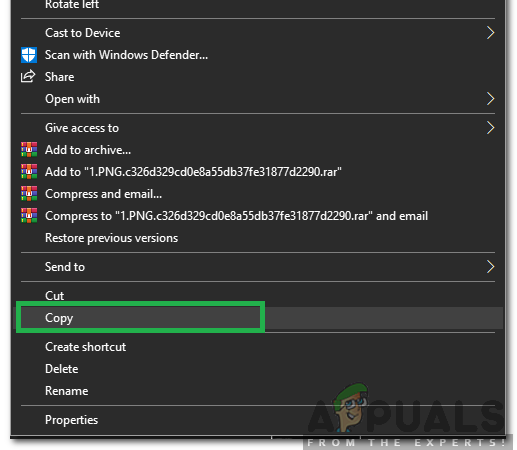
Right-clicking on the image and selecting copy - Right-click on the MP3 file and select “Open With” -> “Windows Media Player“.
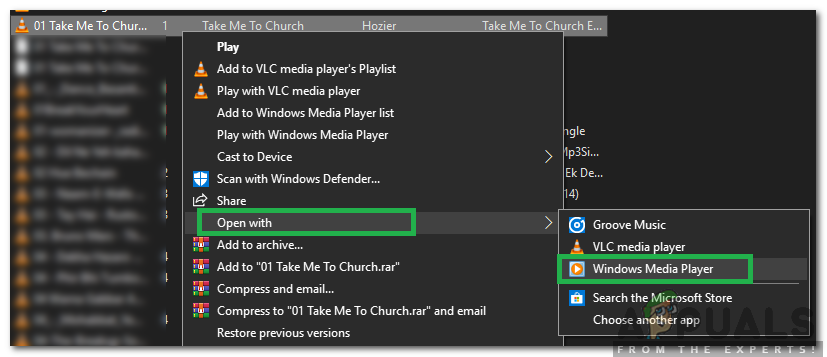
Hovering over open with and selecting Windows Media Player from the list - In Windows Media Player, right-click the MP3 file and select “Paste Album Art“.
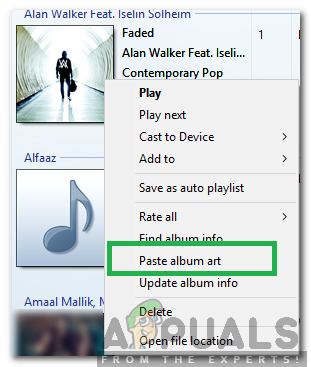
Right-clicking on the MP3 and selecting the “Paste Album Art” option Note: Ensure the MP3 file is not read-only and you have permission to modify it. To check, right-click the file, select “Properties,” and make sure the “Read-only” attribute is unchecked and you have write permissions.
2. Use Groove Music
Groove Music automatically adds album art to your music files, ensuring it displays correctly on all Windows devices. It scans your library, matches songs with the right artwork from its database, and embeds it directly into MP3 files. This eliminates the need for third-party tools and improves your music collection’s appearance and organization.
- Download the desired image for album art.
- Press “Windows + S” and search “Groove“. Select the first option.

Typing in Groove and selecting the first option - Click the “Settings” button and choose “Choose where we look for music“.

Clicking on the “Choose where to look for music” option - Select the folder with the MP3 file.
- Ensure the folder is monitored by Groove Music. If not, add it.

Adding the folder to the monitored list - Click “Albums“.

Clicking on the Albums option - Right-click the album and select “Edit Info“. Click “edit”.

Right-clicking on the album and selecting “Edit Info” option - Double-click the downloaded image to select.
- Click “Save“.

Clicking on save to implement the changes - The album art is now added.
3. Use VLC Media Player
Use VLC Media Player to add album art to MP3 files. Open the file, go to “Media Information,” and add your image. VLC supports different image formats and keeps the artwork embedded across players and platforms, making it a handy tool for organizing music files.
- Download the image you want to use as album art.
- Open the MP3 file with “VLC Media Player“.
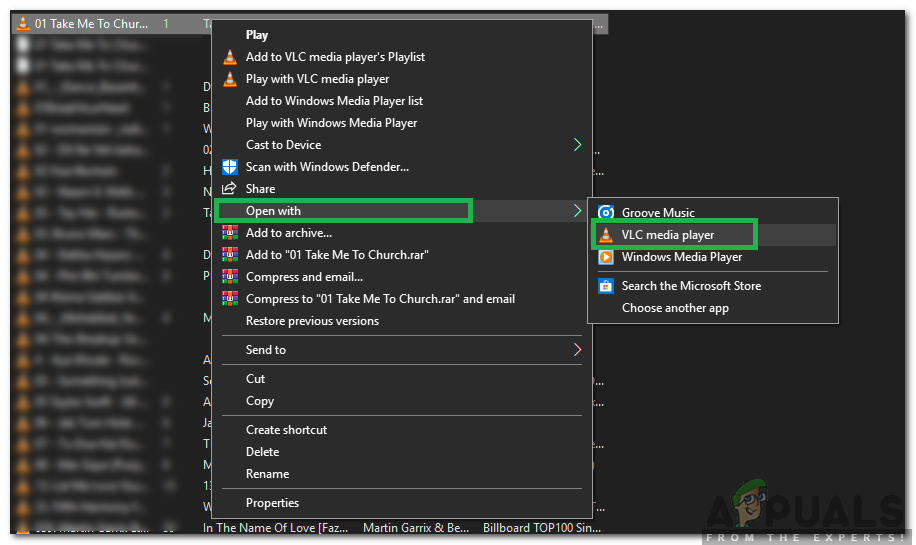
Right-clicking on the MP3 file, clicking on open with and selecting “VLC Media Player” from the list - Go to ‘Tools‘ > ‘Media Information‘.

Clicking on “Tools” and selecting “Media Information” - In the bottom right, right-click the current album art and select ‘Add Cover Art from file‘.

Right-clicking on the Album Art and selecting “Add Cover Art from File” option - Select the image file you downloaded.
- Click “Save Metadata” to apply and save the new album art.
- Close the window to finish.
4. Use MP3Tag
MP3Tag simplifies adding album art to MP3 files. It embeds images into ID3 tags with a few clicks, ensuring correct display in media players, and efficiently handles multiple files to organize your library.
- Download and install MP3Tag software from here.

Downloading MP3Tag Software - Open MP3Tag.
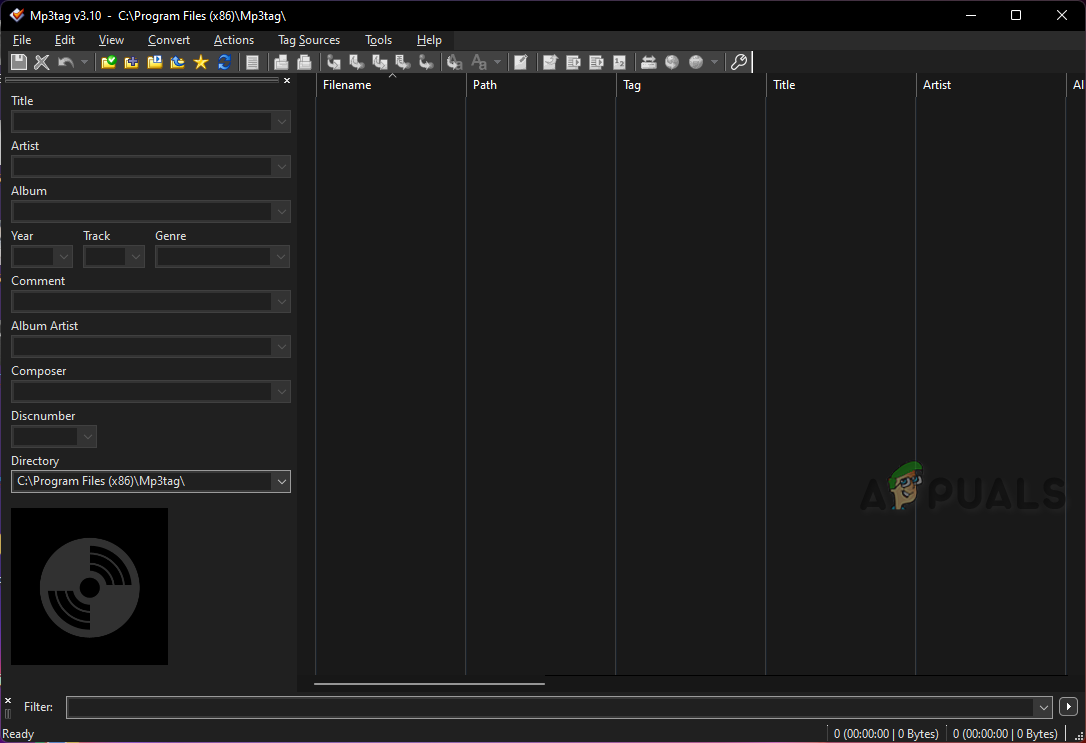
MP3Tag Interface - Drag and drop your MP3 file into the program.
- Right-click the CD/DVD icon and choose “Add Cover…“.
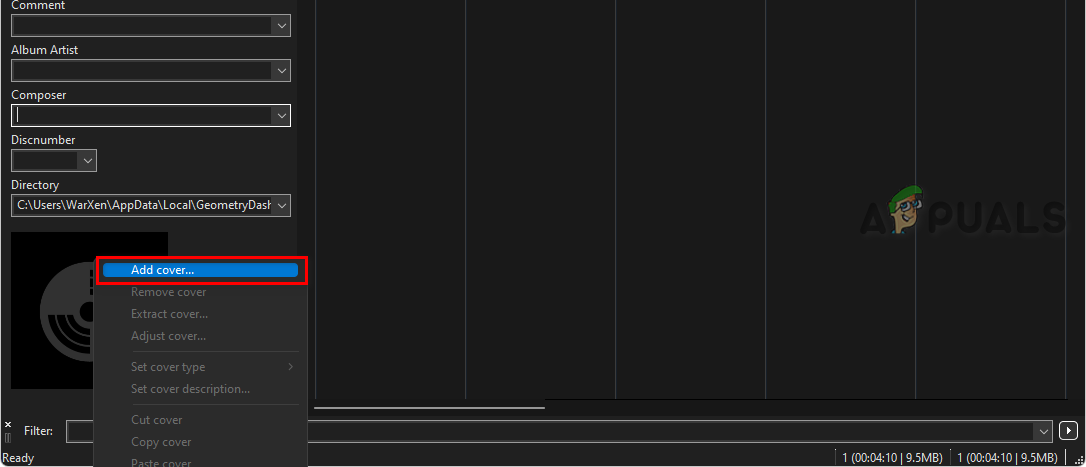
Adding Cover Art to MP3 File - Select the image file. It will display as the album cover.
- Click the save button.
- Your MP3 file now has a custom album cover.


