How to Hide/Show Specific Control Panel Items in Windows 10?
Control Panel is a Windows component that provides the ability to configure system settings. The previous operating systems still use the control panel as a default settings component of their system. However, the items in the Control Panel can be customized accordingly for standard users. An administrator can hide and show any items of the Control Panel. This is the best way to keep some of the settings hidden, so the users will be unable to change them frequently. In this article, we will show you methods about how you can hide or show any of the items of the Control Panel.
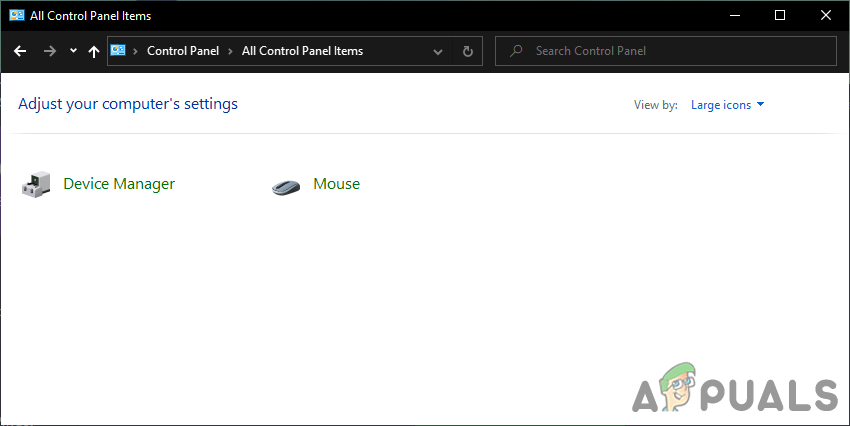
Hide / Show Specific Control Panel Items
There are two ways to customize the items of the Control Panel. One is by providing the list of the items that you want to hide in the control panel. Another way is by only providing the list of the items that you want to show to the users. Both of the methods work similarly. However, the hiding method will override the show only method. Down below, we have included the Local Group Policy Editor through which users can easily edit the policy setting. However, the Local Group Policy Editor isn’t available in the Windows Home Edition, so we have also included the Registry Editor method. You can choose whichever is suitable for you. If you use the Local Group Policy Editor, then it will automatically update your Registry Editor with the same settings.
Method 1: Using the Local Group Policy Editor
The Local Group Policy Editor is a Windows tool that the administrator can use to configure many important settings of their computer. There are two categories in the Local Group Policy Editor, one is for Computer configuration and the other is for User Configuration. The policy setting that we are looking for can be found in the User Configuration category.
Important: If both the “Show only specified Control Panel items” and the “Hide specified Control Panel items” are enabled, then the “Show only specified Control Panel items” policy will be ignored.
If you are on Windows Home Edition, then skip this method and use the Registry Editor method.
However, if you already have Group Policy Editor on your system, then follow the below guide:
- Press the Windows + R keys together to open Run on your system. Then, type “gpedit.msc” and press the Enter key to open the Local Group Policy Editor.
Note: If UAC (User Account Control) prompt appears, then choose the Yes option.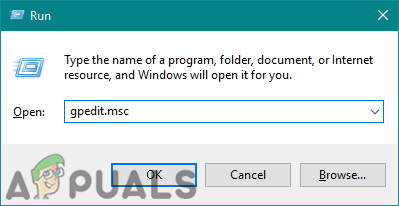
Opening Local Group Policy Editor - Navigate to the following setting in the User Configuration of the Local Group Policy Editor:
User Configuration\Administrative Templates\Control Panel
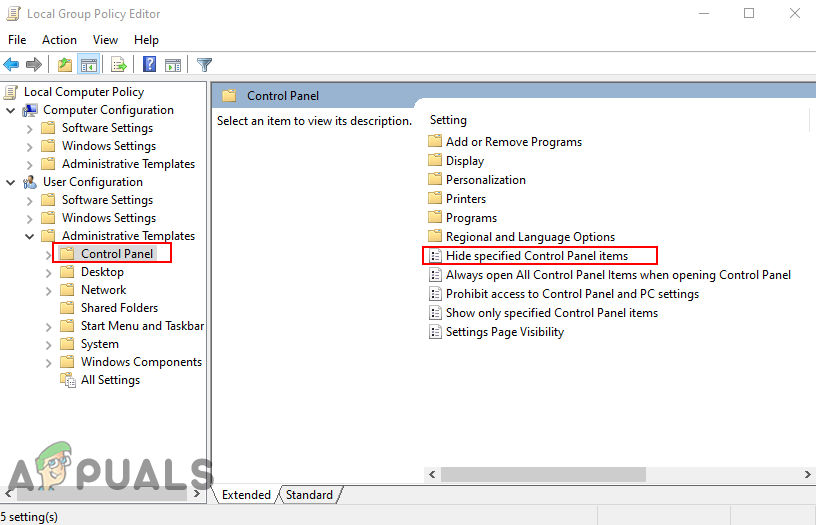
Navigating to the policy setting - Double-click on the “Hide specified Control Panel items“. It will open in a new window, then change the toggle option from Not Configured to Enabled.
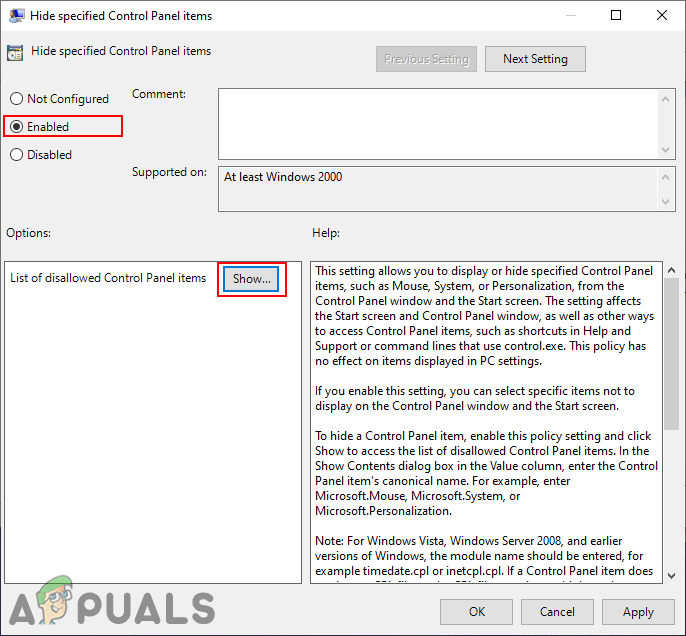
Enabling the policy - Click on the Show button and add the names of the Control Panel items as it is.
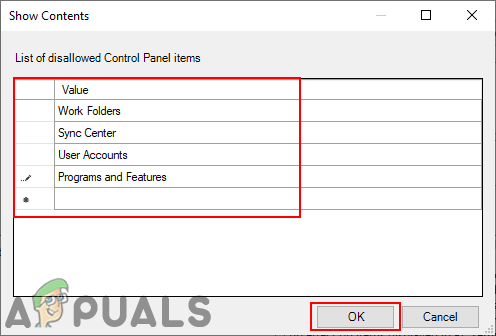
Adding names of Control Panel items - Click on the Apply/Ok button to save the changes. The names of items added in this setting will be hidden in the Control Panel.
- However, to show only specific Control Panel items, navigate to the same location in the Local Group Policy Editor and double-click on “Show only specified Control Panel items“.
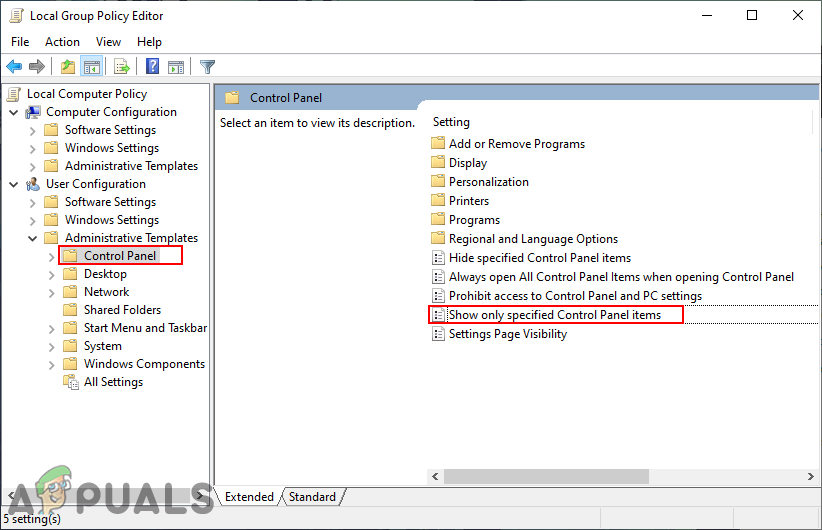
Navigating to show specified items policy - It will open in a new window, now change the toggle from Not Configured to Enabled.
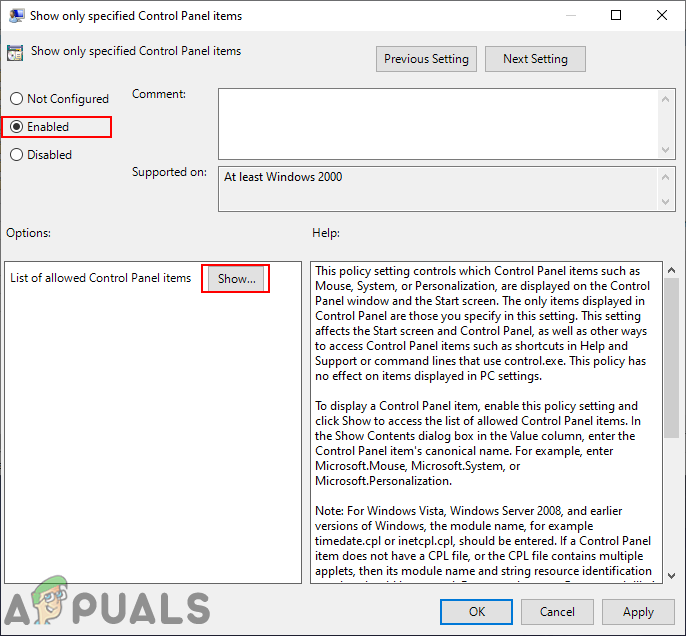
Enabling the policy - Then click on the Show button and add the name of the items that you want to show only in the Control Panel.
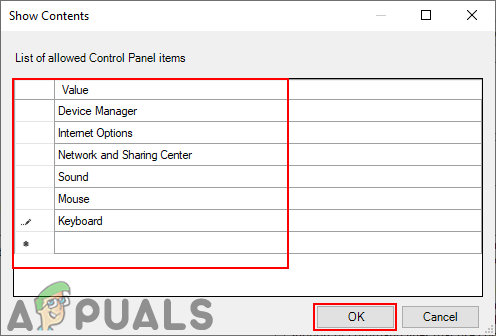
Adding the names of the Control Panel items - Click on the Apply/Ok button to save changes. This will show only the specified items in Control Panel that you added to the list.
Method 2: Using the Registry Editor
The Registry Editor is a database that stores many important settings for your system. All settings will have entries with information about it. You can create a specific value for the setting that you want to set. Most of the time the key and value will be already existing. However, sometimes the user is required to create it manually and then set the value data accordingly. We will be creating two different settings; one is for showing specific items and the other is for hiding specific items from the Control Panel. Follow the below steps to check how it works in the Registry Editor:
- Hold the Windows key and press R to open a Run dialog. Then, type “regedit” and press the Enter key to open the Registry Editor. Make sure to choose Yes for UAC (User Account Control) prompt.
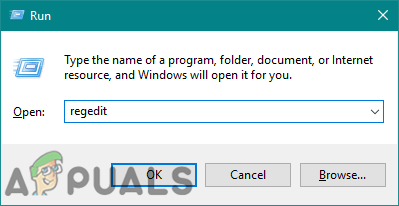
Opening the Registry Editor - Navigate to the following key in the Registry Editor:
HKEY_CURRENT_USER\Software\Microsoft\Windows\CurrentVersion\Policies\Explorer
- Create a new value in the Explorer key by right-clicking on the right pane, then choosing New > DWORD (32-bit) Value and name it as “DisallowCpl“.
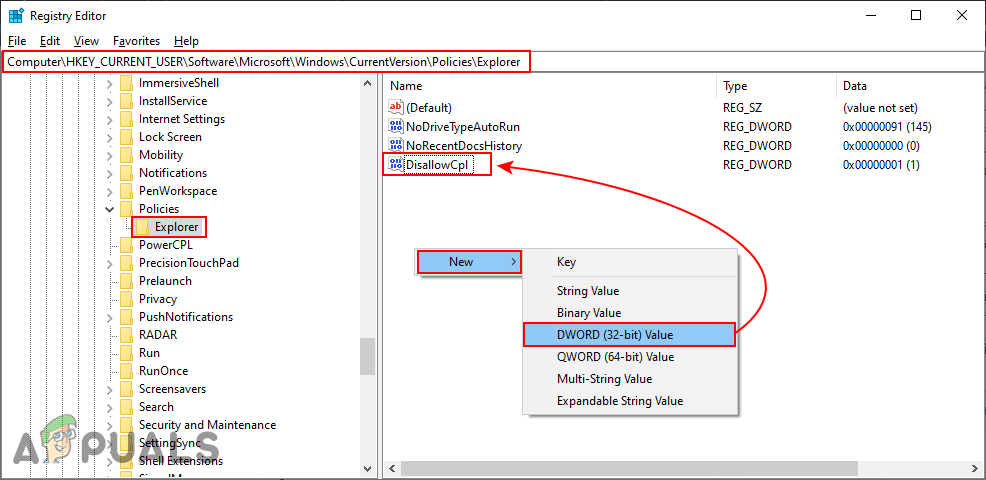
Creating value for hiding items - Double-click on the DisallowCpl value and change the value data to 1.
Note: Value data 1 is for enabling and value data 0 is for disabling the value.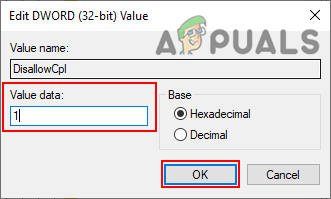
Enabling the value - Now create another key under Explorer and name it as “DisallowCpl“. Inside this key, you can create String values and add the name of Control Panel items in each of the values. Also, the name of the values will be the same as the names of the items.
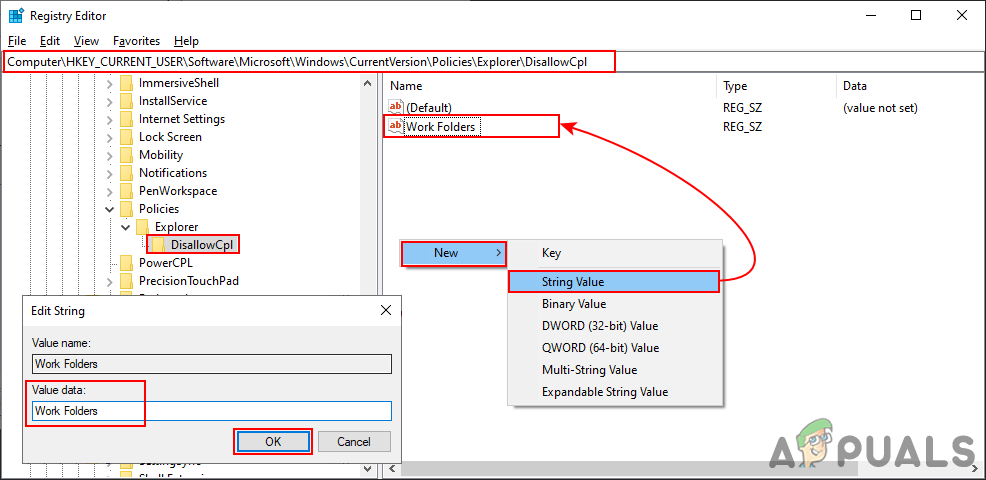
Creating new key, then creating multiple values that you want to hide - This is for hiding the items of the Control Panel through Registry Editor.
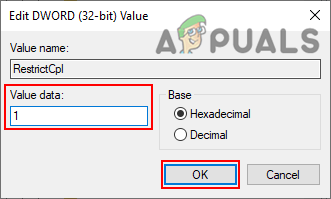
- For only showing specified items of the Control Panel you can create another value under the Explorer key first. Create a value by right-clicking on the right pane, then choosing New > DWORD (32-bit) Value and name it as “RestrictCpl“.

Creating a value for show only items - Open the RestrictCpl value and change the value data to 1.
Enabling the value - Now create a key under the Explorer and name it as “RestrictCpl“. Inside this key, you can create multiple String values by right-clicking on the right pane and choosing New > String. Name the values the same as the name of items in the Control Panel.

Creating a new key, then creating multiple values for items - Also, put the value data the same as the item name. You can get an idea by looking at the screenshot.
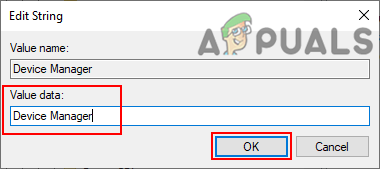
Adding names of items to show only - Make sure to restart the computer after making any changes in the Registry Editor. Once the computer is restarted all the changes through these values will take effect.


