Halo Infinite Multiplayer not Loading? Try these fixes
Users have been experiencing issues while trying to play the recently-launched multiplayer version of the Halo Infinite game. As it turns out while trying to play the game, the game does not load and as a result, it prevents them from connecting to any servers. This can usually happen when the servers are overloaded. However, in addition to that, there is also a small chance that the problem is being caused by your network settings in which case you will have to reset them. In this article, we are going to be showing you how to resolve the problem in question so just follow along.

As it turns out, Halo Infinite has been recently released by Microsoft to celebrate the 20th anniversary of the franchise. Now that the game is out, it is pretty common for new games like this to face connectivity issues due to the excitement that has been stirred around the launch of the game. As a result, when thousands of users try to connect to the servers, it can often lead to degraded performance which needs some time to stabilize. In addition to that, as we have mentioned, there is a rare chance that the problem could be due to your network configuration. If that case is applicable, you can resolve the problem easily by simply resetting your settings.
Before proceeding with the article, we would recommend first checking if Halo Infinite’s servers are up and running. This is because since the game has just been released, it is very typical of the developers to take them down for a while for some maintenance work. Once you have verified that the servers are up and running, you can follow through with the methods down below to see if that helps out.
Restart Router
As it turns out, the first thing that you should try when you are facing any connectivity issues is to restart your router or modem. Oftentimes, when the problem lies in your home network, restarting your router can fix common issues. This is because when you restart your router, you will get a fresh connection to your Internet Service Provider or ISP which can help in resolving issues that are generated by overload.
To restart your router, simply head to where it is located and you will be able to find a power button at the back. Press that to turn it off and then press it again to turn it on again. In addition to the power button, there will be a small reset button that should be avoided here and it is hard to press that so you don’t have to worry about doing it unintentionally. If the problem persists after restarting your router, move on to the next method down below.
Change DNS Address
Domain Name System or DNS is a really important factor when it comes down to connecting to different computers on the internet. As it turns out, DNS is essentially the phonebook of the internet that stores the IP addresses to which you are redirected. Changing your DNS address to something more stable can net you better speeds and performance as it will be able to process your request more quickly.
By default, your internet is configured to use the DNS addresses that are provided by your ISP. However, you can easily change that and use a different DNS address that is provided by famous companies like Google or Cloudflare. To change the DNS address on your computer, follow the instructions down below:
- First of all, right-click on the network icon on your taskbar.
- From the menu that appears, click the Network & Internet settings option.
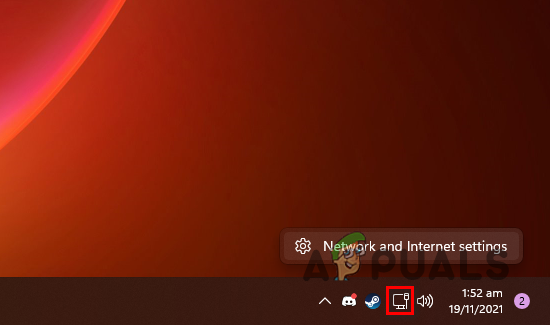
Opening up Network Settings - Now, at the bottom, click the Advanced network settings option provided. If you are on Windows 10, the layout may change slightly but the path and terminology is the same.
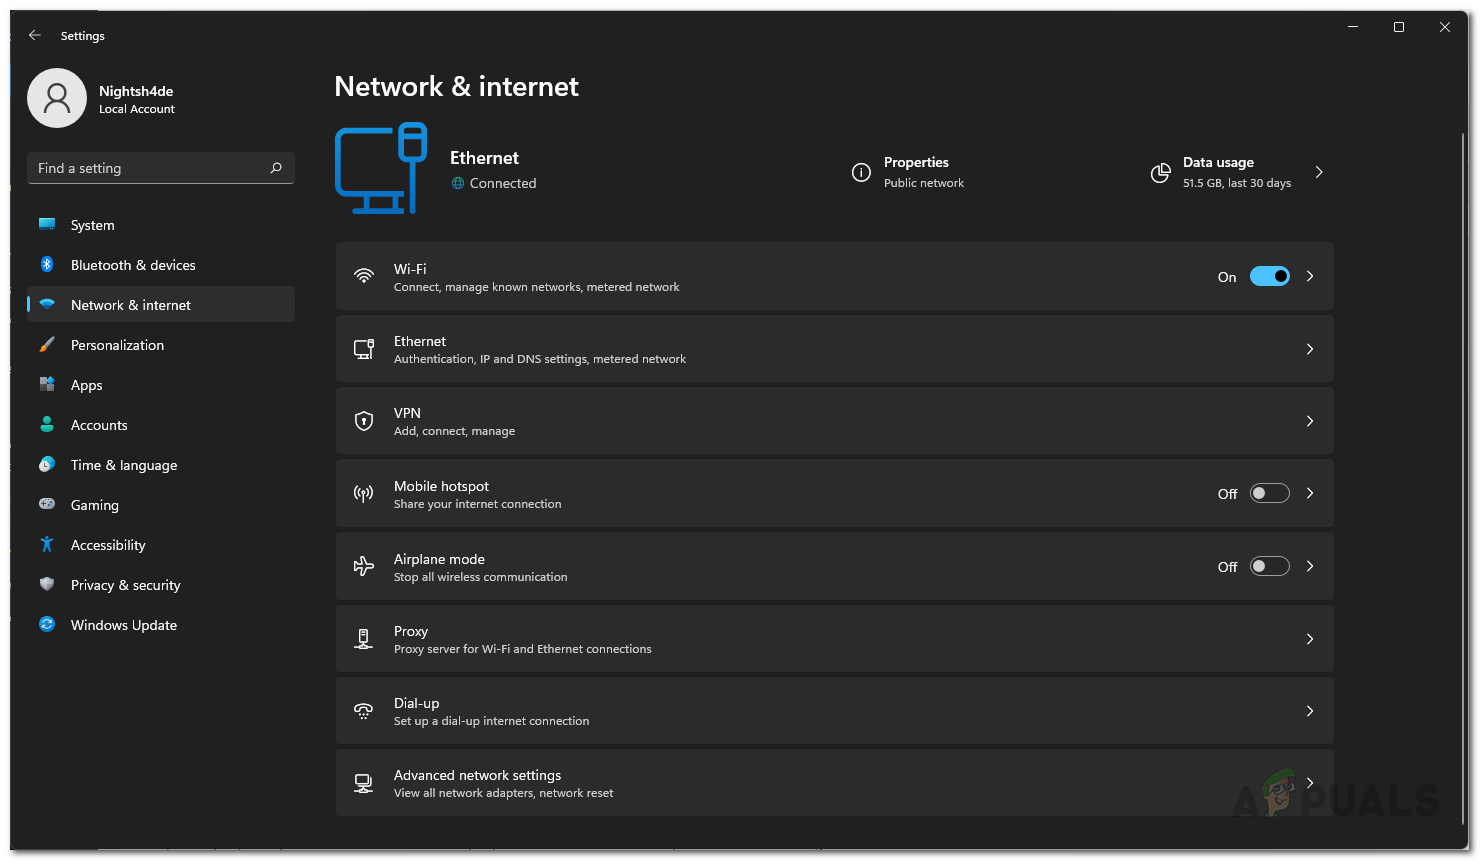
Network Settings - After doing that, click on the More network adapter options option.
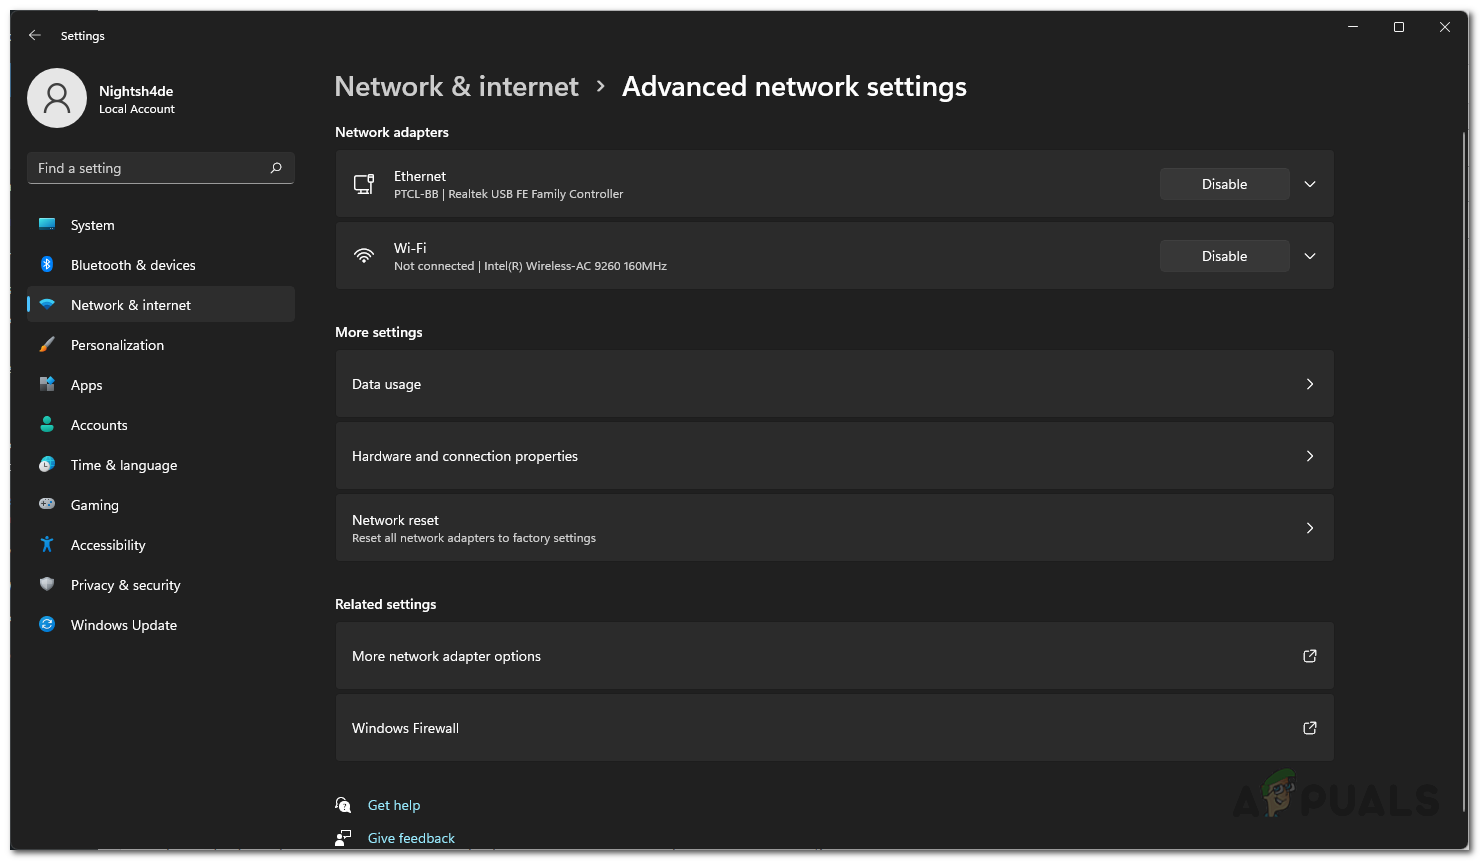
Advanced Network Settings - A new window called Network Connections will come up.
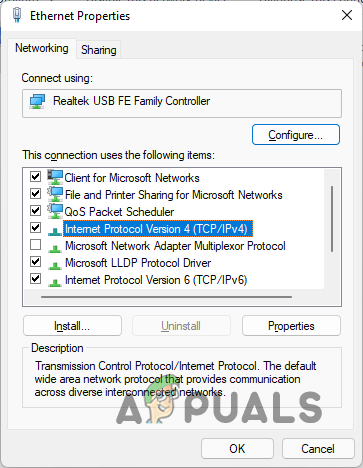
- Here, right-click on your network adapter, and from the drop-down menu, click the Properties option.
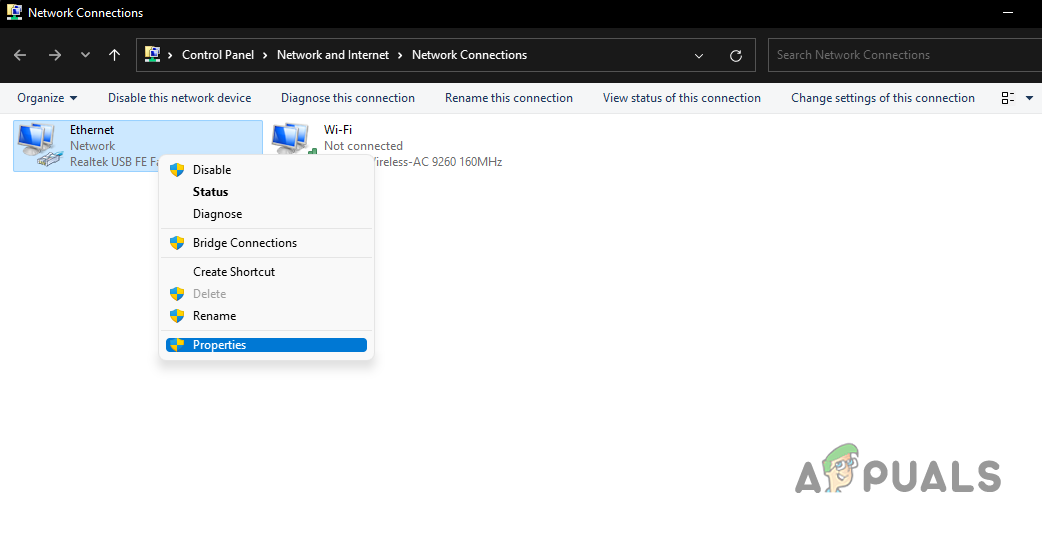
Opening up Ethernet Properties - Now, on the Properties window, highlight the Internet Protocol Version 4 (TCP/IPv4) option and then click the Properties button provided. Alternatively, you can just double-click the option as well.
Opening up IPv4 Properties - At the bottom, choose the Use the following DNS server addresses option and then provide one of the following pair of addresses:
Google
Preferred DNS Server: 8.8.8.8
Alternate DNS Server: 8.8.4.4

Cloudflare
Preferred DNS Server: 1.1.1.1
Alternate DNS Server: 1.0.0.1
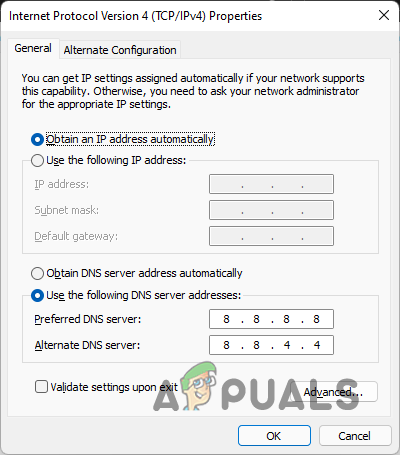
Changing DNS Server Address - Once you have done that, click the OK button provided.
- Finally, click OK again on the adapter properties window.
- Now, try opening up the game to see if that resolved the problem for you.
Reset Network Settings
Finally, if none of the above methods have bore any fruit for you yet, then your last resort would be to simply reset your network settings. As it turns out, resetting network settings will force Windows to reinstall the network adapters on your computer and restore default settings on all of the networking components. If you have set up a VPN, you will have to reconfigure that later on. To reset your network settings, follow the instructions that are given down below:
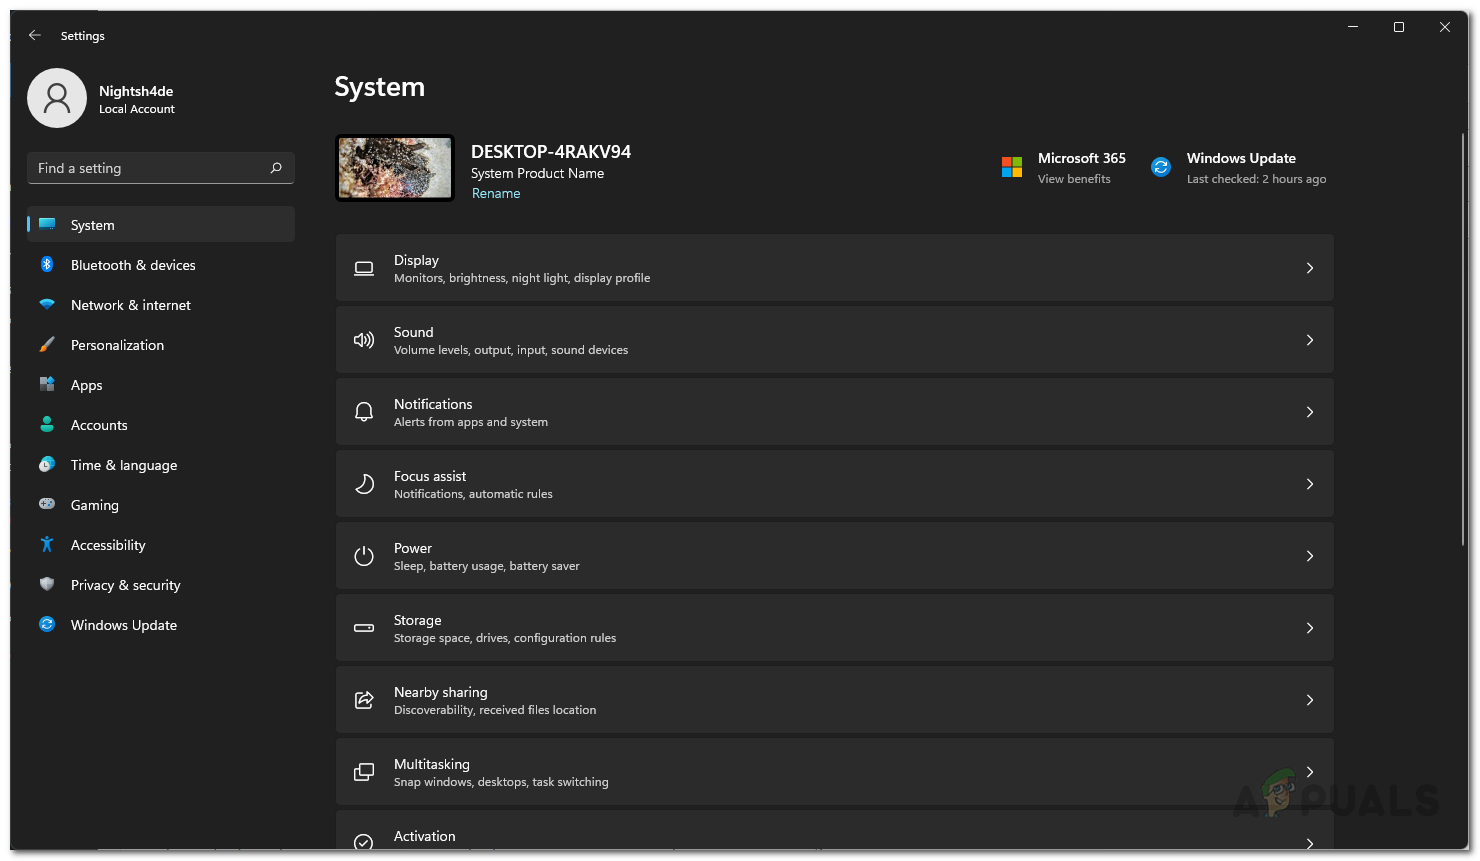
- First of all, open up the Windows Settings app by pressing Windows key + I on your keyboard.
- If you are on Windows 11, go to Network & Internet on the left-hand side. On Windows 10, just click on the Network & Internet option provided.
Windows Settings - Now, click on the Advanced network settings option provided.
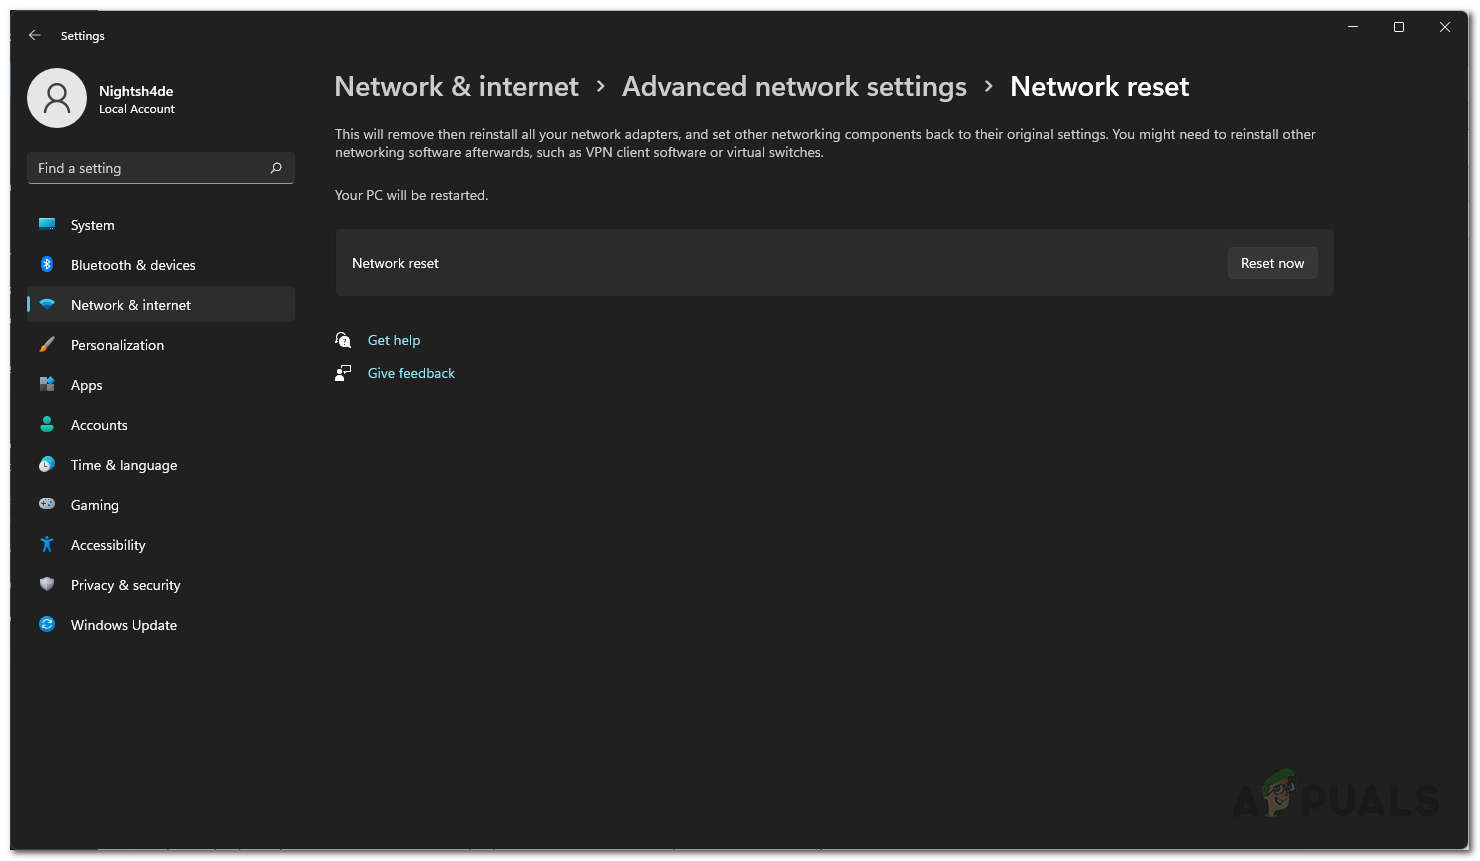
Network Settings - After that, click the Network reset option.
Advanced Network Settings - Finally, to reset your network settings, click the Reset now button provided.
Resetting Network Settings - Once you have done that, go ahead and try launching the game again to see if that has resolved the problem for you.


