Fix: Your PC or mobile device doesn’t support Miracast
When the error “Your PC or mobile device doesn’t support Miracast” appears, it indicates that your device is unable to establish a wireless display connection using Miracast. This usually indicates lacking Miracast support in your device’s Wi-Fi or display adapters, or missing drivers.
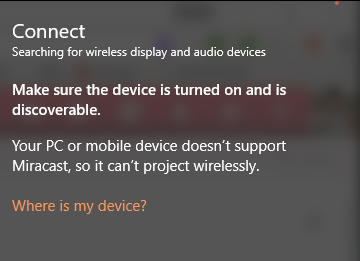
The most common cause is the lack of Wi-Fi Direct capability, essential for Miracast. Outdated graphics drivers, incompatible hardware, settings like VPNs, and third-party firewalls can also trigger this error.
Note: Ensure you have built-in Wi-Fi or a Wi-Fi USB dongle for Miracast.
How to Check if your Computer Supports Miracast?
Before exploring any other troubleshooting avenues, it’s important to ensure that your device is equipped to support a Miracast connection.
Now, there are two main components that power a Miracast connection: network and graphics. The steps below will test if your system supports Miracast.
We will start by checking if your network adapter is compatible and then verify if your graphics drivers can support Miracast.
- Press Windows key + R, type “powershell“, and press Enter.

Run dialog: PowerShell - Type the following command and press Enter to verify the NDIS version:
Get-netadapter | select Name, ndisversion
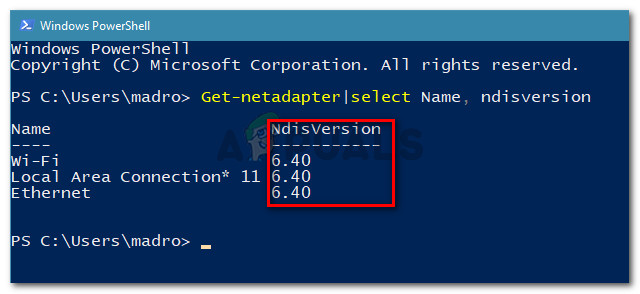
Ensure that NdisVersion is 6.3 or greater If NdisVersion is 6.30 or higher, your adapter likely supports Miracast. Close PowerShell. If below 6.30, update your driver via Device Manager.
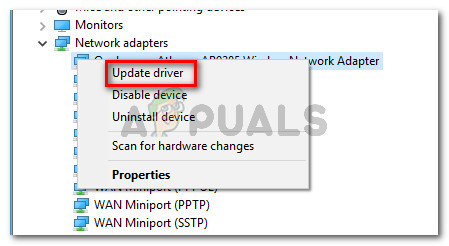
Right-click on your Wireless Network adapter driver and choose Update driver - Press Windows key + R, type “dxdiag“, and press Enter.
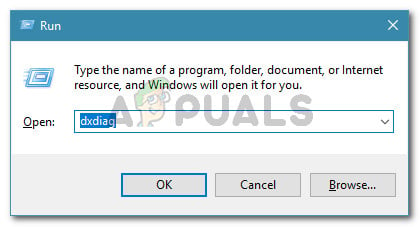
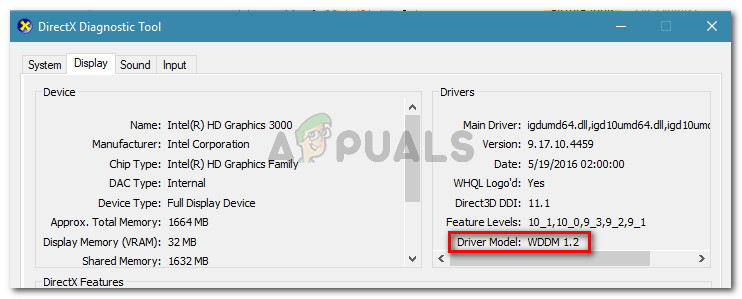
Run dialog: dxdiag</caption] - In the DirectX Diagnostic Tool, expand the Display tab and check the Driver Model. It should be WDDM 1.3 or above for Miracast support.
Method 1: Make Sure that Wi-Fi is Enabled on Both Devices
Many users resolve this issue by ensuring the Wi-Fi component on both devices is turned on.
Since Miracast uses Wi-Fi Direct, ensure that Wi-Fi is enabled on all devices.
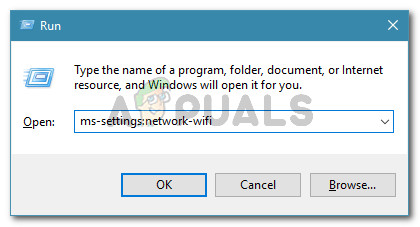
To ensure Wi-Fi is enabled on a Windows PC, press Windows key + R to open a Run dialog box.
Then, type or paste “ms-settings:network-wifi” and press Enter to open the Wi-Fi tab of the Network & Internet Settings menu.
Once you’re inside the Wi-Fi tab, make sure that the toggle associated with Wi-Fi is turned On.

Method 2: Enable Intel Integrated Graphics and Update it to the Latest version
Since you need a supported Intel integrated graphics card to create a Miracast connection, the issue might occur if the integrated graphics solution is disabled from your BIOS settings.
Typically, this behavior is enforced by default if you buy a system with a dedicated GPU. Steps to enable Intel integrated graphics vary by motherboard, though some common steps apply.
To access your BIOS settings, you’ll need to press the BIOS key during the beginning of the startup procedure. It’s usually one of the F keys (F2, F4, F8, F10) or Del key for Dell. You can also search online for “bios key + your motherboard manufacturer”.
In BIOS, navigate to Advanced (or similar), find Advanced Chipset Settings, and set Primary Graphics Adapter to IGP > PCI > PCI-E
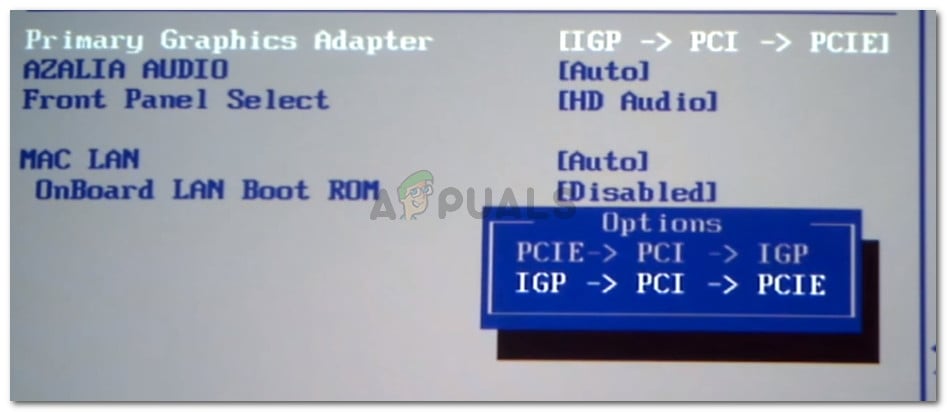
On an ASUS BIOS, you can enable the integrated Intel card by going to Advanced > System Agent > Configuration/Graphics Configuration and enable the IGPU Multi-Monitor setting.
Note: Each motherboard has different steps. Find your motherboard model or search online for instructions.
If you enabled the Intel integrated graphics from BIOS and the error is still occurring, move down to the next method below.
Method 3: Change the Wireless Adapter to Auto
Some users have found the error is due to the wireless adapter being set to 5GHz or 802.11b/g instead of Auto.
Apparently, this might create an issue with Miracast, triggering the error when the user tries to pair two devices together.
You can rectify the issue easily by setting the Wireless Mode selection back to Auto.
- Press Windows key + R, type “devmgmt.msc“, and press Enter.
- In Device Manager, expand Network adapters, right-click your Wireless Network Adapter, and select Properties.
- Go to the Advanced tab, select Wireless Mode Selection, and set its value to Auto.
- Click OK and wait for the network connection to restore.

Once you hit the OK button, restart your computer and see if you can use the Miracast feature at the next startup.
Method 4: Disable the VPN solution (if applicable)
Based on several user reports, it seems several third-party VPN solutions (including Cisco AnyConnect) are rejecting WiFi Direct (the underlying technology behind Miracast).
Typically, these third-party solutions will flag WiFi Direct as a “Split Tunnel” security vulnerability, forcing the system to disable the functionality.
The only way to test whether this scenario is occurring in your particular situation is to disable Cisco AnyConnect or similar software, restart your machine, and see if you can create a Miracast connection.
Method 5: Uninstall the Wireless Network Adapter driver
Reinstalling the Wireless Network Adapter driver has resolved the issue for some users. After uninstalling and restarting, the error no longer appeared.
- Press Windows key + R, type “devmgmt.msc“, and press Enter to open Device Manager.

Run dialog: devmgmt.msc - Expand Network adapters, right-click on your Wireless Network Adapter, and select Uninstall Device.
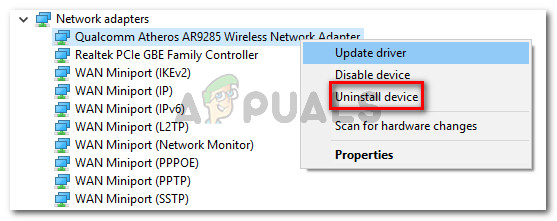
Uninstalling your Wireless Network Adapter driver - Confirm the uninstallation by clicking Uninstall. Note that you will lose wireless internet connectivity during this step.
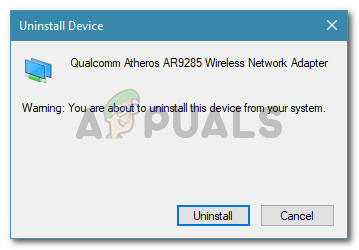
Click on Uninstall to remove the Network Wireless Adapter driver - Restart your computer. Windows will reinstall the missing driver upon startup, restoring your Internet connection. Then, try to recreate the Miracast connection to see if the issue is resolved.


