Fix: Your PC can’t project to another screen
Windows 10 has a nifty feature where you can project your current screen onto another monitor. You can use several options such as Duplicate, Extend etc. It is all good until you come across the error “your pc can’t project to another screen” when you press Windows + P.
This error is very common and mostly signifies that you require updated graphics drivers or there may be a problem with the cables. Don’t worry as this is a very common error and can be fixed with very simple workarounds.
Solution 1: Checking Hardware
Before we move on to updating the graphics drivers, you should first check if the cables are properly connected to the monitor and your CPU or laptop. Also make sure that all cables are plugged in the correct ports such as HDMI, VGA, etc.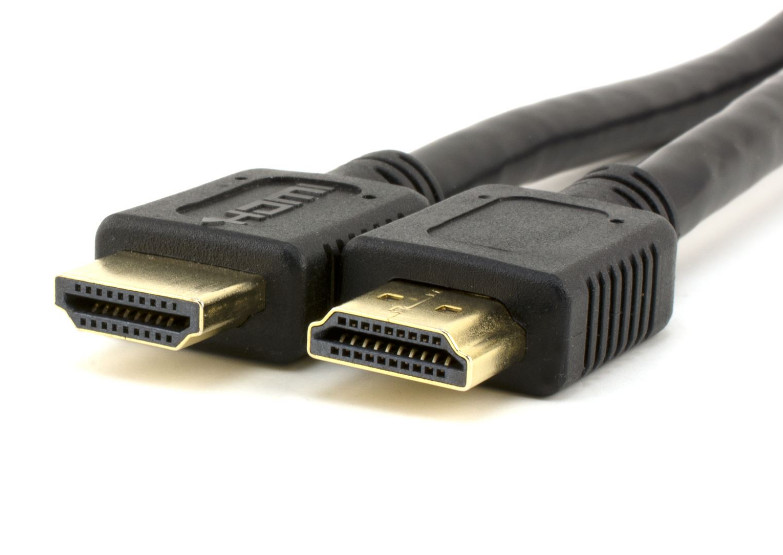
Try pressing the cables fully inside the ports until you are sure that all the mini-components inside the wire are connected. Make sure both ends of the wire are correctly in place. Once you are sure that everything is connected including the power cables, Press Windows + P and try projecting again.
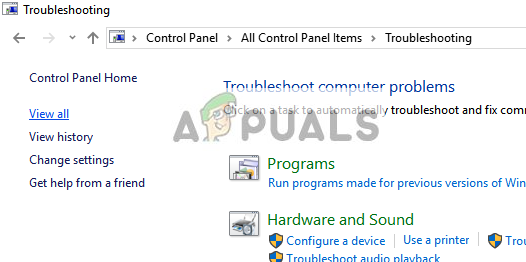
Solution 2: Running Hardware and Device Troubleshooter
Hardware Troubleshooter is a utility present in the Windows operating system. It detects problems with your existing hardware and tries to resolve it after following a series of steps. We can try running the hardware troubleshooter and check if this does the trick.
- Press Windows + R, type “control” in the dialogue box and press Enter.
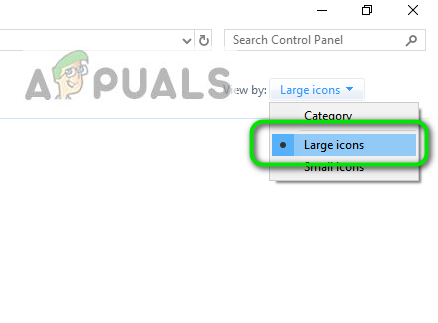
- Now on the top right side of the screen, click on View By and select Large Icons from the list of options available.
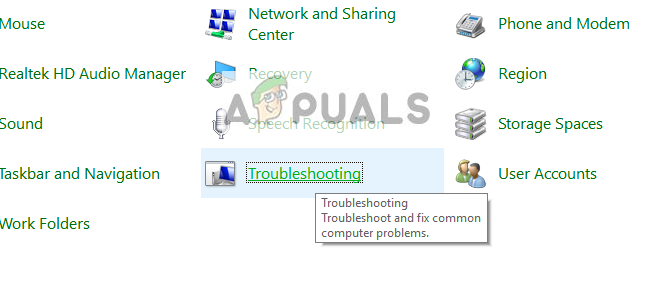
- Now select the option of Troubleshooting from the control panel.
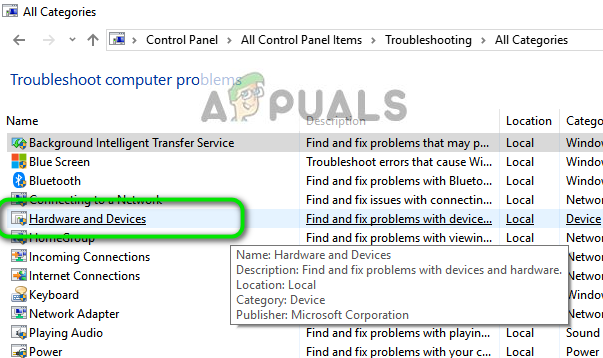
- Now on the left side of the window, select “View all” option to list all the troubleshooting packs available on your computer.
- Now select “Hardware and Devices” from the list of options available and click it.
- Now select Next in the new window that pops up in front of you.
- Now Windows will start searching for hardware problems and fix them if it finds any. This process can take some time as all of your hardware is being checked. Be patient and let the process complete successfully.
- Windows might prompt you to restart your PC in order to fix problems. Don’t delay the request, save your work and press “Apply this Fix”.
Solution 3: Updating Graphics Drivers (Main fix)
It is possible that your display drivers are either outdated or are corrupt. As we all know, Windows keeps updating itself and with that, the graphics adapters also respond to the updates by implementing some updates of their own. If can also be the case that the new drivers are not stable; hence we will first force your computer to install the default drivers. If installing the default drivers don’t work, we will install the latest drivers after downloading them from the manufacturer’s website.
We will start your computer in Safe Mode and delete the currently installed drivers of your display card. Upon the restart, the default display drivers would automatically be installed upon the detection of your display hardware.
- Follow the instructions on our article on how to boot your computer in safe mode.
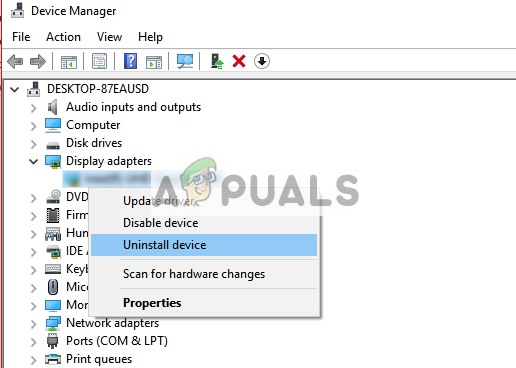
- Once booted in the safe mode, press Windows + R and type “devmgmt.msc” in the dialogue box and press Enter.
- Once in the device manager, expand the Display adapters section and right click on your display hardware. Select the option of Uninstall device. Windows will pop a dialogue box to confirm your actions, press Ok and proceed.
- Now restart your device.
Upon the restart, the default drivers will automatically be installed against the graphics hardware. After the restart, check if you can properly project.
However, If installing the default drivers doesn’t solve the problem in question, you can try downloading and installing the drivers manually from your Manufacturer’s website. Do note that you have to research by yourself and see which drivers are latest or which drivers you should downgrade to. Manufacturers have all the drivers listed according to date and you can try installing them using the device manager. You can either simply run the installation file you downloaded to install the drivers after uninstalling them using the method above or you can update them using the method listed below.
Also, it is worth noting that Intel HD Graphics are not exempted from the drivers update. You should also check them for any potential updates available or roll them back.
- Open your Device manager as explained above in the solution and right click on your driver and select “Update Driver”.
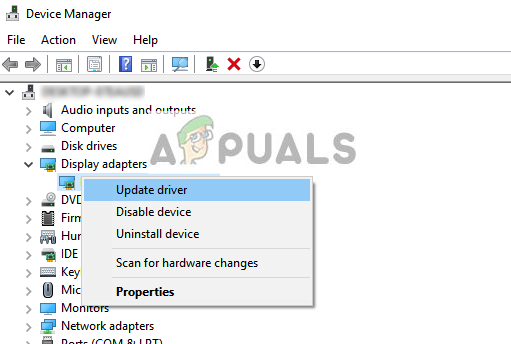
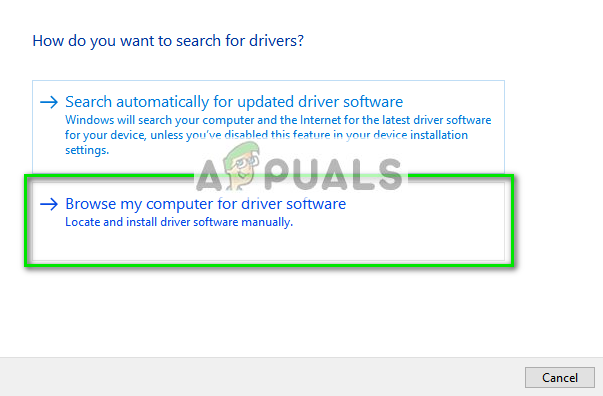
- Now a new window will pop up asking you to whether update the driver manually or automatically. Select “Browse my computer for driver software”.
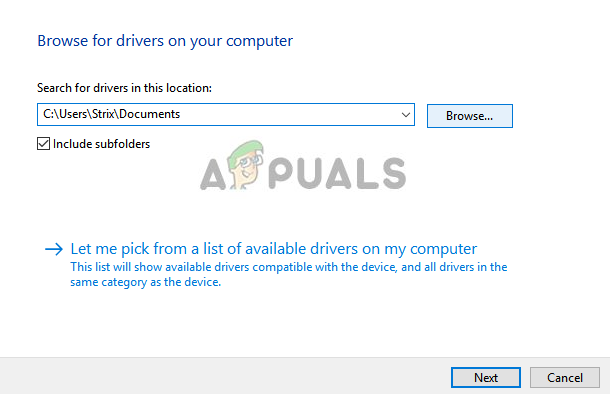
- Now browse through the folders to where you downloaded the drivers. Select it and Windows will install the required drivers. Restart your computer and check if the problem got solved.
Tip: You can also use utilities like Intel Driver Update Utility. It automatically detects the drivers needed and prompts to install them.


