Fix: Your Hardware Settings Have Changed on Windows
The ‘Your hardware settings have changed’ message box often emerges due to a recent video card driver update or Windows update which causes the driver to not operate properly. The issue was mostly confronted by AMD graphic card users. The cause of the issue for them was the updates released by AMD for their graphics card drivers. When the drivers were released, Windows 10 automatically updated the video adapter drivers on the system due to which the message box appeared.
However, for some users, this became some sort of a permanent thing as they started receiving the same message dialogue everytime they booted up their operating system. This issue tends to be really annoying, however, the workaround is pretty simple. This article will show you how to resolve your issue by following a few simple solutions.
What causes the ‘Your Hardware Settings Have Changed’ issue on Windows 10?
Well, from what we have salvaged, this issue is often due to the following reasons:
- Recent Windows or driver update — In some cases, the issue is occurred due to a recent update to your operating system or the video adapter driver.
- AMD service — If you are using an AMD video adapter, the issue can also be due to one of your AMD services that are running.
This issue is not that generic and can be easily dealt with by applying one or two simple solutions. To isolate the issue, please follow the solutions given below.
Note:
If the given solutions don’t work for you, you will have to stop Windows from updating your device drivers. Here’s how to do it:
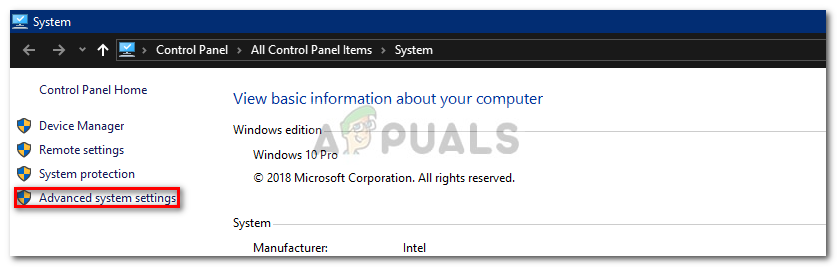
- Go to your Desktop, right-click on ‘This PC’ and select Properties.
- Click on Advanced System Settings.
System Properties - Switch to the Hardware tab and click ‘Device Installation Settings’.
- Select ‘No, let me choose what to do’.
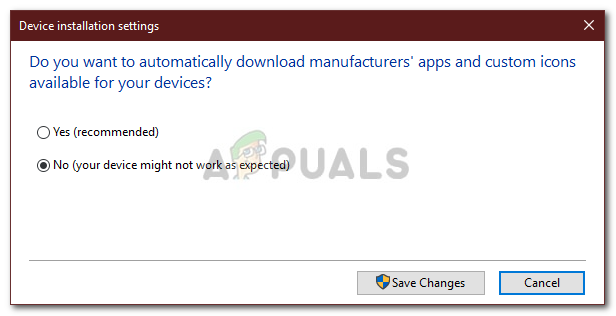
Changing Device Installation Settings - Click ‘Save Changes’.
Make sure to try the solutions first to see if they work out for you. If they don’t, make this change to your Device Installation Settings and then try the solution 1 and 2 listed below.
Solution 1: Roll Back your Video Card Driver
As we mentioned above, the problem can sometimes be occurred by a recent video card driver update. Therefore, in such a case, the workaround would be to revert to the last version where the issue didn’t appear. To do this, follow the given instructions:
- Go to the Start Menu, type in Device Manager and open it up.
- Expand the Display adapters list.
- Right-click on your video card driver and select Properties.
- Switch to the Details tab.
- Click ‘Roll Back’ to revert your driver to the last stable version.

Graphics Card Driver Details - Wait for it to complete and restart your system.
- See if your issue is isolated.
Solution 2: Manually Install Video Adapter Driver
Sometimes, rolling back your video adapter driver doesn’t do the trick in which case you will have to reinstall the video card driver manually. To do this, you will have to download the latest stable version of your video card driver from your manufacturer’s website and then install it. Before that, follow the given instructions:
- Open up the Device Manager.
- Expand the Display adapters list.
- Right-click on your video adapter driver and select ‘Uninstall device’.
- Check the ‘Delete the driver software for this device’.
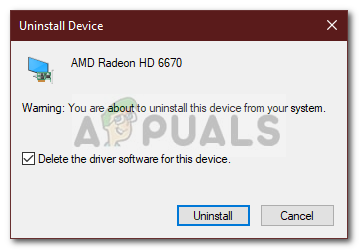
Uninstalling Graphics Driver - Wait for it to complete.
- Now, head to your manufacturer’s website and download the latest stable version of your video adapter driver.
- Install the driver, and then reboot your system.
- See if it fixes your issue.
Solution 3: Disabling AMD Service
If you are using an AMD graphic card and encountering the said error, this solution is for you. In your case, you can stop the message dialogue from appearing on every boot up by disabling a certain AMD service. Here’s how to do it:
- Press Winkey + R to open Run.
- Type in services.msc and hit enter.
- In the Services window, find the AMD External Events Utility and double-click it.
- Change the Startup type to Disabled.
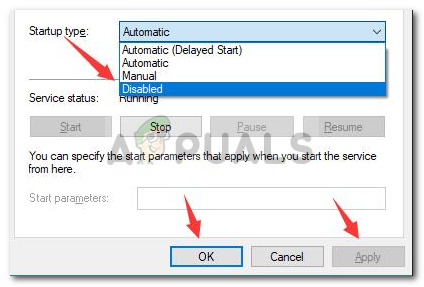
Disabling the AMD Service - Hit Apply and then click OK.
- Restart your system to see if it has worked.


i tried everything before but non of them helped but your 2nd solution helped now its solved permentantly, thanks alot!!