Fix: Your Folder Cannot be Shared on Windows
Some users have reported the ‘Your folder cannot be shared’ error message on their Windows 10. This can be caused by several factors including your third-party antivirus, your system’s sharing settings etc. File sharing has always been one of the great features of Windows 10. Sharing files over a network can be really useful and due to the file sharing feature, you are saved from the trouble of searching for an application for this purpose.
However, there are a couple scenarios where you are bound to face issues while sharing a file or folder over a network. In some cases, the error message can be a false positive which means the folder does get shared, however, you are just prompted with the error message. Nonetheless, that’s not what is bound to happen every time as in some cases, you really do have a problem. You can sort it out by going through the solutions down below.
What causes the ‘Your Folder Cannot be Shared’ Error on Windows 10?
Well, if the said issue has surrounded you while sharing a file or folder over a Local Area Network, it can be due to the following reasons —
- Your third-party antivirus: In several cases, the issue can be caused by the third-party antivirus that you have installed on your system. Antiviruses are known to impose certain restrictions and this error can just be due to that.
- File Sharing settings: Another factor that can potentially cause the said error message is your advanced file sharing settings. The user account that you are using might not have the permission of sharing the folder with everyone which can cause the error to emerge.
To be able to share files or folders over a network successfully again, you can implement the solutions given down below and see if they work out for you. Also, an administrator account is needed while implementing the solutions so make sure you are logged in as an administrator.
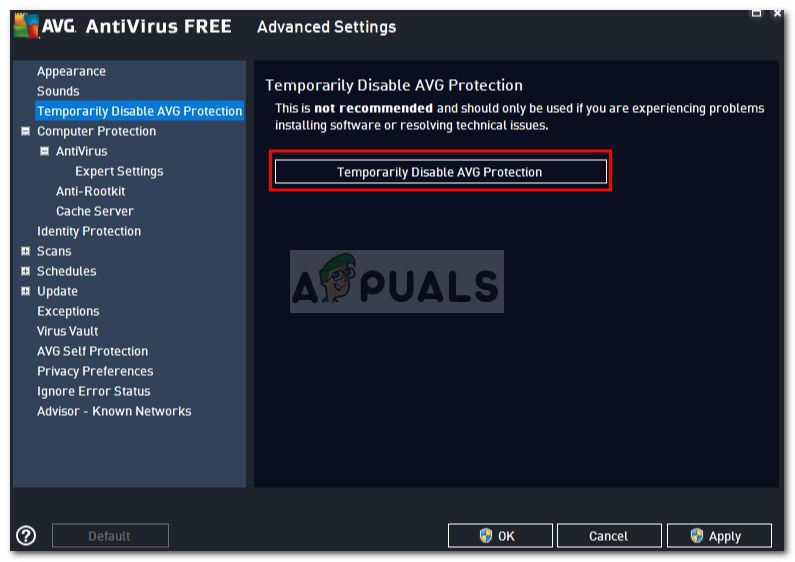
Solution 1: Disable Third-Party Antivirus
Well, if you are using a third-party antivirus on your system then that can be the source of the issue. Most antiviruses are known to impose certain restrictions on your system which prevent you from utilizing certain Windows features. Therefore, before you implement the solutions given down below, make sure that your third-party antivirus is turned off. If it still doesn’t fix your issue, then you can get into the other solutions provided down below.
Solution 2: Changing Shared Folder Users
In some cases, the issue can be due to the users that you are sharing the folder with. In such an event, you will have to change the users who are allowed to view the shared folder. This can be done by doing the following:
- Go to where the folder you wish to share is stored.
- Right-click on the folder and select Properties.
- Switch to the Sharing tab and then click Advanced Sharing.

Folder Properties - Check the ‘Share this folder’ box and then click Permissions.
- Highlight the users you want to share it with and make sure the Full Control box is checked.
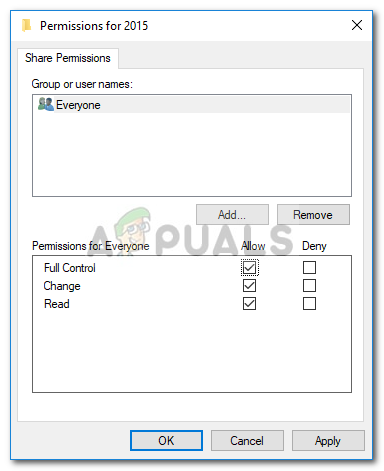
Changing Permissions of the Allowed Users - Click Apply and then hit OK.
- In case you have the password protected sharing option enabled, click Add and then go to Advanced.
- Click Find now and then highlight the users you want to share the folder with.
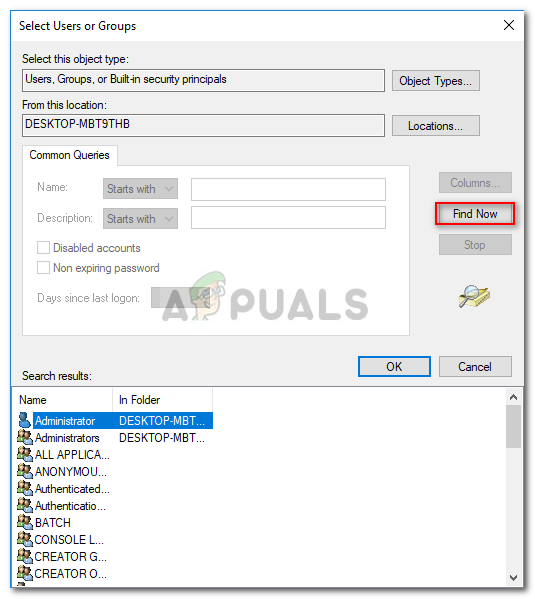
Selecting Authorized Users
Solution 3: Disable Password Protected Sharing
Some of us like to share our folders using password protection, however, in some cases, that can cause certain issues. Therefore, if this case is applicable to you, you will have to disable the password protected sharing option and then see if it fixes the issue. Here’s how to do it:
- Go to the Start Menu and open up the Control Panel.
- Afterward, go to Network and Sharing Center.
- On the left-hand side, click ‘Change advanced sharing settings’.
- Scroll down and click the down arrow for All Networks.
- Check the ‘Turn off password protected sharing’ option.
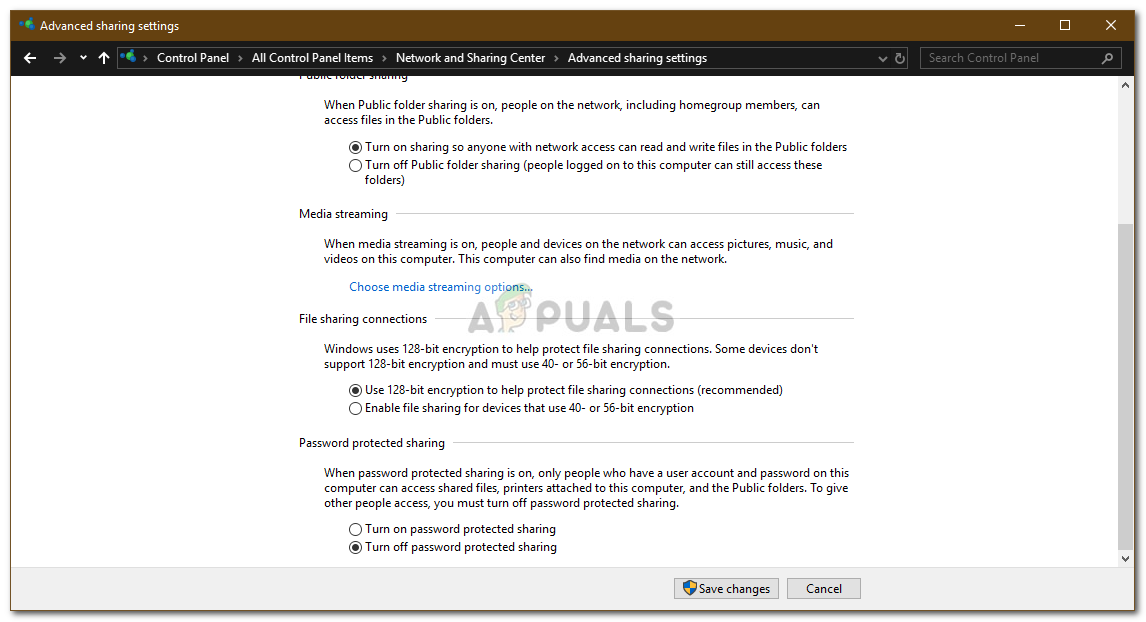
Turning Off Password Protected Sharing - Click Save changes.
- See if it fixes the issue.
Solution 4: Renaming Folders
In certain cases, the error is fixed by simply renaming the folder. Therefore, in this step, we will be showing you the method to rename a folder and there are two ways to fix this particular error by renaming. Either you can rename it on your PC or copy it to a flash drive, rename it and then paste it back. In order to rename:
- Right-click on the folder that you want to rename.
- Select “Rename”, type in the new name of the file and press enter.
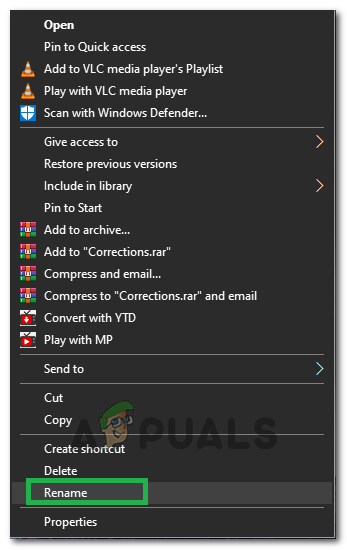
Selecting Rename - Check to see if the issue persists.


2 different ways worked renamed the one on the pc
second way copied to flashdrive ..then renamed it