Fix: WUDFHost.exe High CPU Usage
Occasionally, certain Windows users have noticed the WUDFHost.exe process consuming high amounts of resources, including both RAM and CPU. The RAM usage has been reported to go as high as 1GB while the CPU usage could hit 30%. The problem persists even after rebooting and clean booting Windows.
For some users, the error was associated with an Intel Wireless Gigabit 17265 User mode driver. Others also traced the issue to the NFC hardware and an error with portable devices connected to the system.
In this article, we’ll get to know the WUDFHost.exe is and how to solve its resource usage issue. The suggested fixes include removing Intel Wireless Gigabit 17265 User mode driver and updating the Intel dock manager, disabling NFC, and disabling portable drives from the Device Manager.
What is WUDFHost.exe?
WUDFHost is a process introduced in Windows Vista through to Windows 10 PC’s. Some drivers (e.g. USB Drivers) which run in user mode make use of WUDFHost.exe. WUDFHost.exe stands for Windows User Driver Framework Host and it is mainly used to provide greater stability and security to MTP devices, Portable Devices, sensors, etc., thank kernel-mode drivers.
Fixing WUDFHost.exe Hogging Issues
The following methods involve disabling various devices which are known to cause this issue. But before moving on with the solutions, update your Windows and drivers. Also, disconnect all peripherals/devices e.g. external drives and headsets, etc. to the bare minimum.
Method 1: Disabling Intel Wireless Gigabit 17265 User mode driver
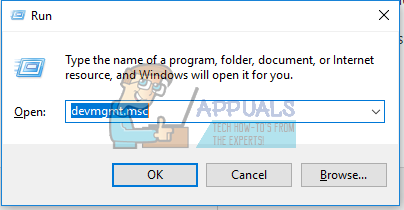
- Press the Windows Key + R, type devmgmt.msc and click OK.

Open devmgmt.msc - Under the Network Adapters, locate Intel Wireless Gigabit 17265 User mode driver or any similar user mode driver, right-click on it and select Disable Device > Yes. At this point, the hungry WUDFHost.exe process should cease.
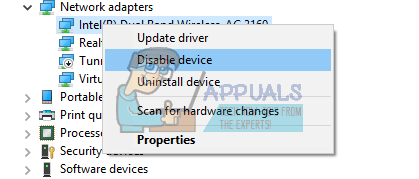
Disable Intel Wireless Gigabit 17265 User mode driver - Download the Intel® Wireless Dock Manager Software.
- Now launch the newly downloaded Intel Dock Manager. Follow the prompts to install the Dock Manager.
- Reboot your PC and your WUDFHost.exe woes should be over.
Method 2: Disable NFC
If your device has NFC, you should try disabling it from the device manager.
- Press the Windows Key + R, type devmgmt.msc and click OK.
Open devmgmt.msc - Locate NFC, right-click on it and select Disable Device > Yes. At this point, the hungry WUDFHost.exe process should cease.
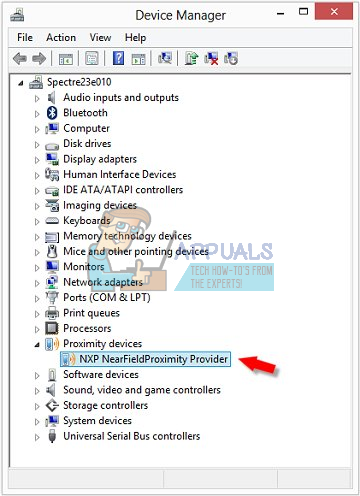
Disable NFC - Reboot your PC and your WUDFHost.exe woes should be over.
Alternatively, on Windows 10, you can:
- Press the Windows key + I to open the Windows settings.
- Go to Network and Internet and select Airplane Mode.
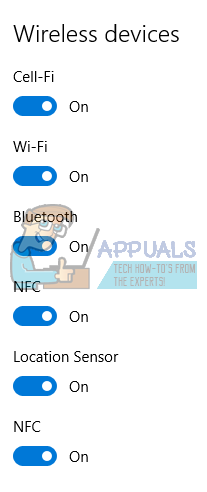
- You’ll find a list of all the communication cards on your system, toggle NFC from the list of devices.
Method 3: Disable Portable Devices or Disable Device Install Service
This process is quite similar to the others above. This error may persist if there’s a connected portable device. You have to find the portable device causing the issue and then disable it from Device Manager or disable the Device Install Service.
- Take note and observe the spike in resource usage when a device is connected.
- Press the Windows Key + R, type devmgmt.msc and click OK. This takes you the device manager.
- Search for the device you inserted. Usually, it’s under Portable Devices, right-click on it and select Disable. Your device will continue to work normally even after this.
Alternatively, you can disable the Device Install Service by following the following steps. New devices may not be able to install automatically when you disable this. And you have to enable this service to add new devices to your system.
- Press Windows + R, type services.msc and then press OK. This opens the service console.

Running Services.msc - Scroll through the list and search for Device Install Service and double click it and change the startup type to Disabled. You should also click Stop to stop the process from running.
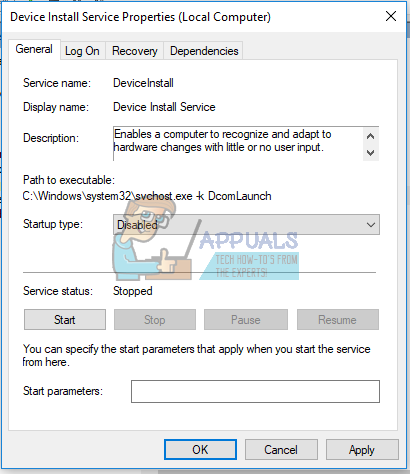
Change the Device Install Service’s Startup Type to Disabled - Click on OK and check if the issue ceases to exist.
Solution 4: Clean Boot Windows
Clean booting is a process in which Windows starts up with a minimum set of devices/applications/drivers. Only the essential services are running which are Microsoft’s own services needed to run the OS. Since all the third-party services/applications will be disabled, we will be able to identify if any was causing the problem. If you still get the high CPU usage while clean booting, you can continue with the next solution.
- Clean boot Windows.
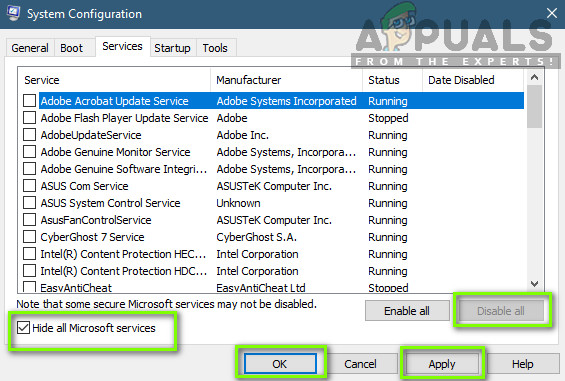
Clean booting the Computer - Check if the problem is solved, if so, then try to enable devices/applications/drivers one by one to identify the problem.
- If the problem was not solved, then boot the system in safe mode and check if the problem is solved. If so, then the problem is caused by any of the Microsoft services or any of the device drivers.
- Following are known to cause high CPU usage:
- Nvidia GeForce Experience
- Sensor Service
- HID Sensor Collection V2
- DisplayLink
- iMDriver.dll
- Lenovo Quick Optimizer
- Intel Dock Manager
- Now if you have any of these running on your system, then either disable them or update them to the latest build.
Solution 5: Disable Windows Media Player Backup/Sync
Windows Media Player, by default, performs backups/sync of all the media on a removable/portable drive. Whenever an external drive is attached to the system and Windows Media Player is running, then you may face the high CPU usage. In that case, disabling Windows Media Player Backup/Sync setting may solve the problem.
-
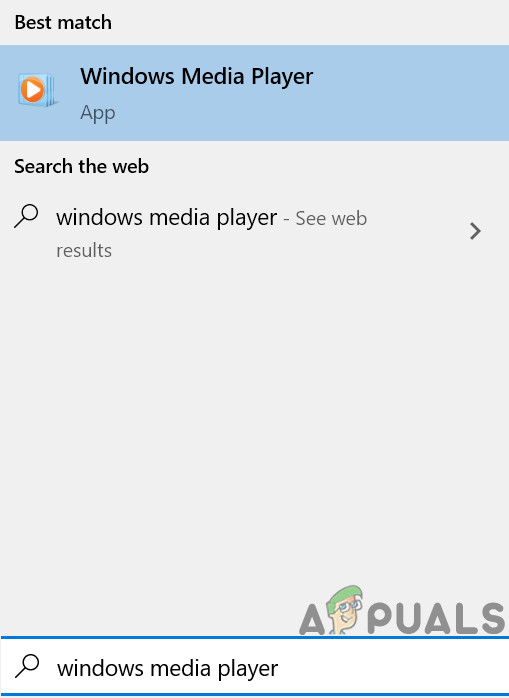
- Press Windows key and type Windows Media Player. Now, in the resulting list, click on Windows Media Player.
Open Windows Media Player - In Windows Media Player, click on Organize and then on Options.
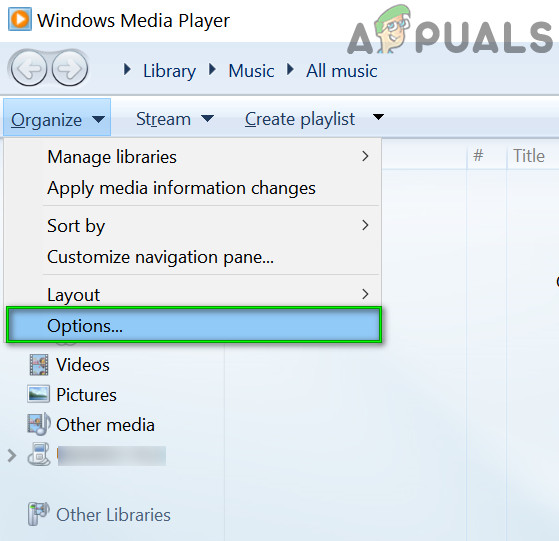
Open Windows Media Player Options - Then click on the Devices tab and select your removable device. Now click on Properties.
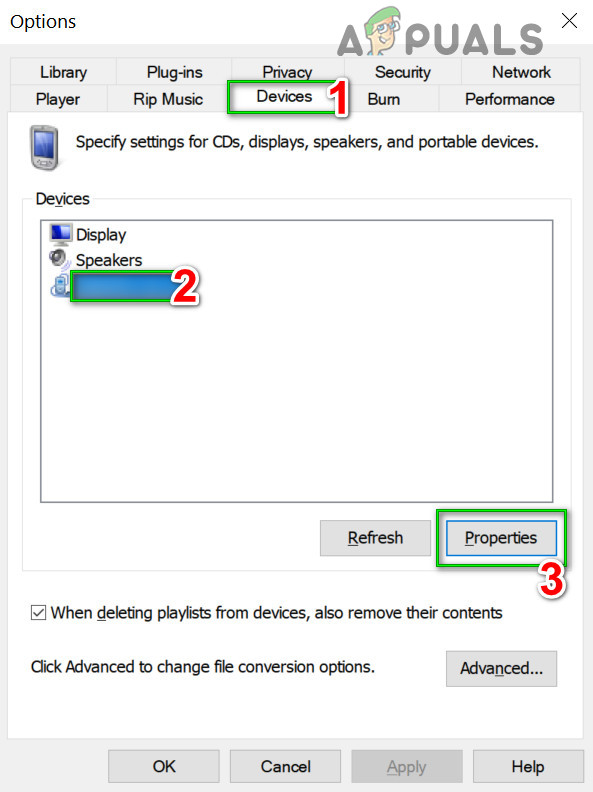
Open Removeable Media Properties For Windows Media Player - Uncheck the “create folder hierarchy on device“. Press Apply to save changes and exit.
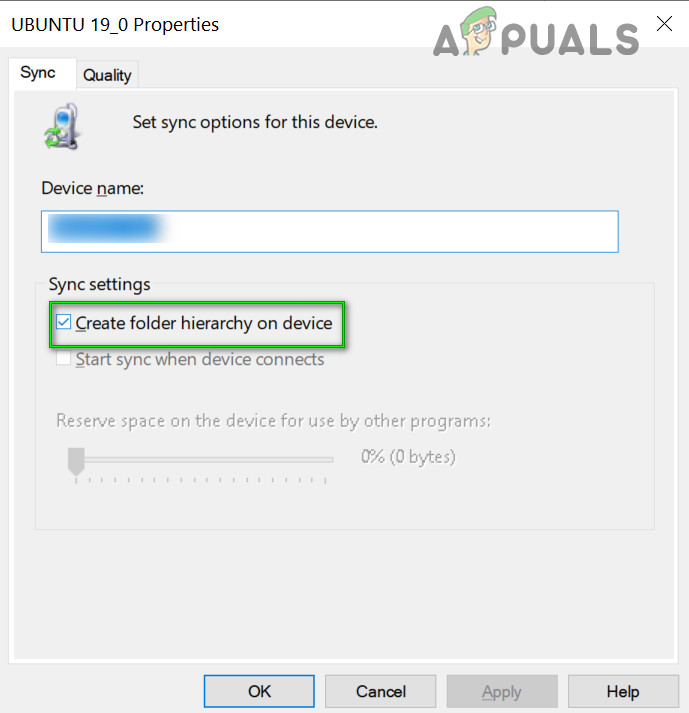
Uncheck Create folder hierarchy on device
- Press Windows key and type Windows Media Player. Now, in the resulting list, click on Windows Media Player.
Make sure that you restart your computer again after making changes and see if the issue is resolved for good.
Thank you!
My Dell Latitude E5550 has been driving me nuts with its fan because that damn proces.
Disabling the NFC device made it finally shut up.