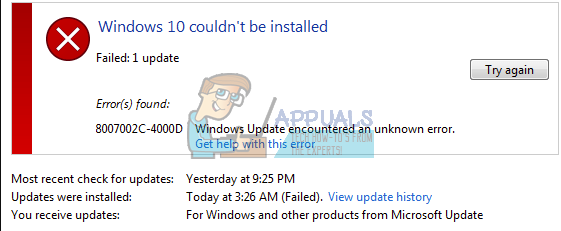
Fix: Windows Update Error 8007002c-4000d
Windows update error 8007002c-4000d occurs when you are trying to update your version of Windows to the newer Windows 10. Windows 10 is one of the most popular operating systems out there. It promises a complete revamp of the interface along with several exciting features. Usually, when you update from a previous version of Windows (7 or 8), the system tries to keep all your current configurations and data so you don’t have to get into a hassle later on.
However, there are many software which bottlenecks this goal and cause Windows update to prompt an error. These software mostly comprise of antivirus, CPU tweaks, or several add-ons. In addition to these software, it is also possible that the update files you downloaded are corrupt due to an unstable internet connection or because of some other technicality. Nonetheless, there are several working solutions to this error. Before we begin, it is advised that you backup your data and settings beforehand so if we run into some misfortune, you wouldn’t be at a loss.
Solution 1: Uninstalling Antivirus
It is not new to know that your antivirus conflicts with your operating system every once in a while. Antivirus contains virus definitions which need to be updated every once in a while. It is possible that your antivirus vendor didn’t update the definitions which may be causing it to conflict with the windows update process. We can try uninstalling your antivirus and check if Windows Update works correctly. This type of behavior was noticeably linked to Avast Antivirus software. Nonetheless, you should uninstall your antivirus and see if you can update Windows successfully.
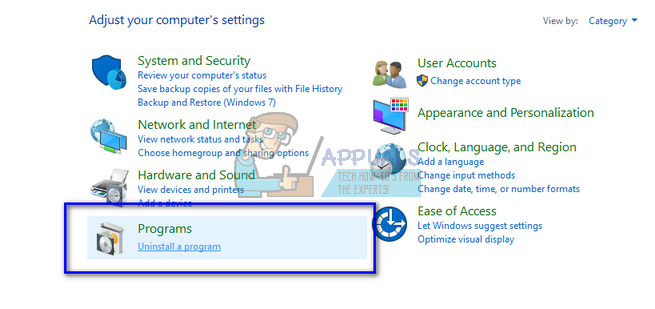
- Press Windows + R to launch the Run application. Type “control panel” in the dialogue box and press Enter.
- Once in the control panel, click on the subheading of Uninstall a Program present at the bottom left side of the screen.
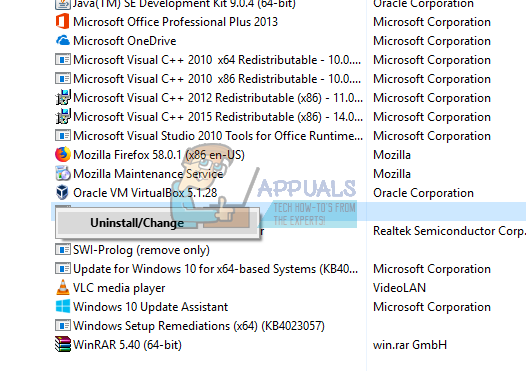
- Now Windows will list all the programs installed on your machine. Navigate through them until you find your antivirus.
- Right click on it and select the option of uninstall. After the uninstallation, restart your computer and check if the problem at hand got solved.
Note: You can also try disabling your internet after the update is downloaded and ready to be installed after you uninstall the antivirus software.
Also, uninstall your Antivirus at your own risk. We recommend not plugging any USB or downloading any executables over the internet in the period where your antivirus isn’t installed on your computer. If Windows Update still doesn’t work, you can install your antivirus back again.
Solution 2: Restarting Update Service after deleting downloaded content
It can also be the case that the downloaded Windows update files are corrupt or incomplete due to an unstable internet or because of some other technical reason. The workaround for this case is to delete the already downloaded content by Windows Update. We will disable the Windows update service momentarily so we can delete the content already downloaded by the Update Manager. After we restart the service, Windows will check which files are already downloaded. If it finds none, it will start the download from scratch. Most of the time, this solves the problem.
Disabling Update Service
- Press Windows + R to bring up the Run application. In the dialogue box, type “services.msc”. This will bring up all the services running on your computer.
- Browse through the list until you find a service named “Windows Update Service”. Right-click on the service and select Properties.
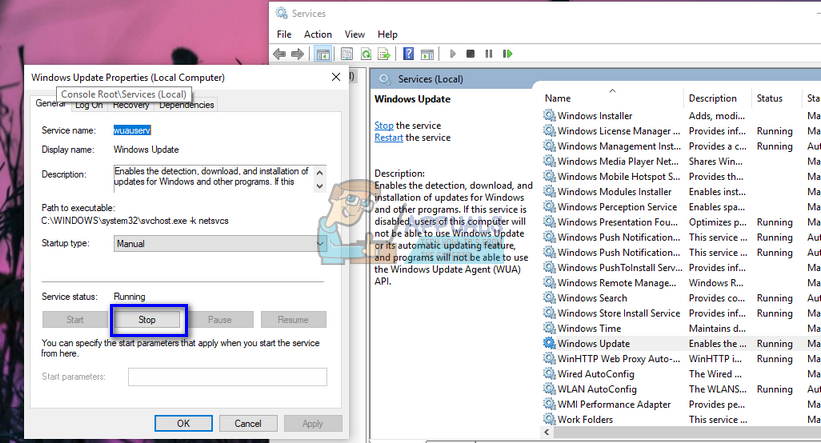
- Click on Stop present under the sub-heading of Service Status. Now your Windows Update service is stopped and we can proceed.
Deleting downloaded files
Now we will navigate to Windows Update directory and delete all the updated files already present. Open your file explorer or My Computer and follow the steps.
- Navigate to the address written below. You can also launch the Run application and copy paste the address to reach directly.
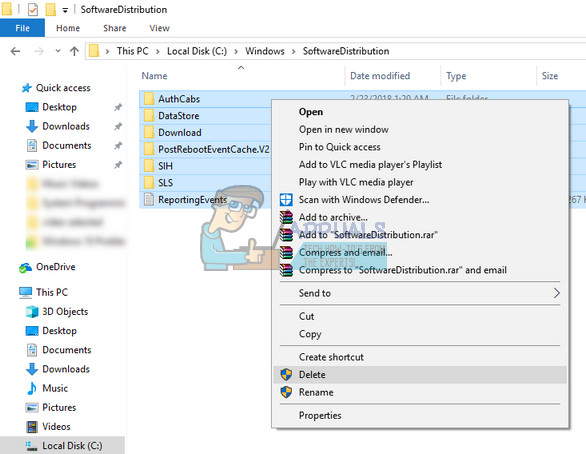
C:\Windows\SoftwareDistribution
- Delete everything inside the Software Distribution folder (you can also cut paste them to another location in case you want to place them back again).
Turning Update Service back on
Now we have to turn the Windows Update service back on and launch it again. Initially, the Update Manager might take a few minutes to compute details and prepare a manifest for the download. Be patient and let the process complete by itself.
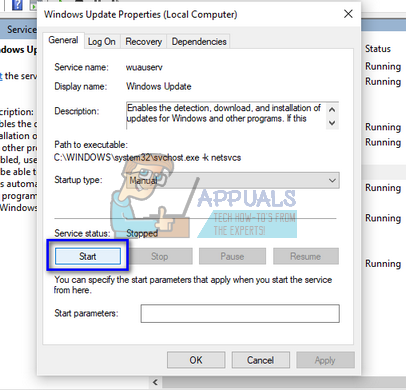
- Open the Services tab like we did earlier in the guide. Navigate to Windows Update and open its Properties.
- Now Start the service again and launch your update manager.
- Now try updating once again and check if the problem gets solved.
Solution 3: Disabling Startup Programs and third-party Services
It is a known fact that there are several startup programs which hinder the Windows update process and causes certain errors to take place. The best way to solve this problem is to disable those startup programs. Now there are two ways through which we can achieve our goal; either use Windows default startup manager to stop applications from running at startup or download an application which gives more details about all services and applications. We will iterate through both of the solutions.
- Press Windows + R, type “msconfig” in the dialogue box and press Enter.
- Once in the settings, select “selective startup” and uncheck the option “Load startup items”. Press OK to save changes and exit.

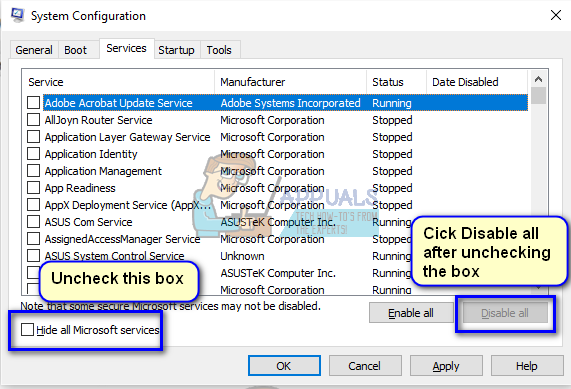
- Navigate to the Services tab present at the top of the screen. Check the line which says “Hide all Microsoft services”. Once you click this, all Microsoft related services will be invisible leaving behind all the third-party services.
- Now click the “Disable all” button present at the near bottom at the left side of the window. All the third-party services will now be disabled.
- Click Apply to save changes and exit.
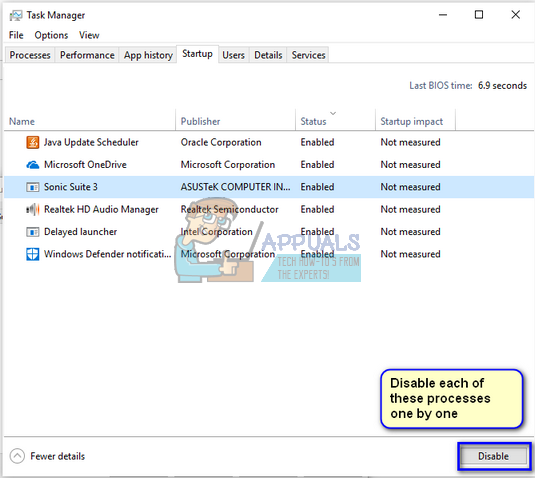
- Now navigate to the Startup tab and click the option of “Open Task Manager”. You will be redirected to the task manager where all the applications/services which run when your computer starts will be listed.
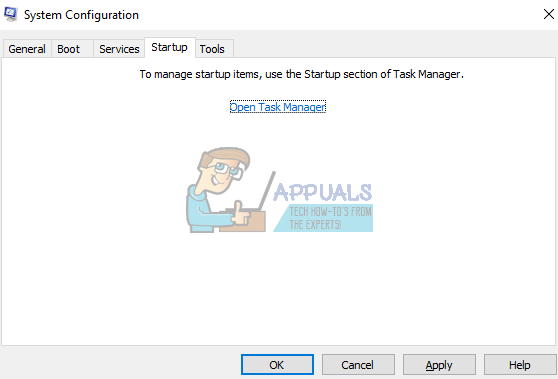
- Select each service one by one and click “Disable” at the bottom right side of the window.
- Now restart your computer and check if you can successfully update to Windows 10.
Do note that there were several processes related to Logitech (webcam services etc.) which were common for many people. Remember to disable them also when you are executing this solution.
If you are still unable to update to Windows 10 at this point, we can use a program named “Autoruns” to disable third-party services or programs on your computer. Autoruns belong to Windows Sysinternals which is a part of Microsoft TechNet website which allows users to download several tools to tweak or optimize their experience of Windows.
Note: You will not delete entries. Make sure that you only uncheck them. If you delete the entries, it can make things worse for your computer.
- Navigate to the official site of Autoruns and download the zipped file.
- Double-click the zipped file to open its contents and run the executable present inside.
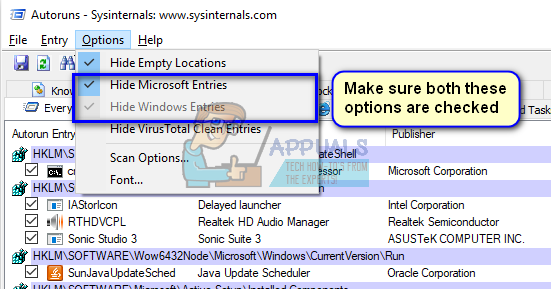
- Click on options and check “Hide Microsoft Entries” and “Hide Windows Entries”. This way you will not accidentally disable any crucial Windows or Microsoft service when we are disabling services.
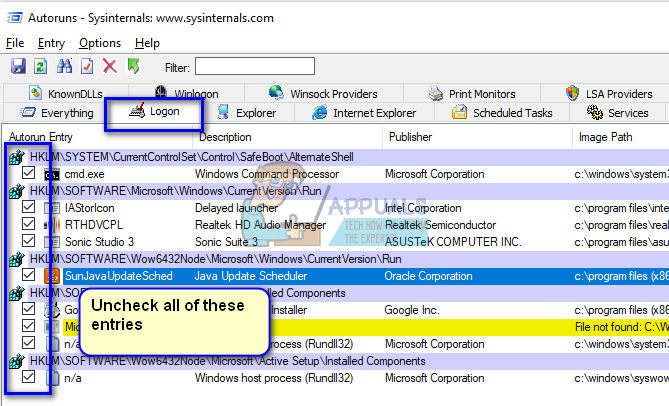
- Now click on the Logon tab and uncheck all the entries listed. If you are prompted with a UAC that administrator access is required, either grant the permission or close the application and run it again using “Run as administrator” after right-clicking it.
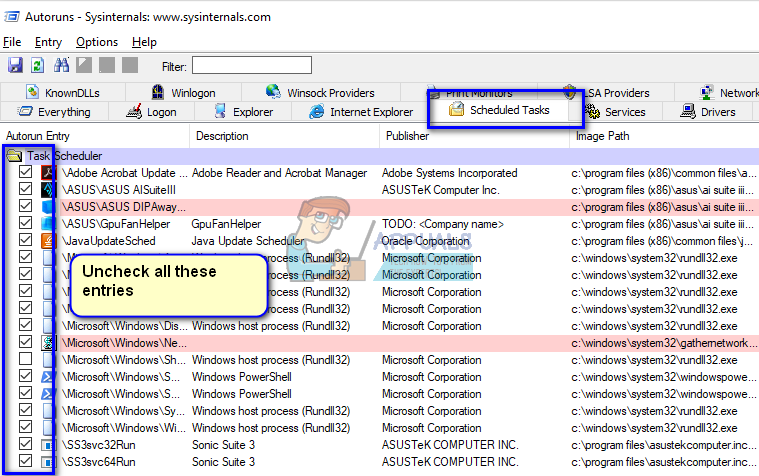
- Do the same thing for Scheduler Tasks. Scheduled tasks are tasks which are scheduled for a specific time on your computer with certain triggers. They can also be the culprit when upgrading Windows as they can disrupt the Update process if they trigger when it is underway.
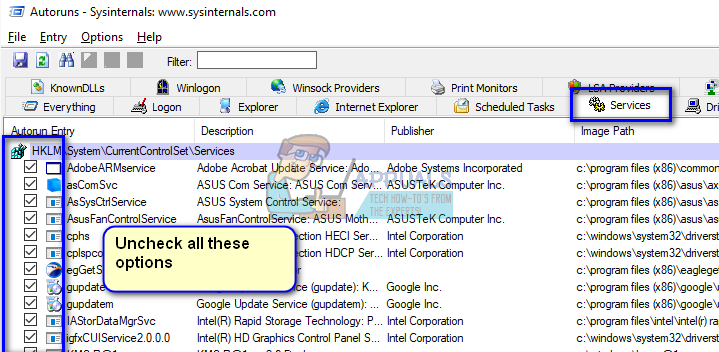
- Carry out the same steps for the Services tab.
- Now navigate to the Drivers tab. You have to be extra careful when disabling entries here. Windows require a specific set of drivers in order to function properly. If you disable crucial drivers, Windows might crash and cause serious damage.
Try disabling Network drivers by third-party vendors such as Huawei USB Modem, Anchor Free for Hotspot Shield, Media Tek Wireless etc. You can easily determine the publisher of the driver by looking at the Publisher column.
Also disable Audio Drivers (such as Realtek) and other third-party drivers such as Samsung USB Driver, Internet Download Manager etc.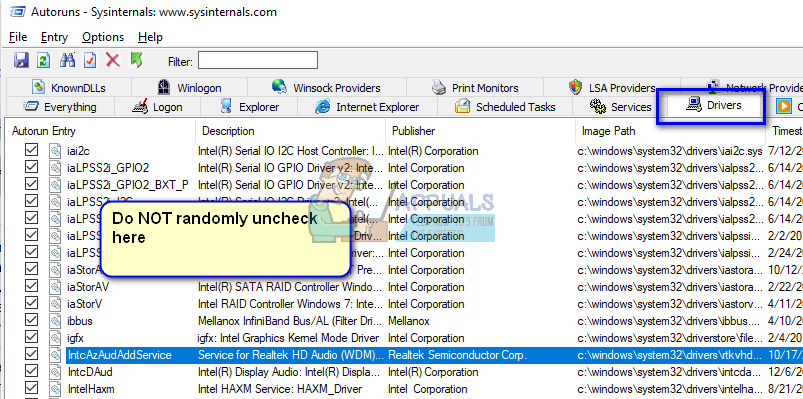
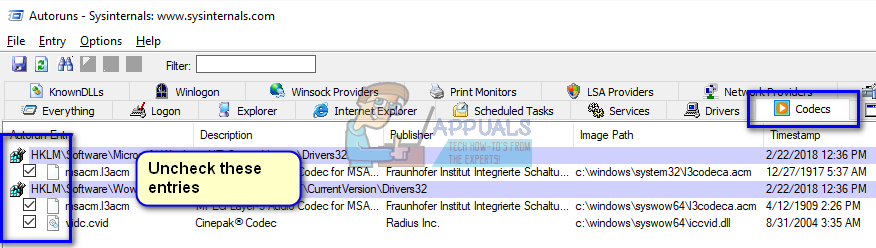
- Now navigate to the Codecs tab and disable all the entries which you can. There may be several codecs which you cannot disable no matter what.
- Now close the program and continue the update process. Hopefully, the update will go smoothly and you will be able to transition to Windows 10 without any problems.
- Open Autoruns again and revert back the changes (i.e. check all the entries which you disabled) to ensure proper system functioning and full functionality of the computer.