Fix: Windows Media Player ‘Server Execution Failed’
Windows Media Player has been a built-in component of all Window operating systems for a long time now and it hasn’t been removed even in the Windows 10 OS. It’s quite easy to use and it’s definitely light on resourced, making it one of the most popular media players of all time.
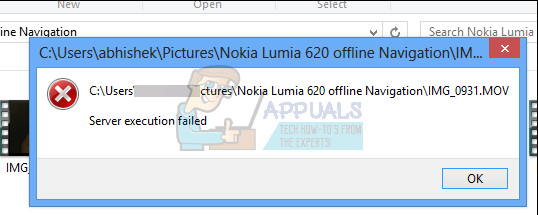 However, users have reported that they have begun crashing while either playing certain files or any files at all. There have been many attempts to solve the problem completely but it turns out there are several successful methods which are applicable in different scenarios. Try them all out below!
Solution 1: Try this Simple Command Tweak
Here is a simple command which can actually solve the problem instantly and it only requires a minute of your time. This method is highly useful if you notice other problems on your PC as well such as malfunctioning Windows gadgets, etc.
- Search for “Command Prompt”, right-click on it, and select the “Run as administrator” option. Copy and paste the following commands and make sure you click Enter after each one:
regsvr32.exe jscript.dll
regsvr32.exe vbscript.dll
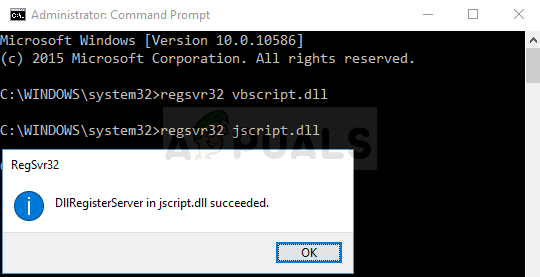
- Check to see if the problem is resolved after restarting your computer.
Solution 2: Clean Booting
Clean booting in order to successfully detect a service or a process which starts up with your computer is definitely the number one solution. Some other services simply bother the media player because of permissions and you will need to deduce which one it is by simple elimination.
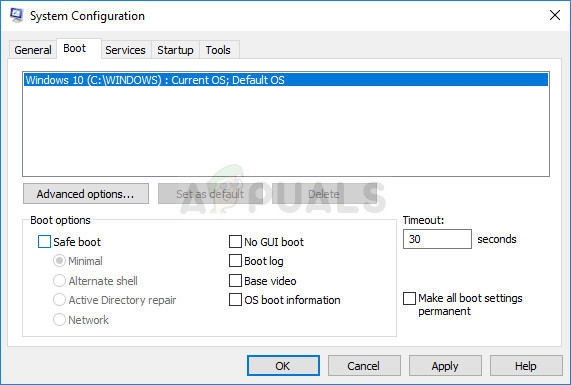
- Use the ‘Windows + R’ key combination on your keyboard. In the ‘Run’ dialog box type ’MSCONFIG’ and click ‘OK’.
- Click on the ‘Boot’ tab and uncheck the ‘Safe Boot’ option (if checked).
- Under the General tab in the same window, click to select the Selective startup option, and then click to clear the Load startup items check box to make sure it’s not checked.
- Under the Services tab, click to select the Hide all Microsoft services check box, and then click ‘Disable all’.
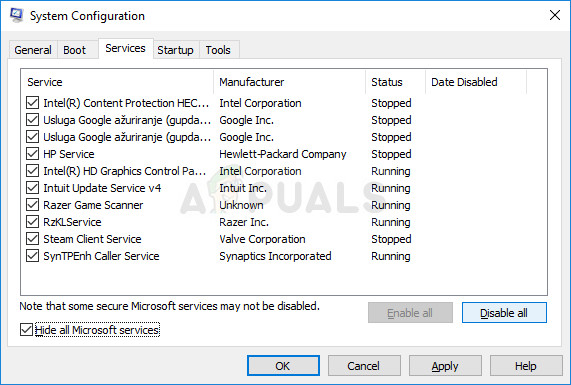
- On the Startup tab, click ‘Open Task Manager’. In the Task Manager window under the Startup tab, right click on each startup item which are enabled and select ‘Disable’.
- After this, you will need to perform some of the most boring processes and that is enabling the Startup items one by one and restarting your computer. After that, you need to check whether the error appears again. You will need to repeat the same process even for the Services which you have disabled in Step 4. Once you locate the problematic startup item or service, you can undertake action in order to solve the problem. If it is a program, you can reinstall it or repair it. If it is a service, you can disable it, etc.
Solution 3: Regain Control of Your User Folder
If you have been performing certain changes on your OS, it’s quite possible that something has made your user folder locked from the Media Player and you will need to gain control of it in order to allow Windows Media Player to access files under your administration. Follow the instructions below in order to do so:
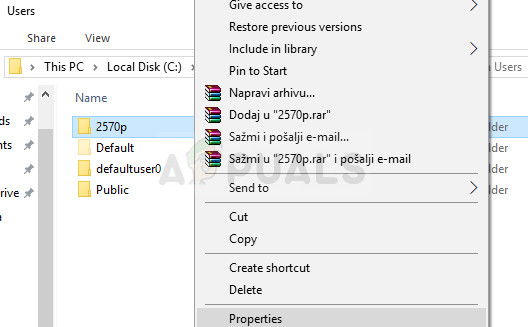
- Open File Explorer, and then locate the C >> Users >> YourUsername. Right-click on the folder, click Properties, and then navigate to the Security tab.
- Click the Advanced button in order to open the Advanced Security Settings window. Here you need to change the Owner of the key so start off by clicking the Change link next to the “Owner:” label.
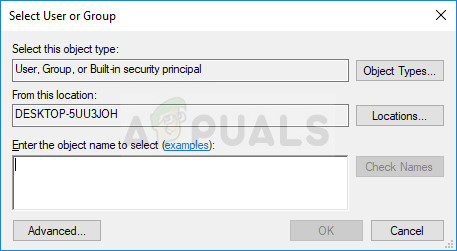
- The Select User or Group window will appear. Select your user account via the Advanced button or just type your username in the area which says ‘Enter the object name to select’ and click OK.
- Also, to change the owner of all subfolders and files inside the folder, select the check box “Replace owner on subcontainers and objects” in the “Advanced Security Settings” window. Click OK to change the ownership.
- Now you will need to provide full access to the folder for your account. Navigate back to the Security tab in the Properties windows and click the Add button in order to open the Permission Entry window. Click on Select a principal and choose your account.
- Set permissions to “Full control” and click OK. You can also choose the “Replace all existing inheritable permissions on all descendants with inheritable permissions from this object” option in the “Advanced Security Settings” window as well.
Solution 4: Weird Antivirus Glitches
For some reasons, the top free antivirus tools such as AVG or Avast are causing the Windows Media Player to misbehave. One user has reported that he uninstalled AVG and managed to solve the problem only to have the problem come back as soon as he installed Avast. That is why it’s the best to simply add the exception to Windows Media Player in any antivirus tool you use.
- Open the antivirus user interface by double-clicking its icon at the system tray or by searching for it in the Start menu.
- The Exception setting is located in different places with respect to different antivirus tools. It can often be found simply without much hassle but here are some quick guides on how to find it in the most popular antivirus tools:
Kaspersky Internet Security: Home >> Settings >> Additional >> Threats and Exclusions >> Exclusions >> Specify Trusted Applications >> Add.
AVG: Home >> Settings >> Components >> Web Shield >> Exceptions.
Avast: Home >> Settings >> General >> Exclusions.
Solution 5: A Specific Reinstall of Windows Media Player
Reinstalling the tool is usually the logical move of everyone having issues with a program and plenty of users did that and it didn’t work. However, it has worked for people who have followed this specific set of steps which worked from the start. Make sure you don’t miss a step!
First of all, you should perform this Command Prompt trick which can even solve the problem on its own so make sure you check to see if the problem is solved after getting through the command:
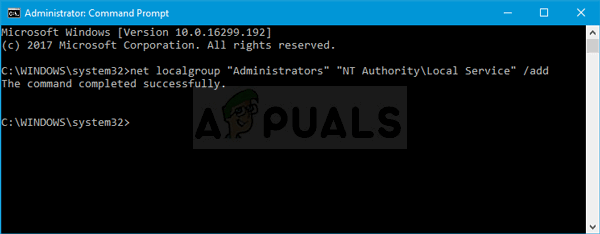
- Search for “Command Prompt”, right-click on it, and select the “Run as administrator” option. Copy and paste the following command and make sure you click Enter afterwards.
net localgroup “Administrators” “NT Authority\Local Service” /add
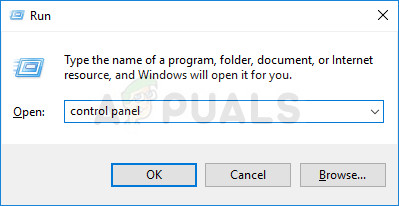
- On your keyboard, use the Windows Key + R key combination to open the Run dialog box. Also, you can search these directly in the Start menu if your Windows OS supports it.
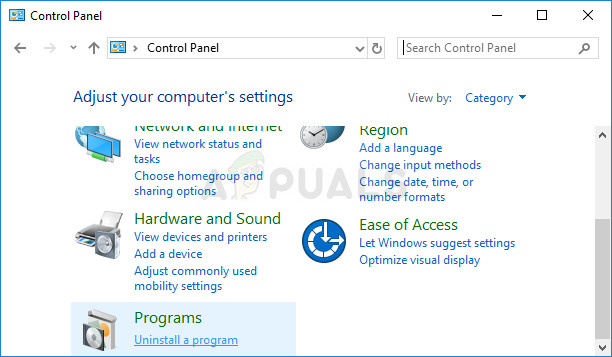
- Type in Control Panel and click OK in order to open it.
- Change the view in Control Panel to View by: Category and click on Uninstall a program under the Programs section.
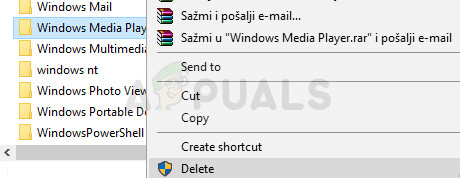
- At the right side of the screen which opens, click on Turn Windows features on or off and locate the Media Features section. Expand the list and look for Windows Media Player. Uncheck the box next to it, click OK, and confirm any dialog boxes which appear. RESTART your computer afterwards (important)!
- After that, navigate to either the Program Files or Program Files (x86) folder in the disk you are using (depending on your PC’s architecture) and delete the Windows Media Player folder.
- Now you can navigate back to the Windows Media Player entry in the Turn Windows Features on or off and check the box next to it again which will initiate the reinstalling process. Restart your computer again after it has finished installing and restart your computer again. Check to see if the problem is solved!
Solution 6: Fix the Windows Media Player Network Sharing Service
If the service for Windows Media Player has gone corrupt, errors such as the one we are talking about now are bound to occur and there is almost nothing you can do to fix it besides fixing the service itself.
- Open the Run dialog box by using the Windows Key + R key combination. Type “services.msc” without the quotation marks in the Run dialog box and click OK in order to open Services.

- Locate the Windows Media Player Network Sharing Service, right-click on it and select Properties from the context menu.
- If the service is stopped (you can check that just next to the Service status message), you should leave it stopped. If it is running, click the Stop button and wait for the service to shut down.
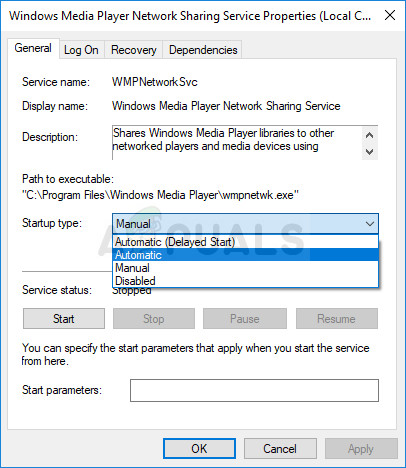
- Make sure that the option under the Startup type section in Windows Media Player Network Sharing Service’s Properties is set to Automatic before you click the Start button in order to restart the service and check to see if the problem is solved.
You may receive the following error message when you click on Start:
“Windows could not start the Windows Media Player Network Sharing Service on Local Computer. Error 1079: The account specified for this service differs from the account specified for other services running in the same process.”
If this occurs, follow the instructions below to fix it.
- Follow the steps 1-3 from the instructions above in order to open Windows Media Player Network Sharing Service properties. Go to the Log On tab and click on the Browse… button.
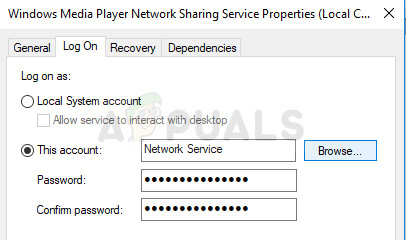
- Under the “Enter the object name to select” box, type in your computer’s name, click on Check Names and wait for the name to become authenticated.
- Click OK when you are done and type in the administrator password in the Password box when you are prompted with it.
Solution 7: Reinstall Java
Reinstalling Java can definitely solve this issue in many cases as Windows Media Player relies on its runtime to work. Your computer probably has it installed by now so make sure you uninstall the version you have installed in order to install the new one.
Uninstalling Java on Windows 10:
- Click on the Start menu located at the bottom left part of your screen. Select Settings by clicking on the gear icon above the Power button in Start menu.
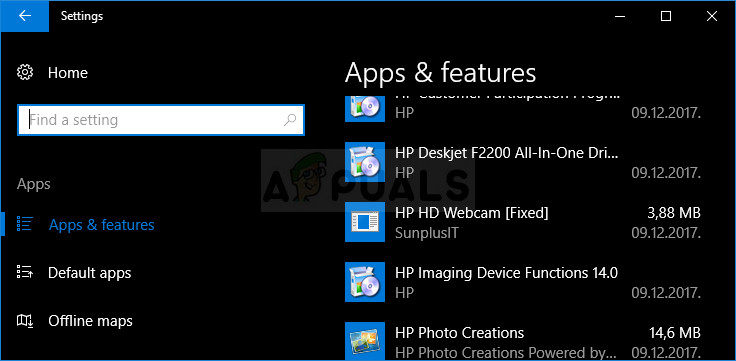
- Select Apps section in the Settings app. Select Java from the list of installed apps and then click its Uninstall button.
- Respond to the instructions displayed on screen to complete the uninstall process.
Uninstalling Java on Previous Versions of Windows:
- Click on the Start menu located at the bottom left part of your screen.
- Select Control Panel from Start menu and switch the View by option to Category. Select Uninstall a Program under the Programs section.
- Select Java from the list of installed programs by clicking on it, and then click the Uninstall button. Follow the instructions on screen to complete the wizard.
Installing Java
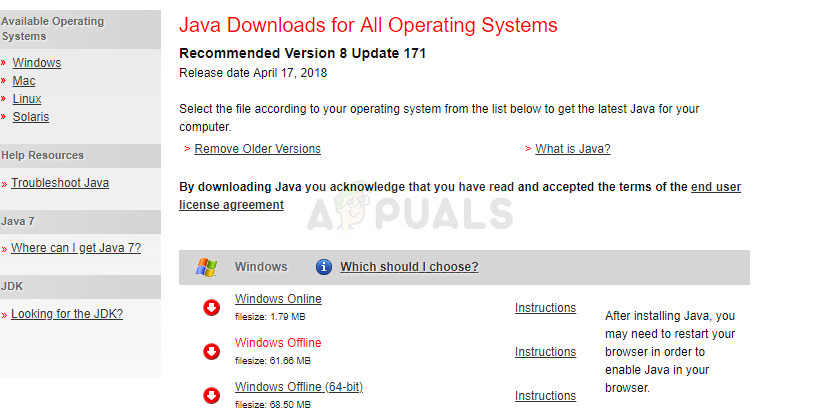
There are two ways of installing Java. You can either use the online installer which only downloads a small file which is used to download the entire program or you can download the entire package and install it without an active Internet connection. Here is how to install it offline:
- Go to the Manual download page and click on Windows Offline.
- The File Download dialog box appears prompting you to run or save the download file Click Save to download the file to your local system.
- Close all applications including your browser and double-click on the saved file to start the installation process. Click the Install button to accept the license terms and to continue with the installation.
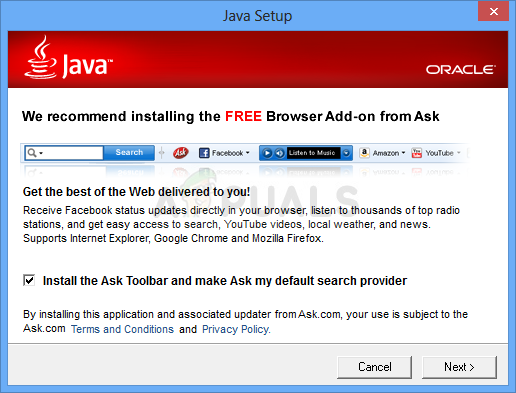
- Oracle has partnered with companies that offer various products. The installer may present you with option to install these programs when you install Java. After ensuring that the desired programs are selected, click the Next button to continue the installation.
- A few brief dialogs confirm the last steps of the installation process; click Close on the last dialog. This will complete Java installation process.


This may have been covered.. but I solved this by ending an established process of media player which locked up for whatever reason.. obviously wmp is usually prevented from opening multiple instances of itself and accessing files that way unless it’s specifically set to do so..otherwise it crashes and can result in this error. Use Task Manager to kill wmplayer