[Solved]: Windows Media Player encountered a problem
Windows Media Player is a built-in tool in all Windows operating systems that enables you to open and use audio and video files of various formats. It’s a great simple tool that will meet the needs of most casual users.
Despite its simplicity, there are serious errors users have to deal with on a daily basis and the one in the title is not different. It occurs when users are trying to open a file with Windows Media Player and it prevents you from opening it. Follow the solutions below in order to fix this.
Solution 1: System Restore
Even though System Restore is thought of as a last resort, it really does not do anything much to change your overall experience as you can adjust it to only go back several days, just before the error started to occur.
This method was highly successful when it was suggested on a forum and we recommend you do this, along with several additional steps.
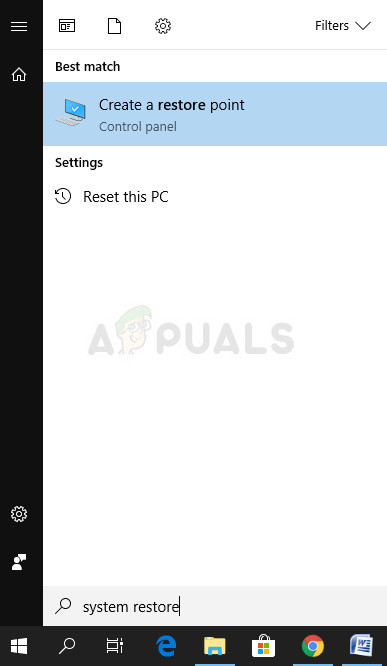
- First of all, we will switch on the System Restore utility on your computer. Search for System Restore using the Search button in your Windows 10 or the Start menu. From there, click on Create a restore point.
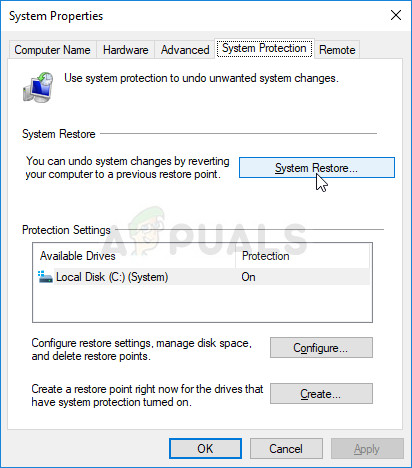
- A System Properties window will appear and it will display the required settings. Inside this window, open the Protection Settings and make sure that protection is enabled on the system drive.
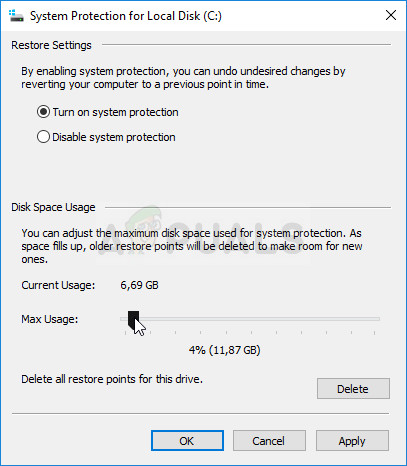
- If it is disabled, select that disk and click on the Configure button to enable protection. You should also allocate a sufficient amount of disk space for system protection. You can set it to any value you want as long as it’s at least a couple of gigabytes. Click on Apply and OK afterward to apply the settings.
- Now, the system will create a restore point automatically whenever a new program is installed or an important change has occurred on your computer.
After you have enabled it successfully, let’s revert your PC back to the state where the debugger error didn’t occur. Make sure you backup some important documents and apps you have created or installed in the meantime just to be safe.
- Search for System Restore using the Search button next to the Start menu and click on Create a restore point. Inside the System Properties window, click on System Restore.
- Inside the System Restore window, select the option called Choose a different restore point and click the Next button.
- Select a particular restore point you saved before manually. You can also select any restore point available in the list and hit the Next button to proceed with the restoration process. After the process is over, you will be reverted to the state your computer was in at that period in time.
- Now, after the process is over and your computer boots properly, open Windows Media Player and click on the Organize button at the top left part of the window.
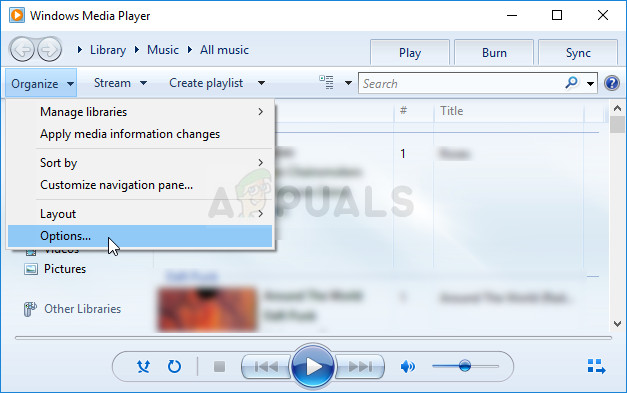
- Click on Options and navigate to the Library tab in the Options window. Locate the Retrieve additional information from the Internet option under the Automatic media information updates for files section and check the box next to it. Keep the first radio button checked saying Only add the missing information.
- Check to see if the problem is solved.
Solution 2: Check for Newly Installed Programs
Even though this may sound like a long stretch, there are countless users who have tried out every other method suggested online to see it fail but this method solved the problem in less than five minutes.
You will need to check whether new programs or updates have been installed on your PC, especially programs or tools who have something to do with audio settings. If you find them, uninstall them immediately to solve your problem. You can also try to boot into safe mode where all these applications are disabled to see if the issue goes away.
- First of all, make sure you are logged in with an administrator account as you won’t be able to delete programs using any other account.
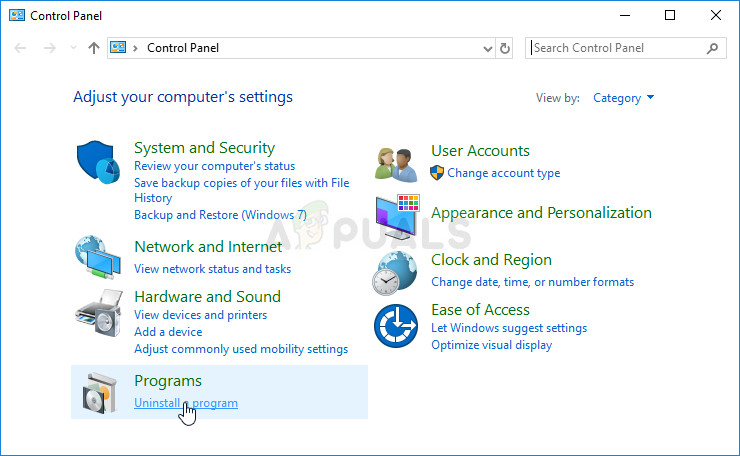
- Click on the Start menu and open Control Panel by searching for it. Alternatively, you can click on the gear icon in order to open settings if you are using Windows 10.
- In Control Panel, select to “View as: Category” at the top right corner and click on Uninstall a Program under the Programs section.
- If you are using the Settings app, clicking on Apps should immediately open a list of all installed programs on your PC.
- Locate the Change your view button and set it to Details. Now you can simply click on the Installed On tab in order to sort the programs on your computer by the date they were installed on.
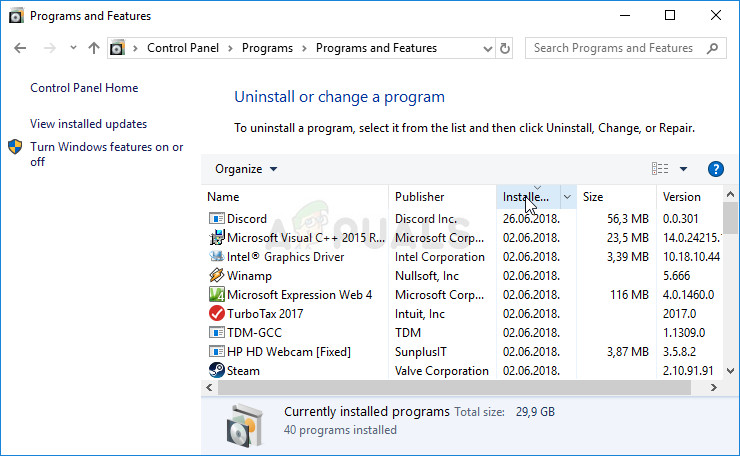
- Locate any programs which may have had something to do with sound, audio, or video or generally any suspicious files. In some cases, it was IDT Audio by Apple or even the Sony PC Companion.
- Click the Uninstall button after selecting the tool you want to uninstall. A message will pop up asking whether you want to confirm your choice. Click Yes.
- Click Finish when the uninstalling process finishes, restart your computer and check to see if the problem is solved.
Solution 3: Disable the Windows Media Player Network Sharing Service
Disabling this service helped several users who were unable to open almost all files of a certain extension such as .wav. This simple fix has really helped them but it may disable some other features of Windows Media Player, which is why the solution is suggested at this spot and not in the beginning.
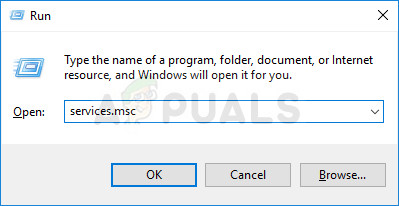
- Open the Run dialog box by using the Windows Key + R key combination. Type in services.msc in the Run dialog box and click OK in order to open services-related settings.
- Locate the Windows Media Player Network Sharing Service, right-click on it and select Properties from the context menu which will appear.
- If the service is stopped (you can check that just next to the Service status message), you should leave it as it is. If it is running, click the Stop button and wait for the service to close down before proceeding.
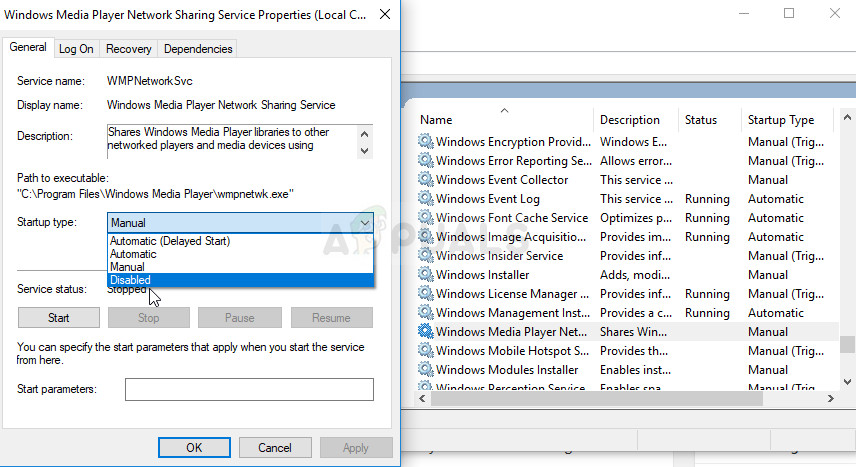
- Make sure that the option under the Startup type section in Windows Media Player Network Sharing Service’s Properties is set to Disabled before you exit Services.
- Check to see if the problem regarding Windows Media Player has been fixed once and for all.
Solution 4: A Long but Rewarding Fix
This fix is somewhat complicated as it spans across many stages but it’s definitely worth noting it down as it can be quite helpful and solve the problem where all other methods fail. Good luck!
First of all, we will need to take ownership of the Windows Media Player folder in Program Files so that we can change the Properties of certain files.
- Navigate to the C >> Program Files (32bit) or C >> Program Files (x86) for 64bit users and you should be able to see the Windows Media Player folder.
- Right-click the file, click Properties, and then click the Security tab. Click the Advanced button. The “Advanced Security Settings” window will appear. Here you need to change the Owner of the key.
- Click the Change link next to the “Owner:” label The Select User or Group window will appear.
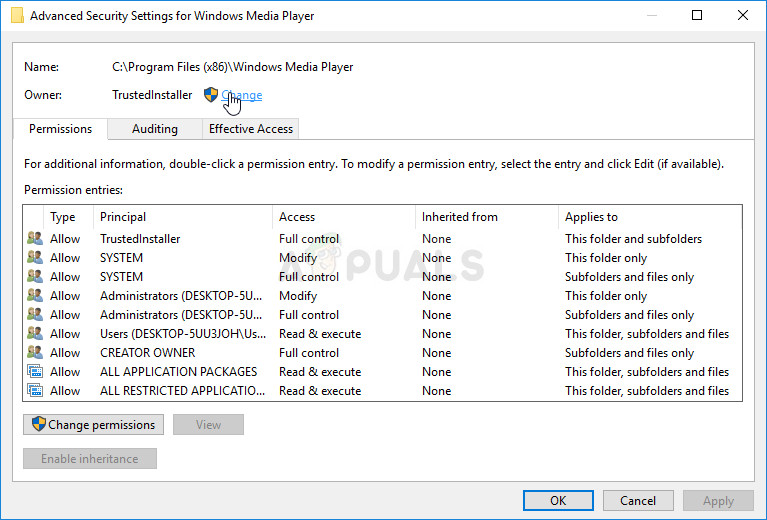
- Select the user account via the Advanced button or just type your user account in the area which says ‘Enter the object name to select‘ and click OK. Add your user account.
- Optionally, to change the owner of all subfolders and files inside the folder, select the checkbox “Replace owner on sub-containers and objects” in the “Advanced Security Settings” window. Click OK to change the ownership.
After this, we will need to disable and re-enable Windows Media Player from Control Panel which should help solve the problem. Even if it doesn’t there is still the final step of the solution.
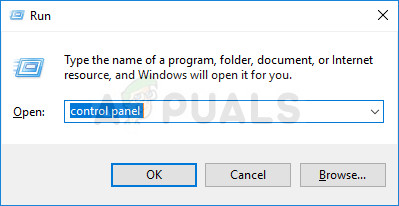
- On your keyboard, click the Windows Key + R key combination to open the Run dialog box. Type in “control panel” in the box and click OK.
- Change the view in Control Panel to “View by: Category” and click on Uninstall a program under the Programs section.
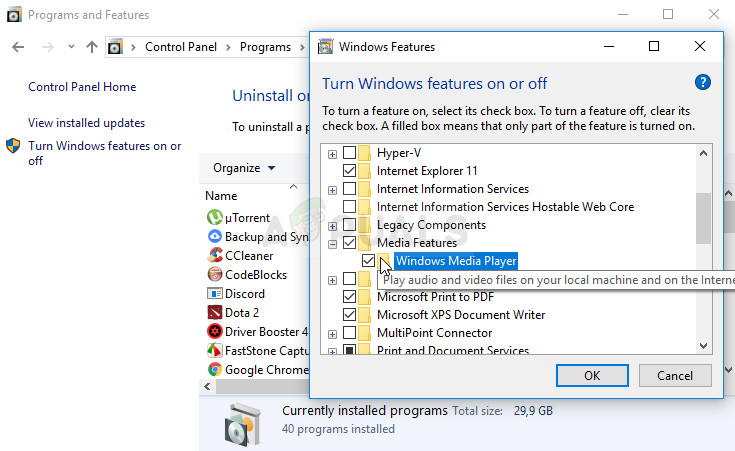
- On the right side of the screen which opens, click on Turn Windows features on or off and locate the Media Features section. Expand the list and look for Windows Media Player. Uncheck the box next to it, click OK, and confirm any dialog boxes which might appear. RESTART your computer afterward (important)!
- Right after restarting, navigate back to the same spot and re-enable the Windows Media Player entry. Apply the changes and restart your computer again. Try running the file now. If the error still appears, follow the remainder of the steps.
- Navigate back to the Windows Media Player folder in Program Files depending on your OS’ architecture and look for any files where the Security tab in Properties displays that the file is locked. Unlock it and repeat the process for all locked files. The problem should be gone now.
Solution 5: Installing Updates
It is possible in some cases, that your operating system might have been outdated due to which the Media Player isn’t able to properly play the media files. Therefore, in this step, we will be checking to see if there are any updates available for the computer from the settings. In order to do so, follow the steps listed below.
- Press “Windows” + “I” to open settings and click on the “Updates and Security” option.
- In the Updates section, click on the “Windows Update” button from the left pane and click on the “Check for Updates” option.
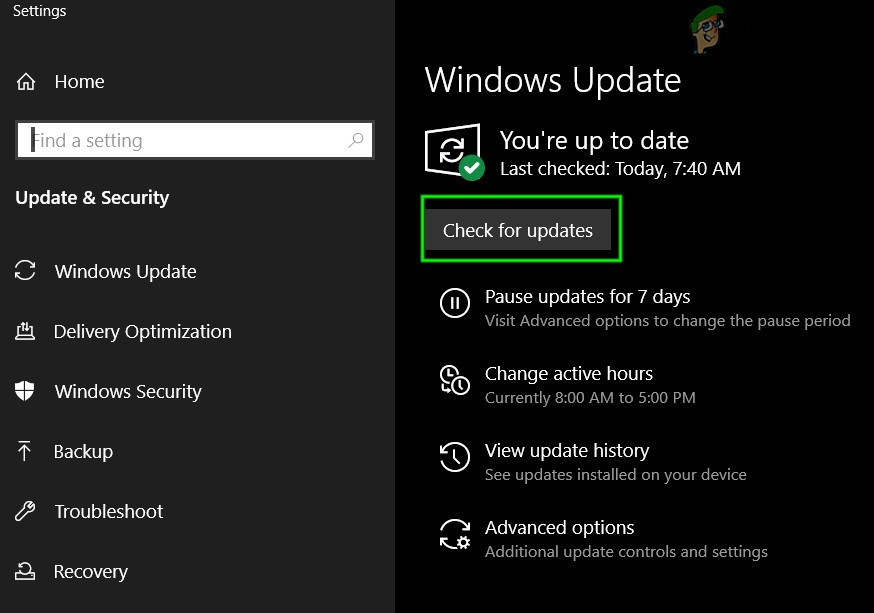
Check for Updates in Windows Update - After checking for updates, Windows will automatically install any available updates on your computer.
- After updating your Windows, check to see if the issue still persists.
Solution 6: Reinitializing Drivers
It is possible in some cases that the drivers installed on your computer might be preventing the Windows Media Player from being able to play an audio or a video file. Therefore, in this step, we will be reinitializing these drivers and then we will check to see if doing so fixes this issue. In order to do so, we will have to first open the device manager. For that:
- Press “Windows” + “R” to open the Run prompt.
- Type in “devmgmt.msc” and press “Enter” to open the device manager.
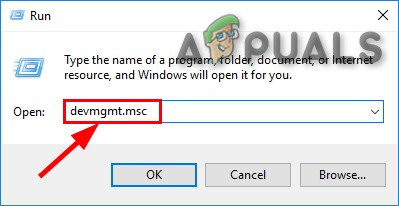
Run devmgmt.msc - Inside the device manager, expand the “Sound, Video and Game Controllers” list and right-click on the “Realtek Drivers”.
- Click on the “Disable Device” option and close out of the window.
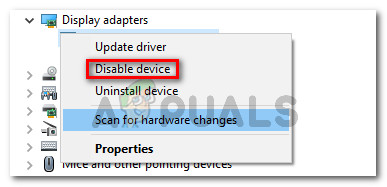
Disabling the AMD graphics card - Wait for at least 1 minute and navigate back to the device manager.
- Right-click on the Realtek Driver again and this time, select the “Enable” option.
- This should reinitialize the Realtek Driver and might get rid of the issue.
- Check to see if the issue still persists.
Solution 7: Install Windows Media Feature Pack
In some cases, the operating system that you are using might not have the Media Features installed due to which this issue is being triggered on your computer. Therefore, in this step, we will be downloading the Media Feature Pack from the official Microsoft website, and then we will install these on our computer. In order to do so, follow the steps below.
- Download the Windows Media Feature pack from here.
- Click on the download button and from there, select the architecture of your Windows.
- Click on the download button from the next window and wait for it to complete.
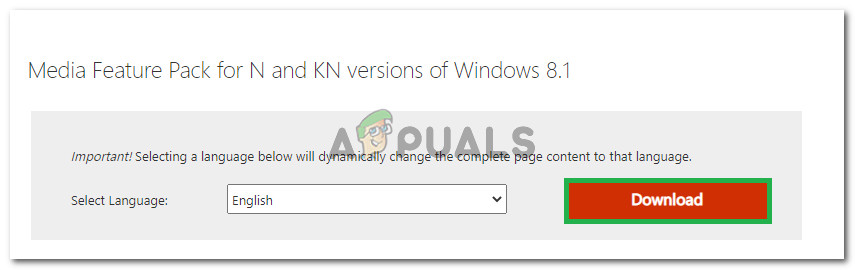
Downloading the Windows Media Feature Pack - After the download is completed, click on the executable to install it on our computer.
- After the media feature pack is installed on your computer, make sure that the Windows Media Player is installed as well.
- Try to play the file that you want to and check to see if doing so has fixed your issue.
Solution 8: Install Codec
It is possible in some cases that the Codec being used by your Media Player is unable to play the video or the audio file that you want to play. This is especially true if you are trying to play the MPEG codec with the Windows Media Player. Therefore, it is recommended that you download and install a codec pack on your computer which will allow the media player to play this format. In order to do that:
- Launch your browser and download the codec pack from here.
- After the download is finished, launch the executable and install it on your computer.
- After installation finishes, check to see if it plays.


I would try opening the media file in any other media player (Foobar, VLC, etc) before a system restore (and would definitely not system restore as a first resort). It is entirely possible (and probable) the media file itself is corrupted and there is nothing wrong with WMP, and by trying the file in other media players you can at least determine that if it is the problem….I mean imagine doing a system restore just because you downloaded a corrupted MP3 lol!