Fix: Windows is Still Setting up the Class Configuration (Code 56)
The “Windows is still setting up the class configuration for this device (Code 56)” error stops network devices from working and can cut off internet access. This error happens because Windows can’t set up the device correctly, usually due to problems from third-party VPN software or a recent Windows update affecting driver compatibility.

Other causes can be damaged drivers or conflicts in network settings.
Now that you know the causes, lets discuss the solutions.
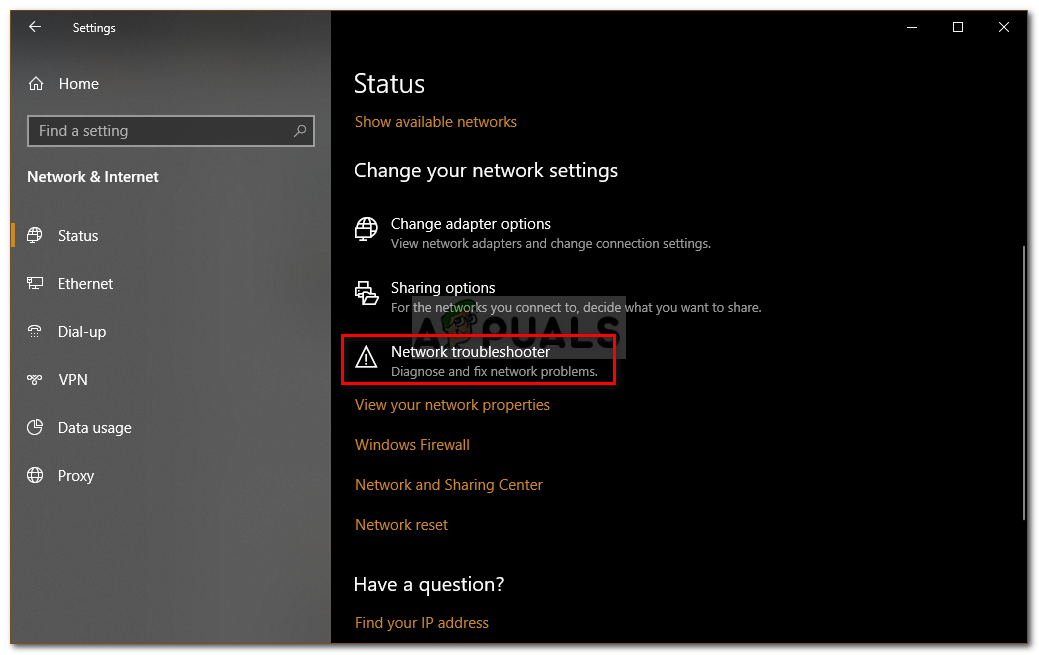
1. Run Network Troubleshooter
The network troubleshooter checks for misconfigurations and connection errors, ensuring necessary services run and restoring connectivity automatically. It resolves common network issues that prevent Windows from setting up devices correctly.
- Press Windows Key + I to open Settings.
- Go to Network and Internet.
- Click Network troubleshooter to run it.
Network Troubleshooter – Windows Network Settings - See if it resolves your issue.
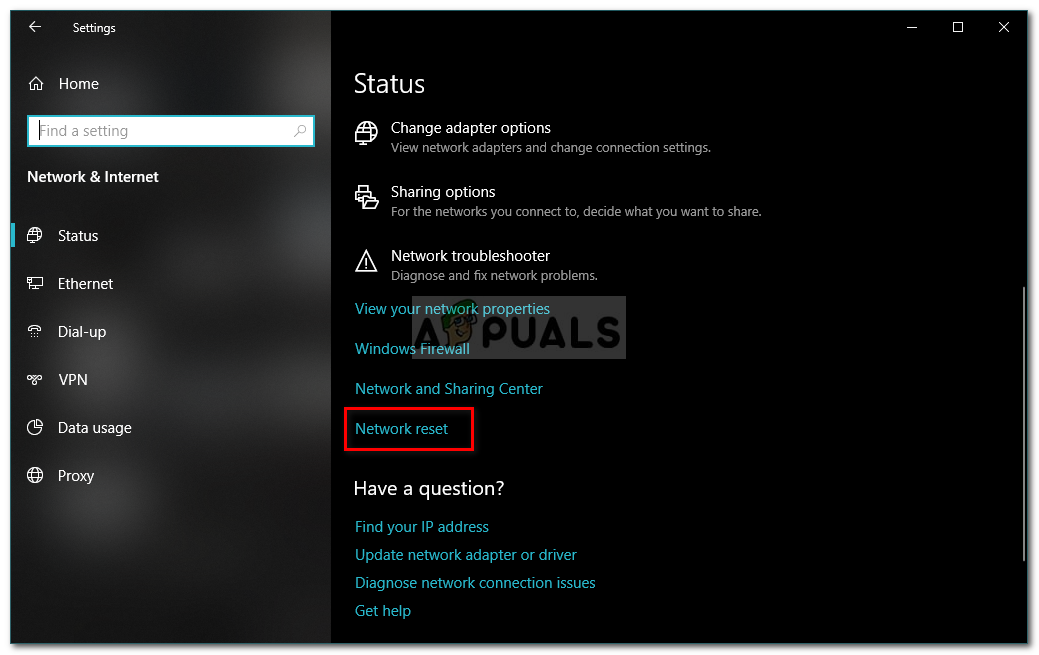
2. Network Reset
A network reset clears all network settings, fixing problems that stop device setup. It returns adapters, protocols, and settings to their original state, allowing Windows to set up the network from scratch. This removes issues caused by old drivers, VPN settings, or incomplete setups.
- Press Windows Key + I to open Settings.
- Go to Network and Internet.
- In the Status panel, scroll down and click Network reset.
Network Reset – Windows 10 Network Settings - Click ‘Reset now‘ and wait for it to complete.
3. Disable VPN
Disabling VPN software can restore proper network configuration by removing any additional filtering or routing layers it introduces. VPNs frequently modify network settings and create virtual adapters, which can interfere with Windows’ ability to recognize or configure your primary network device correctly. By uninstalling the VPN, you’re clearing these added layers, allowing Windows to re-establish a direct, stable connection with your network adapter and resume normal setup operations.
- Press Windows + I to open Settings.
- Navigate to Network & Internet > VPN.
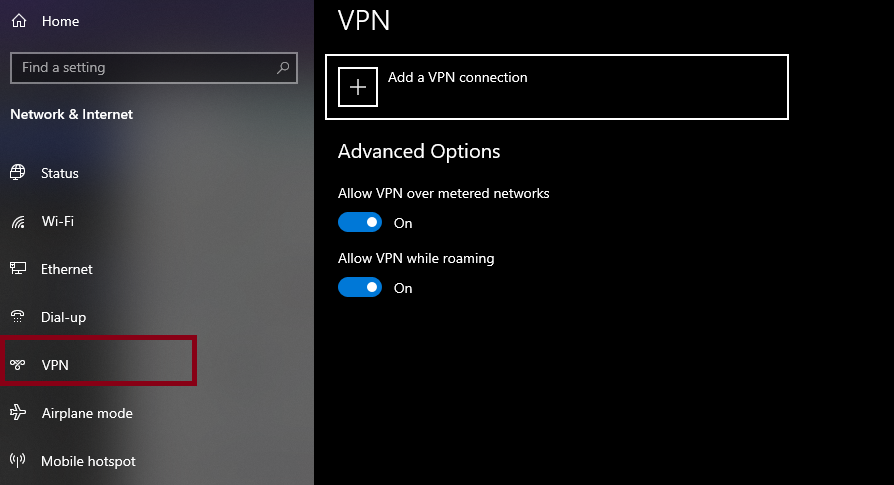
- Disconnect any active VPN connections.
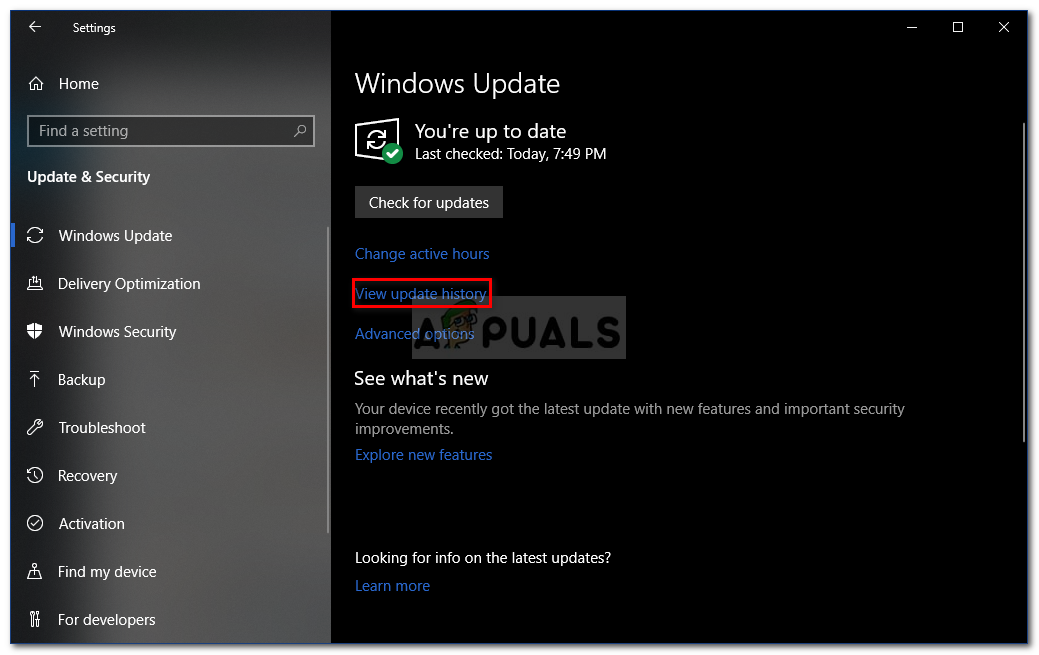
4. Uninstall Windows Update
Sometimes, uninstalling a recent Windows Update can help by restoring driver and system compatibility. Updates can change network settings and cause problems. Removing the update can restore stable operation for network devices.
- Press Windows Key + I to open Settings.
- Go to Update and Security.
- Click View update history, then select ‘Uninstall updates‘.
Windows Update Settings - Locate and double-click the update you wish to uninstall.
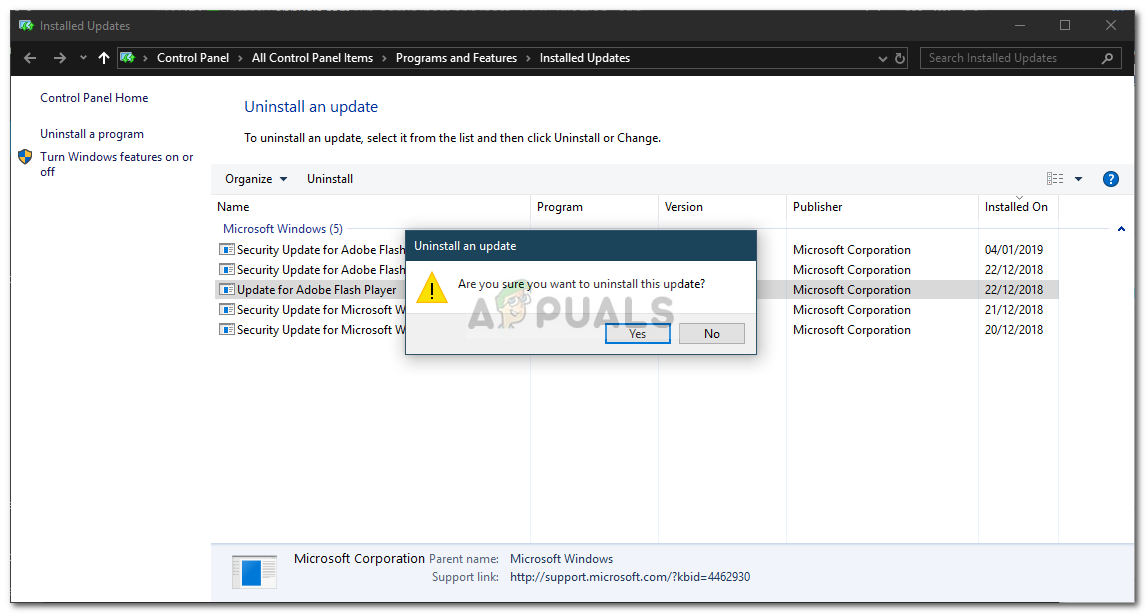
Uninstalling a Windows Update - Allow the process to complete.
5. Clean Install
If other solutions don’t work, a “Clean Install” can completely reset your system. This reinstalls Windows from scratch, removing all previous settings, including problem drivers or errors. It clears any interfering software or bad network settings, giving the best chance to fix issues.
You can check our article on how to Clean Install Windows.
6. Reset BIOS
If reinstalling Windows doesn’t fix the issue, resetting the BIOS can help by clearing conflicting hardware settings. This returns the BIOS to default, allowing the system to reload devices correctly, helping Windows recognize and set them up.
- Restart your computer and press the “F12”, “F9”, or “Del” key to enter the BIOS.
- Find the option on the screen to reset the BIOS (usually “F9”). Press it and confirm.
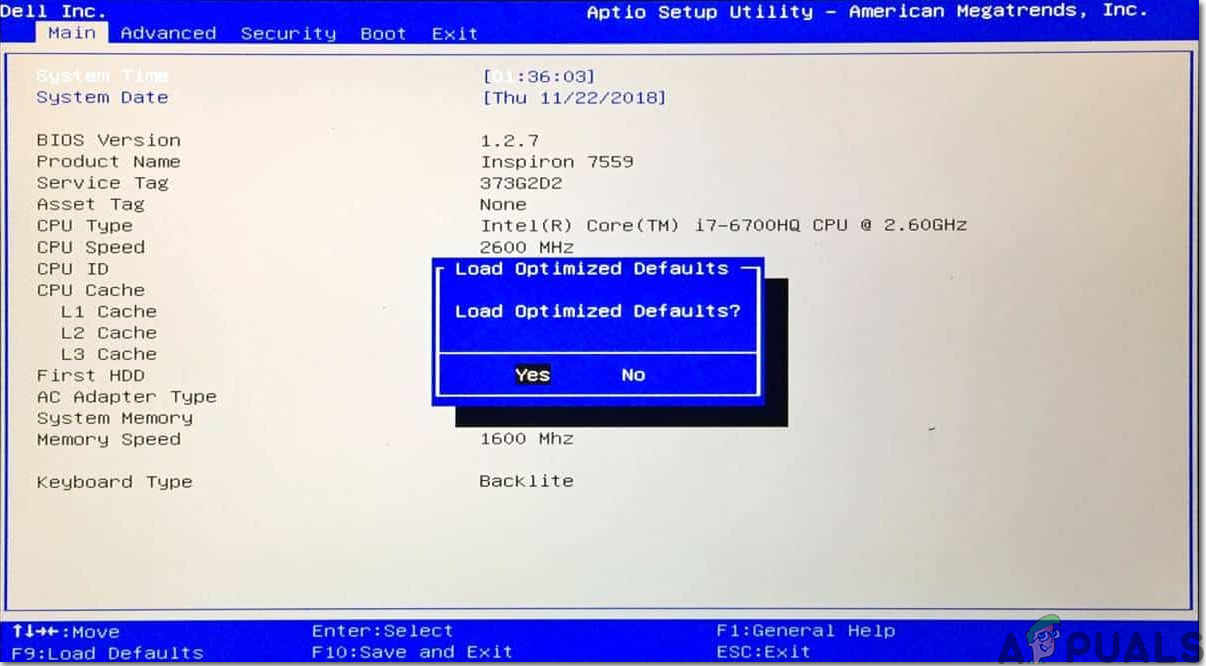
Load Optimized Defaults - Check if the issue persists.


Thanks Kevin.
System restore did the trick for us.
Like you said – checkpoint VPN and Intel Wireless were clashing, but uninstalling checkpoint was not an option, as VPN is essential during the Corona lockdown…