Fix: Windows Installer Error 1722
Windows Installer is a built-in component of Windows that is used to install, remove and maintaining software on a computer system. When your Windows Installer is faulty, you will not be able to install software which gets really frustrating. A system is no good if one is not able to install new things on the software for his own benefit.
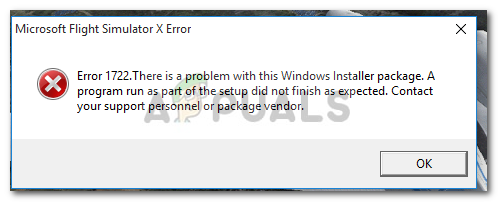
Windows Installer Error 1722 is an error that revokes your software installation. Not only that, you won’t be able to remove any software from your system. This error has the potential of appearing during Windows boot up, shut down. It can cause your system to freeze for a couple of seconds, your mouse or keyboard response time will be affected etc. To save you from such a series of events, we’ve mentioned a few solutions that are going to help you resolve the matter.
What causes the Windows Installer Error 1722?
- Invalid/corrupted registry entries. If your registry is corrupted from a recent software change i.e install or uninstall that is related to Windows installer.
- Incomplete Installation. The error can be caused if you had an incomplete software installation relating Windows Installer.
Below mentioned are the possible solutions for fixing Error 1722.
Solution 1: Scan Windows Registry
Like we mentioned, the error can be caused by corrupt or invalid entries in Windows registry. Hence, your first action is to scan your Windows registry for any errors in the registry. To scan your registry, do the following:
- Open Start Menu and enter cmd.
- Click on cmd to open it up.
- In cmd, type in the following command:

Registry Scan
scanreg/autorun
This scans your registry for any errors and uses a backup to restore any registries that are corrupted or invalid. This is going to take a while, make sure to wait for it.
- After that’s done, enter the following command:
scanreg/fix
This will fix your corrupted registries in case there is no backup.
Solution 2: Use System File Checker
System File Checker is a built-in utility in Windows that lets the users scan their system for any corrupted files and repair them. Your error could very well be due to corrupted Windows Installer files that were affected by another program during installation. To scan your device, here’s what to do:
- Open Start Menu and type in cmd.
- Right click on it and select ‘Run as an Administrator’.
- When command prompt loads, enter the following command:
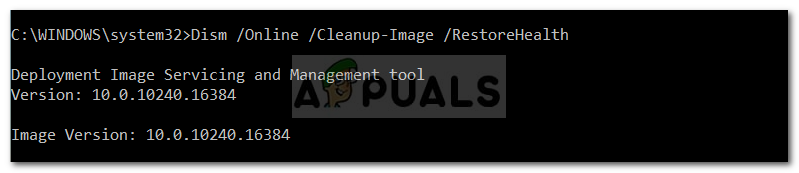
DISM Cleanup
DISM.exe /Online /Cleanup-image /Restorehealth
- Wait for it to complete and then enter this:
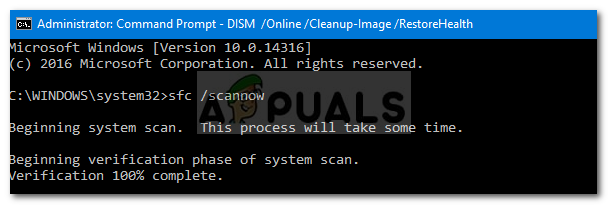
SFC Scan
sfc /scannow
Make sure not to interrupt it while it is checking your system for corrupted files or repairing them.
Solution 3: Do a Clean Boot
Doing a Clean Boot can remove any conflicts that occur during your software installation. This means starting your system with minimum required drivers and programs. Here’s how to perform a clean boot:
- Make sure you are logged in as an administrator.
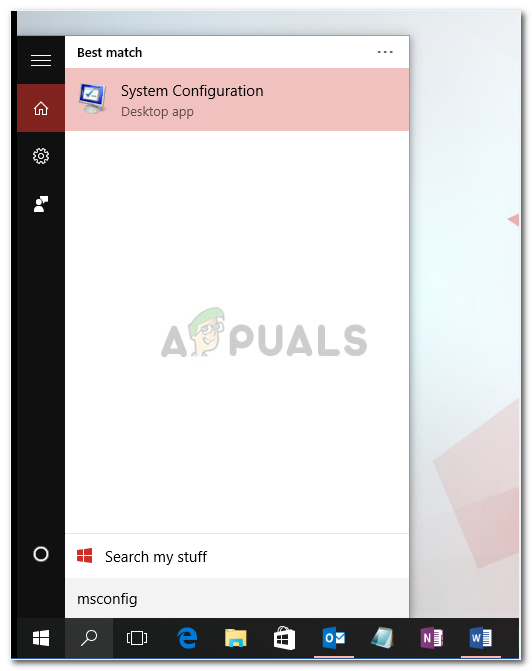
- Click Start Menu and type msconfig.
- Open up System configuration from the results.
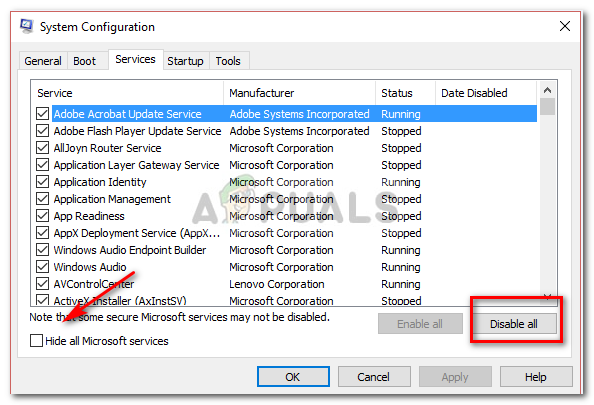
Open System Configuration - In the System configuration window, switch to Services tab.
- There, make sure to uncheck the ‘Hide all Microsoft Services’ box and then click ‘Disable all’.
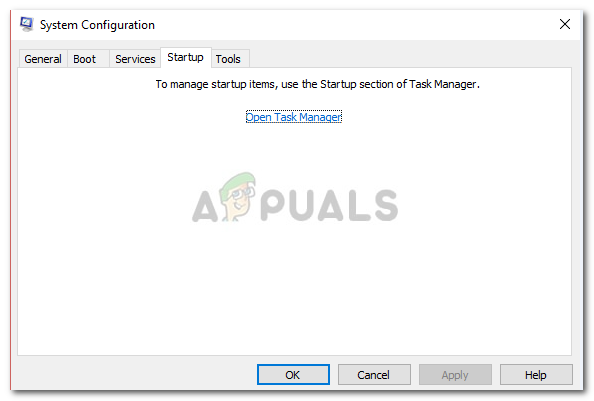
Uncheck the dialogue box - Now, switch to the Startup tab and click on ‘Open Task Manager’.
Click on Open Task Manager - A Startup window in Task Manager will be opened. There make sure to select every item and then choose Disable.
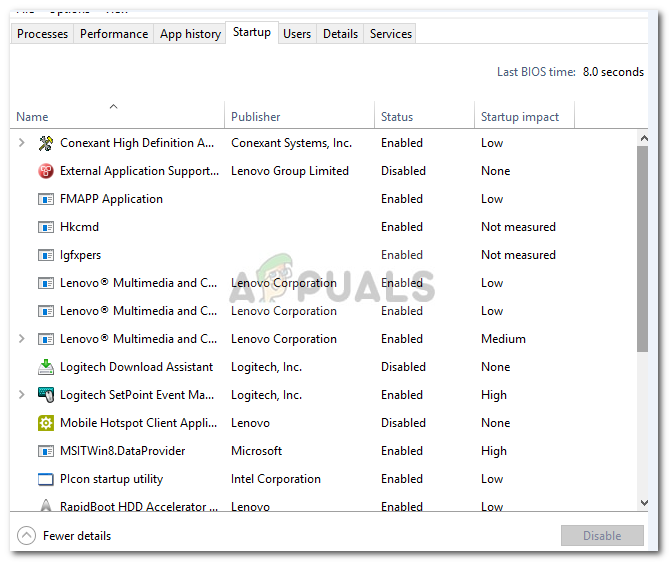
Select every item and click disable - Close the Task Manager window.
- Now on the Startup tab in System configuration, just click OK.
- Restart your device.
Note: It is important to note that if your computer is connected to a network and you make amendments in the System configuration, the network policy settings will try to prevent you.
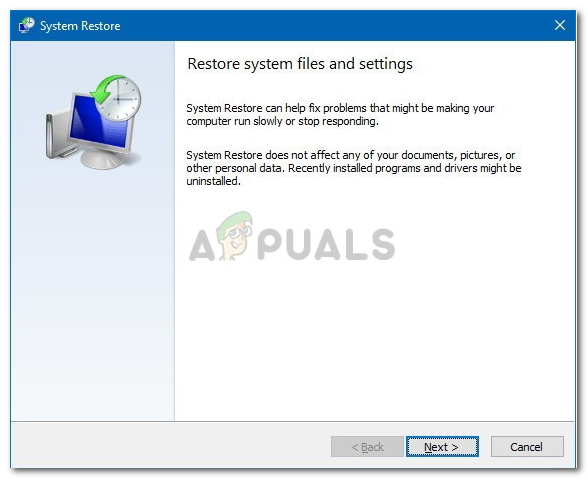
Solution 4: System Restore
You can fix the issue by restoring your device to an earlier point before the appearance of the error. To do a system restore, do the following:
- Click on the Start Menu and click on Control Panel.
- Type in Recovery in the search box of Control Panel and then tap into it.
- Select ‘Open System Restore’ and then click Next.
- On the list shown, choose the most recent driver or update and then click ‘Scan for affected programs’.
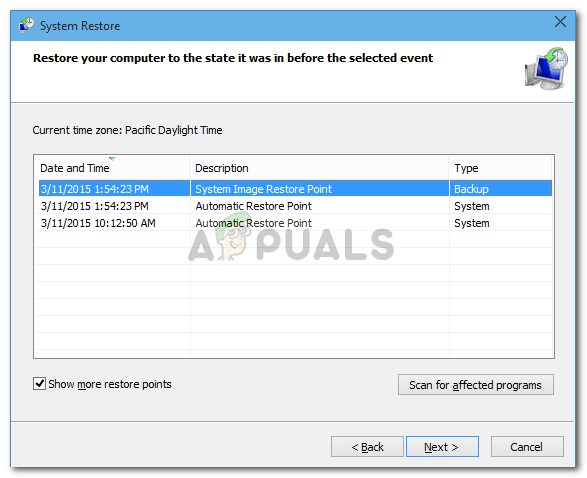
Choose an update - You’ll be shown a list of items that will be deleted, if you’re okay with that, click Next and then Finish otherwise select another update from the list.
Click Next
Solution 5: Reregister Windows Installer
If you reregister your Windows Installer, it might fix the files that are causing the error to pop up. To reregister your Windows Installer, do the following:
- Exit all the Windows programs.
- Press Winkey + X and choose ‘Command Prompt (Admin)’.
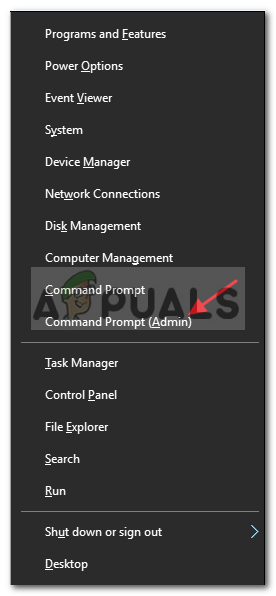
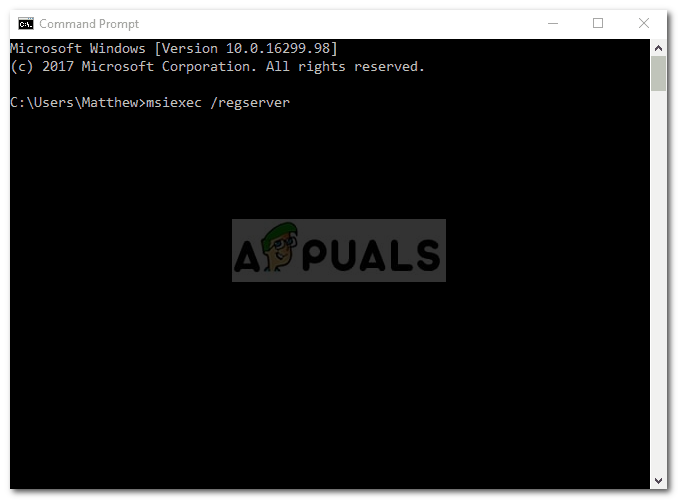
Choose Command Prompt (Admin) - Type in the following:
msiexec /unregister

msiexec /regserver