Fix: Windows Host process RunDLL32 has stopped working
Random error codes which don’t usually tell much about what or who caused are the worst kind because you never know which one of your actions caused the error to occur and what action to undertake in order to prevent the error from happening.
The “Windows Host process (Rundll32) has stopped working” error is quite a generic one but are a couple of well-known causes for this problem and some of them way even sound weird at the first glance. Follow the rest of the article in order to find out just how to solve this problem.
Solution 1: Weird Control Panel Tweak
This first solution to the problem is probably the weirdest one and it appears that the whole error is simply a bug related to how icons and thumbnails are displayed. There are plenty of people on the Internet who claim that they have tried every possible solution they were able to find online but nothing helped but this little tweak. This method is useful if you receive the error code when accessing folders which contain pictures or videos.
- Open Control Panel by searching for it in the Start menu.
- Switch the View by option in Control Panel to Large Icons and locate the File Explorer Options section.
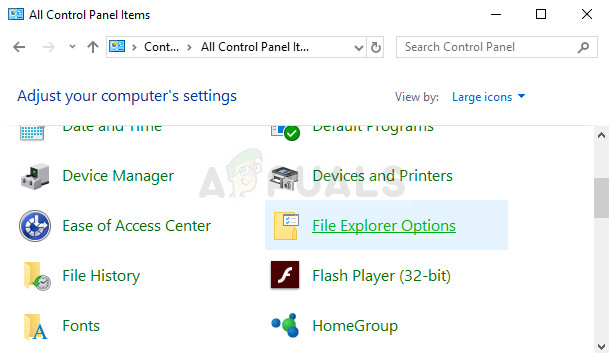
- Click on it and navigate to the View tab of the window which opens. The first option under the Files and Folders section under Advanced settings should be “Always show icons, never thumbnails”. Check it if it’s unchecked and Apply the changes.
- Restart your PC and check to see if the error appears again.
Solution 2: Remove Certain Icons From the System Tray
Some users claim that it took them several months of research and trying various methods before they implemented this simple fix which solved the problem instantly. This method is highly successful if new icons have been added recently to the system tray. It appears that the support for these icons is missing and it causes this error to appear.
- Take a look at the bottom right part of your screen, right on the system tray where the clock is usually located.
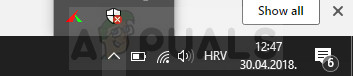
- Hover with your mouse over the icons which are right there or which appear after you click the error which is also located at the system tray.
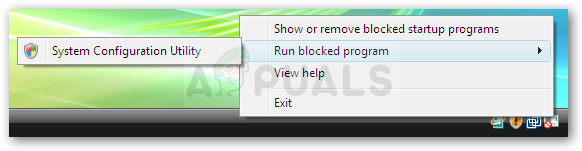
- Try to locate the icon which displays the following message: “Show or remove blocked startup programs”.
- A pop-up window should appear asking for your permission to continue so make sure you grant it by clicking yes or continue.
- Look through each line to see if you recognize any items you may have recently added to your system programs or hardware. Some users claim that the cause for their issue was the NVIDIA icon.
- There is a check mark next to that item so make sure you remove it by each one that you recently added.
- Hit the apply button and then when it ask you to restart your system do so. Check to see if the error stops popping out from now on.
Solution 3: Reinstall Certain Programs Which Are Known to Cause this Problem
Some third-party programs and applications are well-known to cause this error after a while has passed from their installation and users have reported that reinstalling this programs has helped them get rid of the annoying error. Some of the programs include:
Nero tools and applications
QuickSet
Realtek Audio Driver
Sound Blaster
Adobe Speed Launcher
Adobe ARM
Follow the instructions below in order to uninstall and reinstall this tools properly:
- First of all, make sure you are logged in with an administrator account as you won’t be able to delete programs using any other account.
- Backup the data you want to save because deleting this programs will remove it.
- Click on the Start menu and open Control Panel by searching for it. Alternatively, you can click on the gear icon in order to open settings if you are using Windows 10.
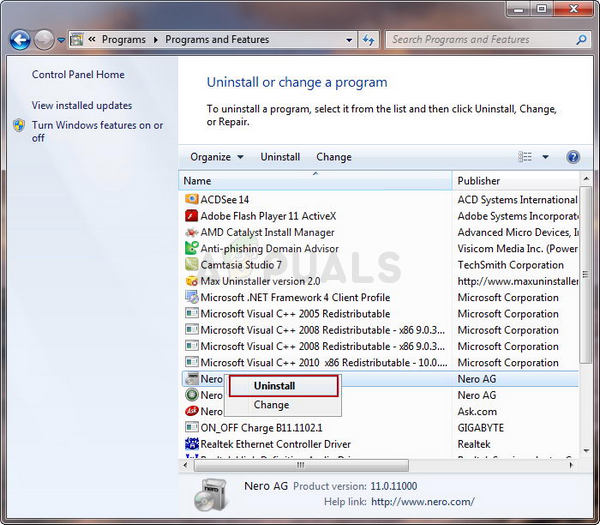
- In Control Panel, select to View as: Category at the top right corner and click on Uninstall a Program under the Programs section.
- If you are using the Settings app, clicking on Apps should immediately open a list of all installed programs on your PC.
- Locate the tool you wish to uninstall in Control Panel or Settings and click on Uninstall.
- Its uninstall wizard should open with two options: Repair and Remove. Select Remove and click Next in order to uninstall the program.
- A message will pop up asking “Do you want to completely remove InsertNameHere for Windows?” Choose Yes.
- Click Finish when the uninstalled completes the process and restart your computer to see whether errors will still appear.
Solution 4: Update the Graphics Card Driver
Some users went online and claimed that a file called “nvd3dum.dll” caused the crash after they investigated the log files located on their computers. This file is closely related to the NVIDIA graphics card driver and you should definitely consider this solution if you own an NVIDIA graphics card.
Follow the set of steps presented below.
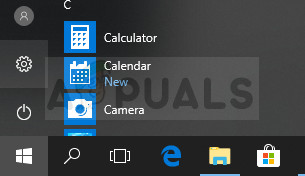
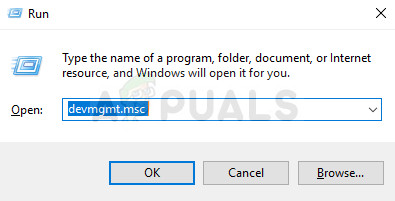
- Click Start and type Run. Select Run. A Run dialog box will appear.
- Type “devmgmt.msc” in the run dialog box and click the OK button. This is to open Device Manager Window.
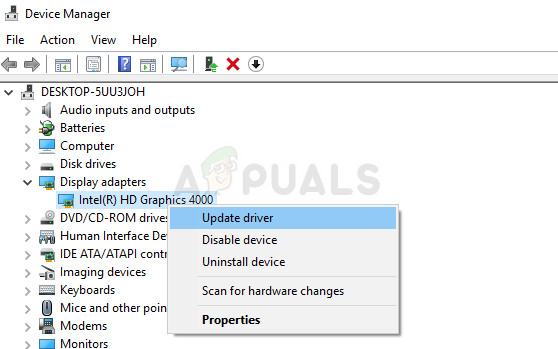
- Locate your graphics card driver by checking under the Display adapters section. Click on the arrow left to this section in order to view the list of Display adapter drivers.
- Right-click on the adapter of your graphics card and select the Update driver option from the context menu. If you are using an integrated graphics card, there will probably only be one item on the list. If you are using an external graphics card, you can only update this one.
- Click Search automatically for updated driver software. Then Windows will search and install the new driver for you.
- Restart your PC for the change to take effect.
Note: You can also visit the site of the manufacturer which made your graphics card and download the latest driver from their site. They usually provide assistance when it comes to choosing the correct driver for your system.
Also, if there is no new versions of your graphics card driver, you can always choose to roll it back by choosing the respective option from the menu and following the instructions on-screen.


