Fix: Windows could not Update Computer’s Boot Configuration
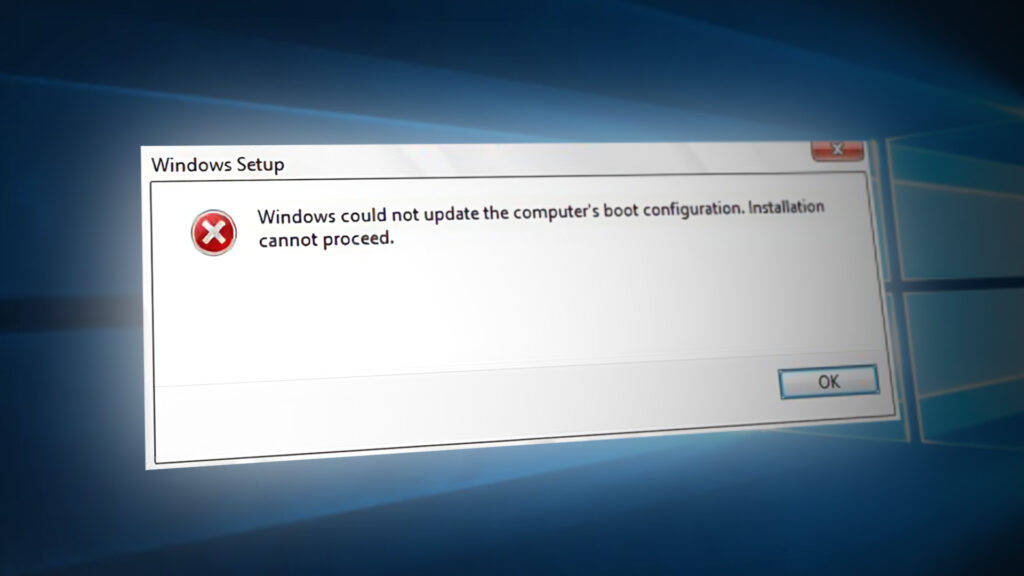
This error occurs when users try to update their Windows installation from an older version of Windows or when performing an in-place update using the Windows Media Creator on a USB or a DVD. It’s quite a common error which appears during Windows Setup and it annoys the hell out of users.
There have been registered quite a few useful methods which can help you resolve the problem and continue through the setup normally. Follow the solutions we have prepared below carefully!
What Causes the “Windows could not update the computer’s boot configuration” Error?
The error is often associated with the broken Boot manager utility which handles how your computer boots and what to load with priority. This can be solved by resetting it completely.
In other cases, it’s UEFI which prevents the Windows setup from loading properly so you should disable secure boot in BIOS.
Finally, the problem may be with your partition. If you are performing a clean install, please make sure you try to clean it with diskpart.
Solution 1: Repair the Boot Manager in Command Prompt
The Boot Manager is used to manage how your system boots, the boot priority, and how it handles Windows installation media when you insert it during startup. It can be reset and repaired easily if you simply restart into Advanced Startup and run several useful commands, which will be presented below.
- If your computer’s system is down, you will have to use the installation media used to install windows for this processInsert the installation drive you own or which you have just created and boot your computer. The following steps are different from one operating system to another so follow them accordingly:
- WINDOWS XP, VISTA, 7: Windows Setup should open prompting you to enter the preferred language and time and date settings. Enter them correctly and choose the Repair your computer option at the bottom of the window. Keep the initial radio button selected when prompted with Use recovery tools or Restore your computer and click on the Next option. Choose Startup Repair (the first option) when prompted with the Choose a recovery tool selection.
- WINDOWS 8, 8.1, 10: You will see a Choose your keyboard layout window so choose the one you want to use. The Choose an option screen will appear so navigate to Troubleshoot >> Advanced Options >> Command Prompt
- If you are not having problems with the system, you can use the Windows UI to access this screen. If you are using Windows 10 on your PC, there is another way to access Safe Mode on your computer. Use the Windows Key + I key combination in order to open Settings or click the Start menu and click the gear key at the bottom left part.
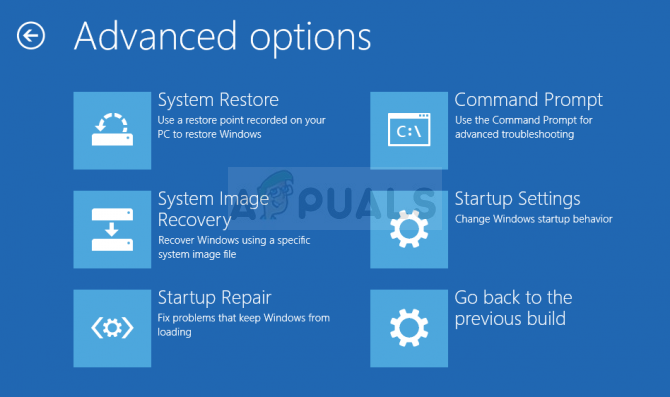
- Click on Update & security >> Recovery and click the Restart Now option under the Advanced startup section. Your PC will proceed to restart and you will be prompted with the Advanced options button
- Click to open the Command Prompt from the Advanced options screen.
- Command Prompt should now open with administrator privileges. Type in the command displayed below and make sure you hit Enter afterwards.
bootrec /RebuildBcd
bootrec /fixMbr
bootrec /fixboot
- Close Command Prompt afterwards and choose the Restart option. Check to see if the problem is gone.
Solution 2: Disable UEFI in BIOS
There are several options you might want to change in your BIOS settings in order to enable the Windows Setup to install properly. The first option is called Secure Boot which uses UEFI. This prevents the proper installation. Besides that you should enable Legacy Support or Legacy Boot and set it to enabled.
- Turn on your computer and immediately press the BIOS Setup key on your keyboard several times in a row, about once every second, until the Computer Setup Utility or BIOS settings opens. This key will be indicated on your screen as Press _ to run Setup.
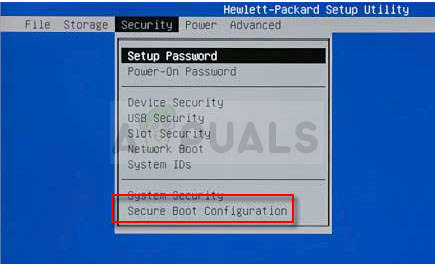
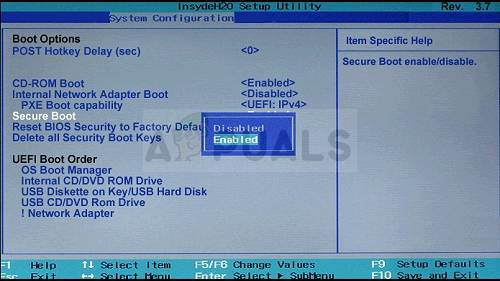
- Use the right arrow key to switch to the Security menu when the BIOS settings window opens, use the down arrow key to select the Secure Boot Configuration from the menu, and press Enter. These options are sometimes location under System Configuration or the Security tab
- Before you can use this option, a warning will appear. Press F10 to continue to the Secure Boot Configuration menu. Use the down arrow key to select Secure Boot and use the right arrow key to modify this setting to Disable.
- Use the down arrow key to select Legacy Support, and then use the right arrow key to switch it to Enable.
- Under the Legacy Boot Order settings, select your USB CD/DVD ROM Drive option and use proper keys (explained at the bottom of the screen to add this option to the top of the boot order to ensure you boot from the USB or DVD.
- Press F10 to save the changes. Use the left arrow key to navigate to the File menu, use the down arrow key to switch to Save Changes and Exit, then press Enter to select Yes.
- The Computer Setup Utility will now shut down and the computer should restart. When the computer has restarted, keep following the steps below to solve the VAC authentication error.
Solution 3: Use the Clean Option in DiskPart
This method is a sort of a last resort for users who are performing a clean installation. This consists of cleaning the partition where you tend to install Windows. This is only recommended for clean installs, meaning you should backup the data from the partition. This should be enough to solve the problem but be careful to select the proper partition based on its number.
- Open Command Prompt using the steps provided in Solution 1.
- At this command prompt window, type in simply “diskpart” in a new line and click the Enter key in order to run this command.
- This will change the Command Prompt window to enable you to run various Diskpart commands. The first one you will run is the one which will enable you to see the complete list of all available disks.
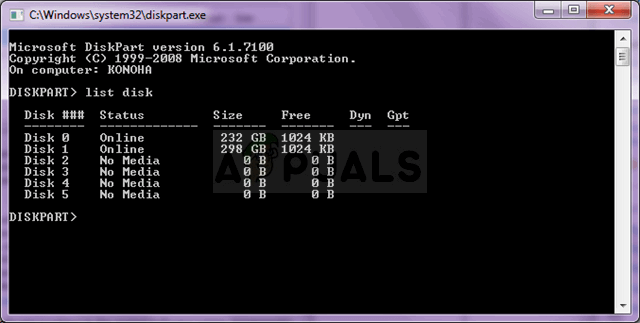
DISKPART> list disk
- Make sure you choose your disk carefully, depending on which number is assigned to it in the list of volumes. Let’s say that its number is 1. Now run the following command in order to select disk.
DISKPART> select disk 1
- A message should appear saying something like “Partition 1 is the selected volume”.
Note: If you are unsure about which partition to select, the best way to do so is to check the actual size!
- In order to clean this volume, all you need to do is to type in the command displayed below, click the Enter key afterwards, and stay patient for the process to complete. This will also create an empty primary partition and add it to the top and the last command will exit Command Prompt.
Clean
Create Partition Primary
Exit
- Exit Command Prompt, restart your computer, run the Windows Setup again and check to see if the Windows could not update the computer’s boot configuration error still appears.


Did not work – no access to UEFI and feeling hosed