Fix: Windows Could not Finish Configuring the System
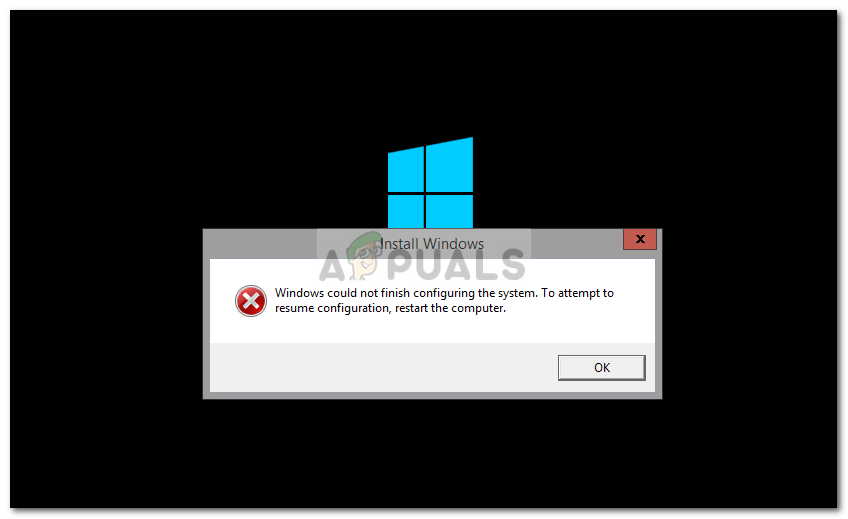
The error ‘Windows could not finish configuring the system‘ comes when you make an updated image of Windows 10 and sysprep it. After that, when you reboot your computer, you will be stuck in a reboot loop and this error will keep popping up on your screen.
Before we begin giving you the solution to this problem, it would be better if making an image of Windows 10 and sysprepping is discussed.
What exactly is sysprepping?
Sysprepping is a way of deploying Microsoft Windows image to other computers using the utility called Sysprep. Sysprep is a tool developed by Microsoft which simplifies the deployment process of Microsoft Windows to many other computers at a time. What it does is that, it removes the computer specific information from a Windows image and after which it can be installed or deployed to other computers easily.
So for sysprepping, you have to make an image of your Windows first on your current system. After that, you need to use the Sysprep tool to make it ready for being installed on other machines.
Now, let’s move to this error which occurs when you sysprep a Windows 10 image and reboot your computer.
What causes the ‘Windows Could not Finish Configuring the System’ Error Message on Windows 10?
The error message is said to cause due to the following factor —
- Missing Image Files: Well, the reason behind it is that the image you made of your Windows had some missing files. So when you Sysprep that image, it’s going to showing you this error. Even though the problem can be caused by not following the right steps to create the image of Windows 10, but if that’s not the case, then it’s likely you have had some missing files on your system on which you were making the image.
Since many people face this issue with a correct image, so I am going to show you a good workaround which is going to do the trick for you.
Solution 1: Using msoobe
You will be surprised to know that the solution to this particular error is a rather easy one. What you will have to do is use a utility by the name msoobe which is basically used for the activation of Windows operating system. You can easily bypass the error message by using the utility. Here’s how to do it:
- When you face the error message, just hold the Shift key and press F10.
- Afterward, in a command prompt, type in the following command which will change your directory:
cd oobe
- Afterward, you will have to execute a file by the name msoobe, to do this, just enter the name of the file:
msoobe
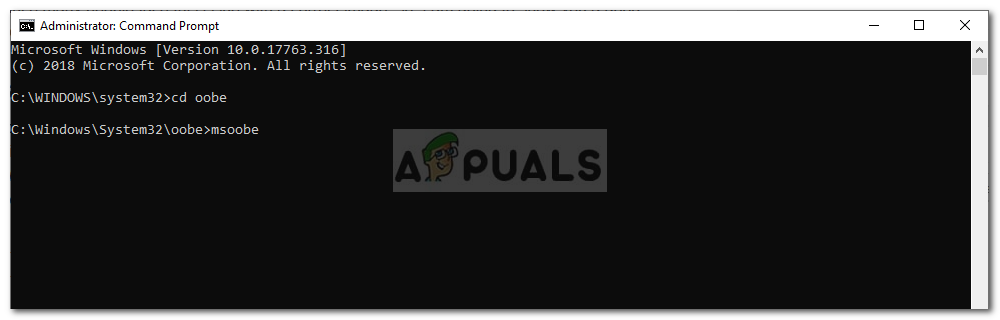
Executing msoobe - This should bring up the Windows Setup. Select all your settings by following the screen.
- Once done, wait for your system to finalize the settings.
- Lastly, what you have to do is restart your system and that’s it. Your problem should be fixed now.
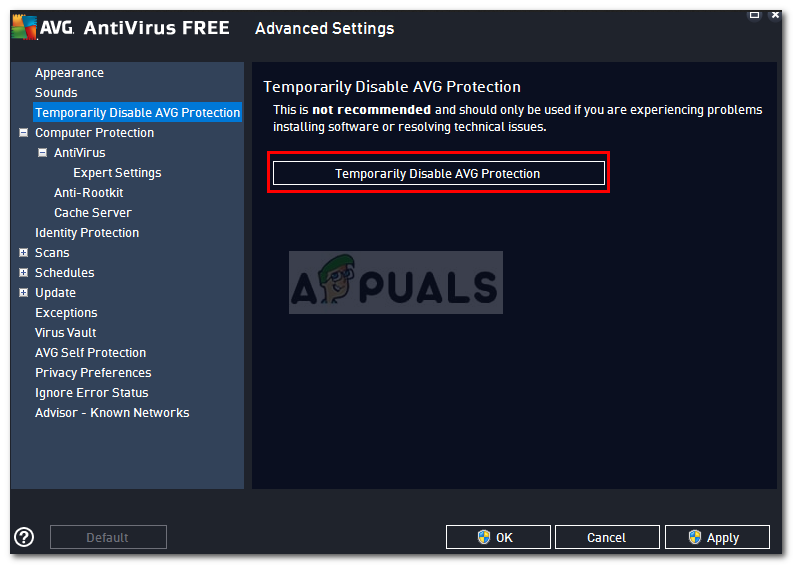
Solution 2: Disable Third-Party Antivirus
Well, if you are still in the midst of the error message even after trying the above workaround, there’s one more thing you can do. If you are deploying the operating system on a Virtual Machine or anything else, what you can do is disable the third-party antivirus and then remake the Sysprep image file.
Re-adding the Windows 10 setup files will probably solve the issue as it is often due to missing files.


