6 Solutions: System Event Notification Service [Error]
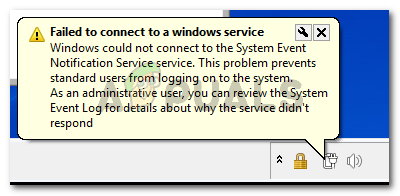
Several users report seeing the Windows Could Not Connect to the System Event Notification Service error when trying to log-in into their Windows machines. The issue is mostly reported to occur on Windows Vista and Windows 7.
![System Event Notification Service [Error]](/wp-content/uploads/2018/11/System-Event-Notification-Service-1024x576.jpg)
What is causing the Windows Could Not Connect to the System Event Notification Service error?
We investigated this particular issue by looking at various user reports. Based on what they reported and based on the methods that they used to get the issue resolved, there are several potential culprits that might trigger this particular error message:
- SENS service is corrupted – This is known to happen on older Windows versions (Windows 7, Vista, XP) due to bad shutting down practices. If the service is corrupted, Windows will not be able to connect to the SENS local server.
- Windows Font Cache Service is glitched – This is a well-known glitch on Windows 7. Since a lot of other services are dependent on the Font Cache Service, you can expect some malfunction once the service is halted. In this case, you can resolve the problem quite easily by restarting the service.
- A Windows update (KB2952664) is creating the issue – It seems like this particular update has the potential to break the SENS component on Windows 7 and Windows Vista. Several users have managed to resolve the issue by uninstalling it.
- Symantec Endpoint Protection is interfering with the SENS service – Several users have reported that the issue was fixed after they reinstalled (or updated to the latest version) the security client.
- DHCP client service is disabled – If the DHCP client service is disabled, Windows will be unable to register and update IP addresses and DNS records. This interferes with how the SENS service operates.
If you’re struggling to resolve this particular issue, this article will provide you with a collection of verified troubleshooting guides. Below you have a collection of methods that other users in a similar situation have used to get the issue resolved.
For the best results, follow the methods below in order until you encounter a fix that resolves the problem for your particular scenario.
Method 1: Restarting the Windows Font Cache Service
Several users have managed to resolve the issue by restarting the Windows Font Cache Service. Users speculate that this service works closely together with the SENS service, it ends up causing general system instability whenever it crashes or remains in a limbo state. The SENS service can also be affected.
If that’s the case, you can typically resolve the issue by restarting the Windows Font Cache Service. Here’s a quick guide on how to do this:
- Press Windows key + R to open up a Run dialog box. Then, type “services.msc” and press Enter to open up the Services screen.
Run dialog: services.msc - Inside the services screen, scroll down through the Local list of services and locate Windows Font Cache service. Once you see it, double-click on it to expand the menu options.
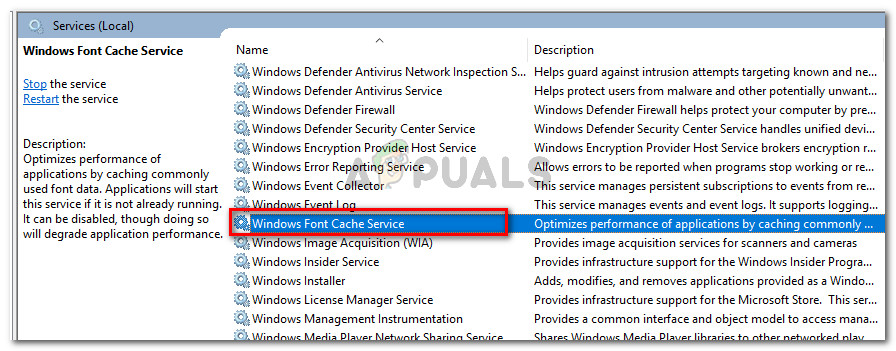
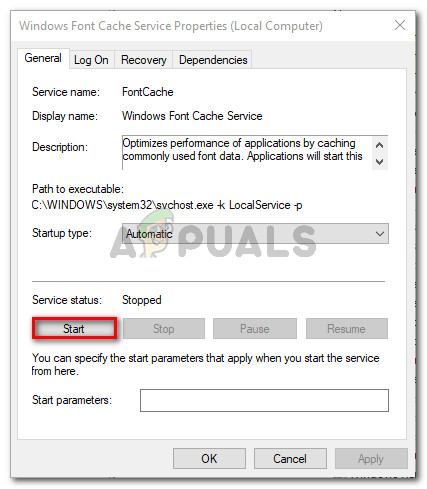
Double-click on Windows Font Cache service - In the Windows Font Cache Service Properties, go to the General tab. If the Service status is set to Running, press the Stop button and wait a couple of seconds.
- Press the Start button to re-enable the service and wait until the procedure is complete.
- Attempt to use the SENS service again and see if it’s reachable.
If you’re still encountering the windows could not connect to the system event notification service error, move down to the next method below.
Method 2: Resolving the issue via an elevated Command prompt
If the issue is occurring due to a bad Windows update or because of an improper shutdown of the computer, chances are you’re experiencing this behavior because two registry key was changed, triggering the issue.
Several users struggling to resolve the same issue have managed to get this fixed by changing a couple of registry keys to their default values. We’re going to feature a batch file that can do this changes automatically when if you run it from an elevated Command prompt.
Note: This method is only confirmed to work for Windows 7.
Here’s what you need to do:
- Press Windows key + R to open up a Run dialog box. Then, type “cmd” and press Ctrl + Shift + Enter to open an elevated Command Prompt. When prompted by the UAC (User Account Control), click Yes to grant administrative privileges.
Run dialog: cmd , then press Ctrl + Shift + Enter - Paste the following command in the elevated Command Prompt and press Enter to change the registy keys to their default values:
REG ADD "HKLM\SOFTWARE\Microsoft\Windows NT\CurrentVersion\Windows" /v LoadAppInit_DLLs /t REG_DWORD /d 00000000 /f
REG ADD "HKLM\SOFTWARE\Wow6432Node\Microsoft\Windows NT\CurrentVersion\Windows" /v LoadAppInit_DLLs /t REG_DWORD /d 00000000 /f
- When the operation has been successful, Restart your machine and see if the issue has been resolved.
If you’re still encountering the same error message, move down to the next method below.
Method 3: Enabling the DHCP service and set it to Automatic
Several users have reported that the issue was resolved indefinitely after they discovered that the DHCP Client service was stopped and the startup type was set to Manual.
Here’s a quick guide on making sure that the DHCP service is enabled:
- Press Windows key + R to open up a Run dialog box. Then, type “services.msc” and press Enter to open up the Services screen.
Run dialog: services.msc - In the Services screen, look through the list of services and double-click on the DHCP Client.
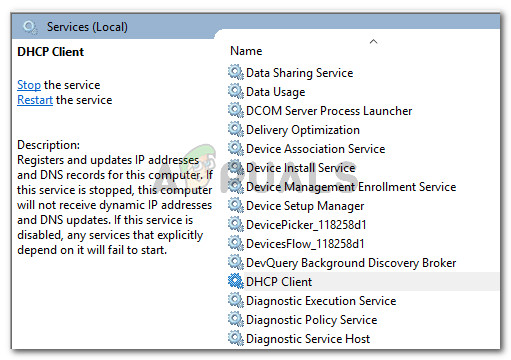
Accessing the DHCP client service - In the properties screen of DHCP, go to the General tab and make sure that the Service status is set to Running. If it isn’t, click the Start button to start it. Then, make sure that the Startup type is set to Automatic before clicking Apply.
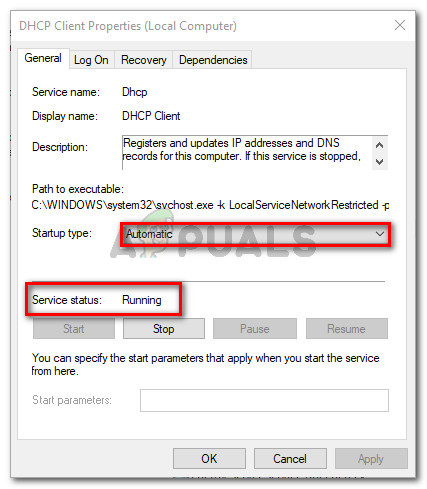
Making sure that the DHCP client service is running properly - Restart your machine and see if the issue has been resolved.
If you’re still encountering the Windows Could Not Connect to the System Event Notification Service error, move down to the next method below.
Method 4: Upgrade Symantec Endpoint Protection to the latest version (if applicable)
If you’re using Symantec Endpoint Protection, you might want to update the client to the latest version. Several users encountering this problem who were using Symantec Endpoint Protection reported that the issue was resolved after they upgraded to the latest build or after they reinstalled the client.
If this scenario is applicable to your situation, see whether uninstalling Symantec Endpoint Protection makes the error message go away. If it does, try installing the latest version or reinstall the latest build and see if the issue is fixed.
Method 5: Resetting your Network Settings
It’s possible that your Network Settings are conflicted and need to be reset. To reset your Network Configuration follow the steps below:
- Click on the search bar and search for Command Prompt.
- Right-click on it and click “Run as administrator”.
- Type the following commands one-by-one:-
ipconfig /flushdns
ipconfig /release
ipconfig /renew
netsh winsock reset
netsh int ip reset
- Restart your computer and check to see if the issue persists.
Method 6: Fixing the System Event Notification Service
If none of the methods shown above have helped you at all, it’s possible that your service is disabled by a third-party program or a bad optimization tool. In that case, follow these steps below:-
- Run Command Prompt as an administrator.
- Type the following commands one-by-one:-
sc config SENS start= auto
sc start SENS
- Restart your computer and check to see if the issue persists.


