Fix: Windows cannot locate a suitable printer driver
The error “Windows cannot locate a suitable print driver” is usually encountered when users try to install a wireless/wired printer for the first time or they are trying to share it over a local network. As it turns out, this particular issue is quite common when trying to share a printer between two or more computers that have different Windows bit versions (x86 vs x64 or vice versa).

Note: This error can be accompanied by a lot of different error codes.
If you’re currently struggling with this issue, we have a few potential fixes that might just solve the problem. Below you have a collection of steps that have successfully helped some users to resolve the issue. We are going to start by making sure you’re using the correct printer driver, then change the share permissions of the guest PCs (if necessary). At last, we’re going to share the printer over a local network – this last step has a difference in procedure, depending on the Windows architecture version of the host. Please follow each step in order for the best results.
Note: This article is tailored towards helping those looking to share a printer from a host computer to other computers connected to the same local network. If you are recieving this error when installing your printer for the first time on one computer, following Step 3 will not resolve your issue. If the first two methods aren’t helpful, continue troubleshooting with the other in-depth articles about printer installation (0x00000057, 0x000003eb and printer driver package cannot be installed).
Step 1: Installing the latest printer driver
Windows Update (WU) is not that efficient when it has to download the latest driver version available. The error “Windows cannot locate a suitable print driver” can sometimes be displayed because the printer driver that is currently installed is not compatible with your Windows version or it’s simply outdated. This creates compatibility problems down the line if you ever try to share the printer over a network.
Follow the steps down below to uninstall your current printer (if you have one) driver from Device and Printers and download the latest version from the manufacturer’s website:
Note: The vast majority of printers will not show up in Device Manager, so don’t try to uninstall the driver from there. If you didn’t install a driver for your printer, skip the uninstallation part and start this method straight with step 3.
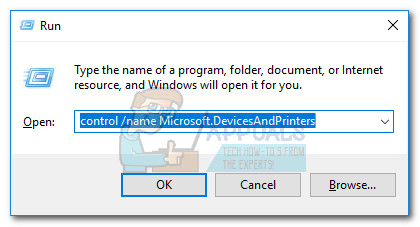
- Press Windows key + R to open a Run window. Type “control /name Microsoft.DevicesAndPrinters” and hit Enter to open Device and Printers.
- Once there, simply right-click your driver and choose Remove device (under Printers). Only when the driver is uninstalled, move to the step below.
- Navigate to your manufacturer’s website and download the latest driver version related to your Windows version.
Note: Do not worry too much if you don’t manage to find a driver version tailored for your Windows version. Simply download the most recent version and refer to the next Note paragraph for instructions. - Install the driver from the installation package you’ve just downloaded and reboot your PC.
Note: If your printer is quite old, chances are you’ll receive the “Driver is not compatible with your Windows version” or something similar when trying to open the installation packages. If this happens, right-click the executable, go to Compatibility, check the box next to Run this program in compatibility mode and select an older Windows version (preferably a compatible version mentioned in the driver’s description). Keep in mind that this is not guaranteed to work with all printers.

Once you’re certain you have the latest printer version, move to Step 2.
Step 2: Making the necessary share permissions changes
Now that we’ve eliminated the possibility of a faulty driver, let’s see if you have the necessary share permissions. One of the most common culprits that will trigger the “Windows cannot locate a suitable print driver” error is when your printer is not shared correctly on the local area network. If you get the error message while configuring your printer to be shared in your local network connection, the steps below will help.
To make sure the error is not happening because of a technicality, we’ll need to make some mandatory share permissions changes on the computer that is hosting the printer. Once we got that going, we’ll need to enable network discovery and turn on file and printer sharing. Here’s a quick guide through the whole thing:
- Press Windows key + R to open a Run window. Type “control /name Microsoft.DevicesAndPrinters” and hit Enter to open Device and Printers.
- Right-click on your printer and choose Properties (Printer Properties).
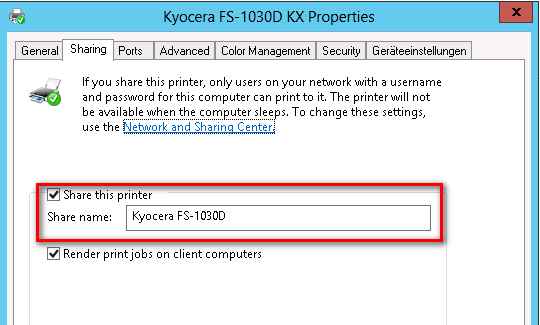
- In Printers Properties, navigate to the Sharing tab and click on Change Sharing Options. Then check the box next to Share this printer and give it a suggestive name (preferably short). Hit Apply to confirm the changes and close the printer’s Properties window.
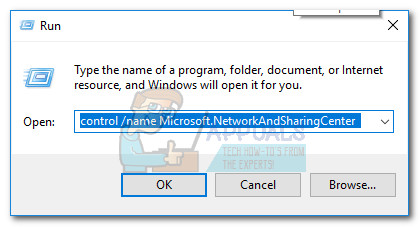
- Press Windows key + R again to open another Run window. Type or paste “control /name Microsoft.NetworkAndSharingCenter” in the Run box and hit Enter to open Network and Sharing Center.
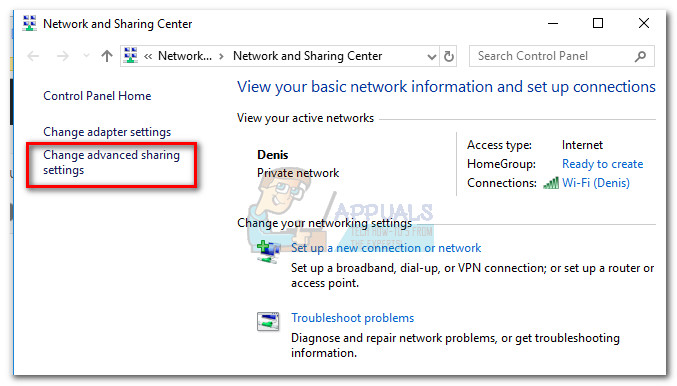
- In the Network and Sharing Center, click on Change advanced sharing settings.
- In Advanced sharing settings, enable Turn on network discovery and make sure the box next to Turn on automatic setup of network connected devices is checked. Then, scroll down to File and printer sharing and enable Turn on file and printer sharing. Finally, make sure you save the changes by clicking the Save changes button.

Note: If you’re trying to share the printer on a local network, you’ll need to repeat this step on every computer that is supposed to access the printer.
Now that you have correctly configured the share permissions, check to see if the issue has been resolved. If you’re still prevented to install it by the same ” “Windows cannot locate a suitable print driver” error, move down to Step 3.
Step 3: Sharing the printer over a local network
Once you’ve successfully followed the first two steps, reboot your computer, unplug your printer and see whether you’re still greeted by the “Windows cannot locate a suitable print driver” error when trying to share a printer. If it still appears, continue with the instructions below.
Sharing a network printer that is being hosted by a 32-bit computer with other 32-bit computers is fairly easy. The same goes for two or more 64-bit computers. To do this, recreate the following procedure on the computers that benefit from the shared printer – Open a Run command (Windows key + R), type “control /name Microsoft.DevicesAndPrinters” and hit Enter to open Devices and Printers.

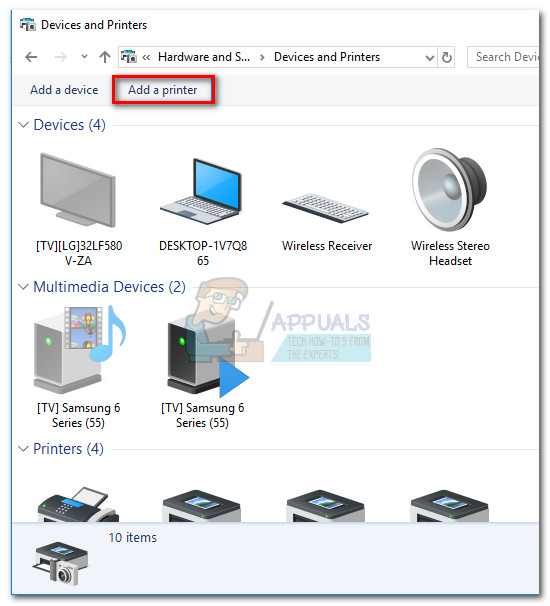
Once there, simply click on Add a printer > Add a network printer and follow the on-screen prompts to make the printer available on the guest computer/s. Once the installation is complete, the printer should become available for the guest PC.
But despite this apparent simplicity, sharing a printer hosted by a 32-bit PC with another or more 64-bit PC is counter-intuitive. The same goes for 64-bit host shared with 32-bit PC/s. As you can imagine, using the method above will not work. If you are in a situation like this, follow the steps below to retrieve and use the name of your host computer and the name of your printer:
Note: The first 5 steps of this method are performed on the computer that is acting as the printer’s host.
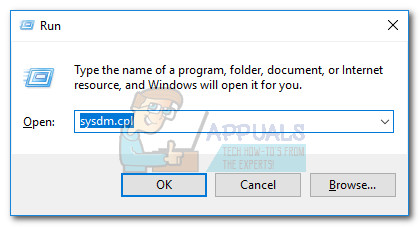
- Press Windows key + R to open a Run window. Type “sysdm.cpl” and hit Enter to open System Properties.
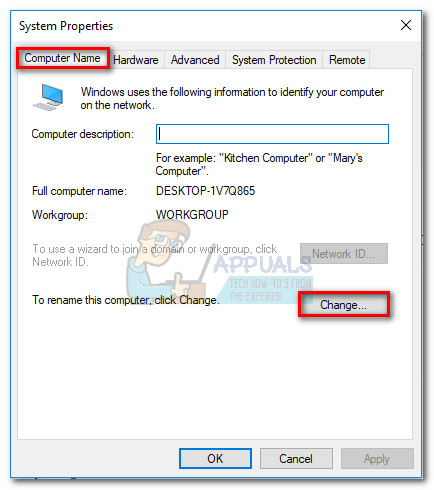
- In System Properties, go to the Computer Name tab and click the Change (Change name) button. Now write down or copy your Computer Name and close the System Properties window.
- Press Windows key + R to open a Run window. Then, type “control /name Microsoft.DevicesAndPrinters” and hit Enter to open Device and Printers.
- In the Devices and Printers window, right-click on your printer and choose Properties. Then, navigate to the Sharing tab and write down or copy your printer’s name next to Share name.
 Note: Once you retrieved both the PC and the printer’s name, move to the computer that is on the receiving end.
 - Press Windows key + R to open a Run window. Type “control /name Microsoft.DevicesAndPrinters” and hit Enter to open Device and Printers.
- In Devices and Printers, click on Add a Printer, then click on Add a local printer.
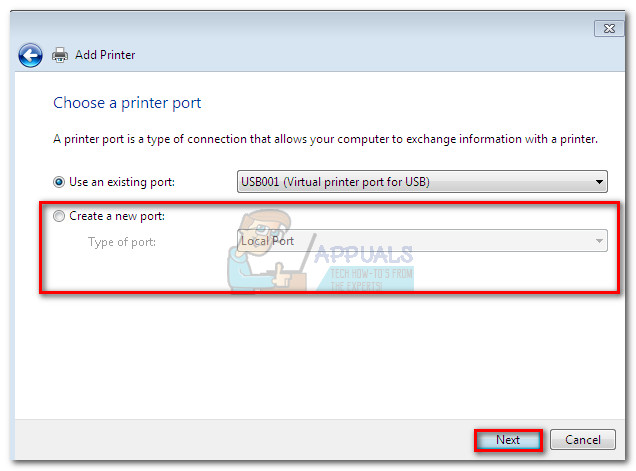
- When prompted to choose a printer port, click on Create a new port and select Local Port as Type of port. Then, hit Next to advance.
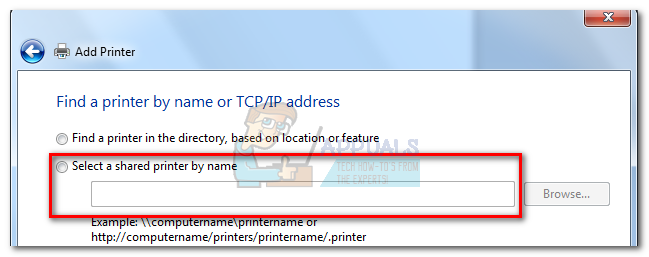
- When prompted to find a printer by name or TCP/IP address, choose to Select a shared printer by name. Then, enter the correct names in the box below – the syntax should look like this: \\Computer name\printer name. Use the names that we previously retrieved while paying attention to use the correct format and hit Ok.
- After a few brief moments, you will be presented with a new Add New hardware process. Follow the next on-screen prompts to complete your printer installation on the second computer.
Note: If you have multiple computers that will use the printer, repeat steps 5 to 9 on each of them.
I also faced such problem in my windows 7 device but after reading this blog my problem has been solved. So keep sharing such interesting information to solve our problems.